The GIF below, reduced from the Concept Layout [PDF], is of our starting point body views made from the basic 57SC dimensions, a 1936 Type 57S chassis blueprint, and photos from the web. |

 |
> > > Continuing progress from the Donor/Chassis Page...
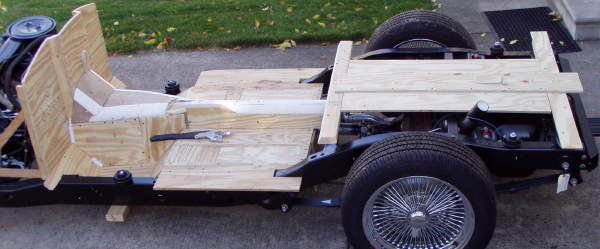
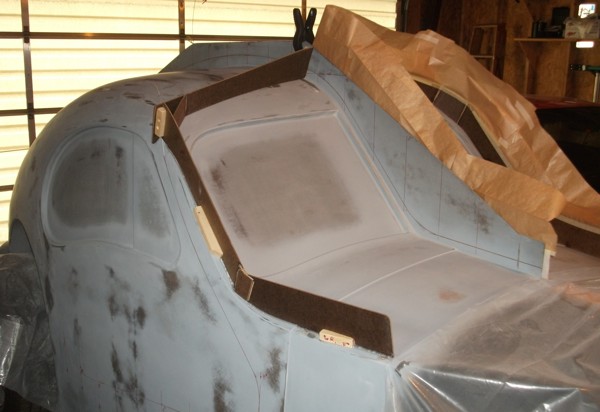
[10-10-08] A start on the firewall/tunnel/floorboard modeling
[06-02-09] Floorboard modeling progress picking back up
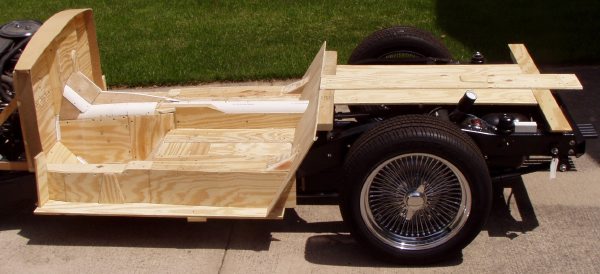
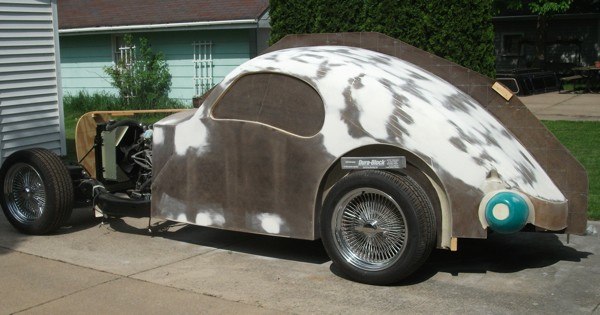
[07-02-09] Floorboard modeling: fill-sand-fill-sand ad nauseam
(The bucket by the left rear will form a fuel filler neck passage.)
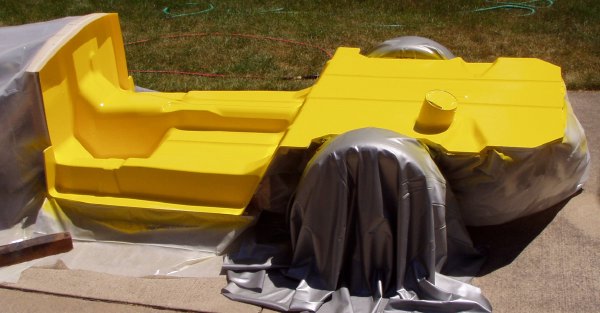
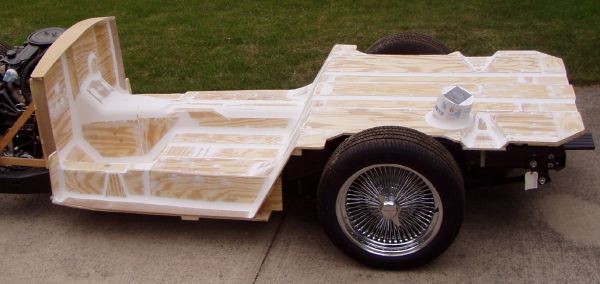
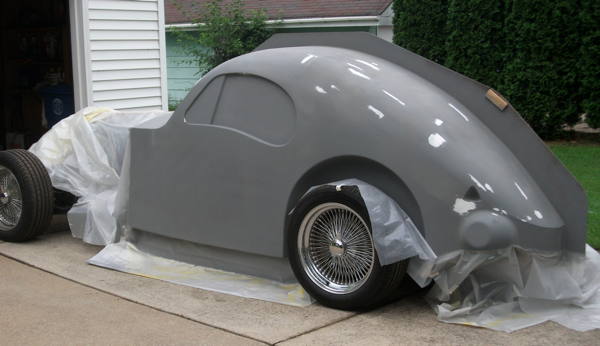
[07-13-09] Floorboard modeling - primer to seal wood & plaster, then a coat of gloss enamel
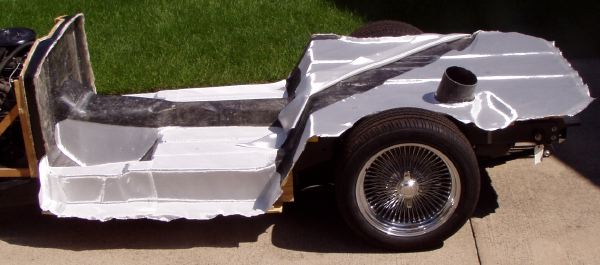
[08-31-09] Piecing / fitting glass cloth hand layup...
gelcoat, 1.5 oz. (per sq. ft.) mat, 4 general layers 10 oz. (per sq. yd.) E-glass cloth,
plus up to 7 extra layers cloth in high load areas (~0.019 in. thickness per layer)
[09-22-09] Floorboard programmed layup reference diagram
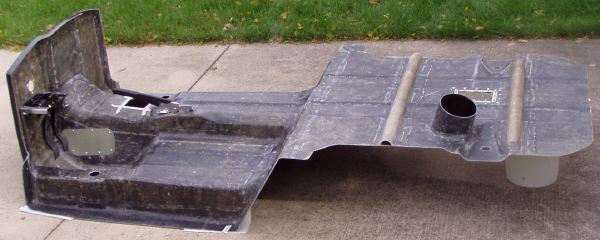
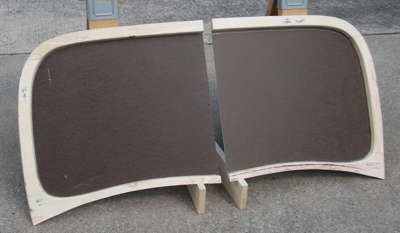
[10-01-09] The finished 65 lb. fiberglass floorboard -- a big step here...
The stiffeners across the back are formed by 2 in. mailing tubes cut in half.
The access holes and covers are for the clutch slave and fuel tank hoses.
The hand brake lever (from a '98 Grand Cherokee) washers and nut plates are epoxied in place.
The brake/clutch pedal mount is getting some bracket weldments to react pedal loads to the bottom of the firewall.
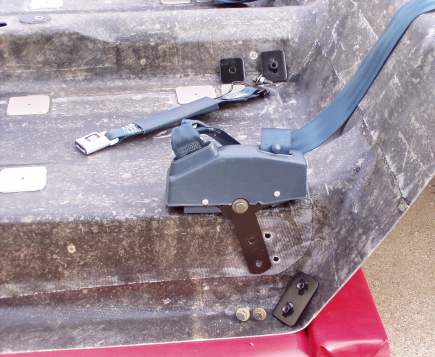
[10-27-09] Ha! The donor S10 belts & retractors look like they'll work out OK here.
The .125 in. steel doublers & nutplates are typical for the attachment hard points.
We're bonding them to the walls with a single part moisture curing polyurethane adhesive.
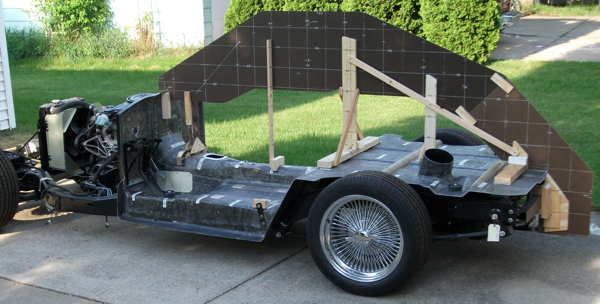
[06-04-10] Start of the body shell model - center spine profile coordinate system
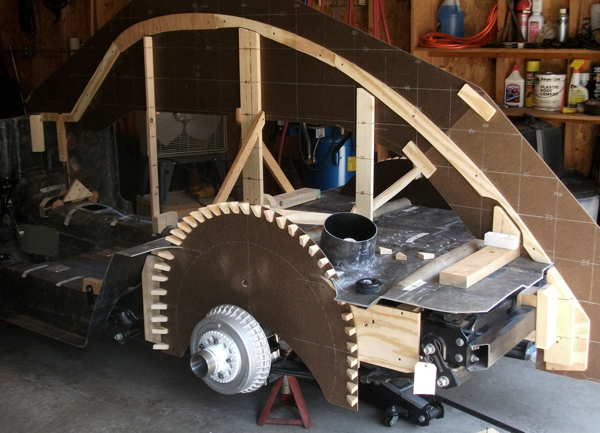
[06-23-10] Center profile & wheel well forms
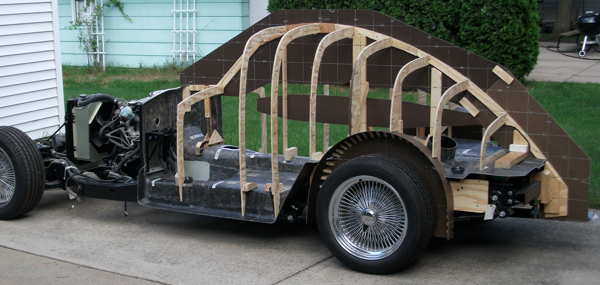
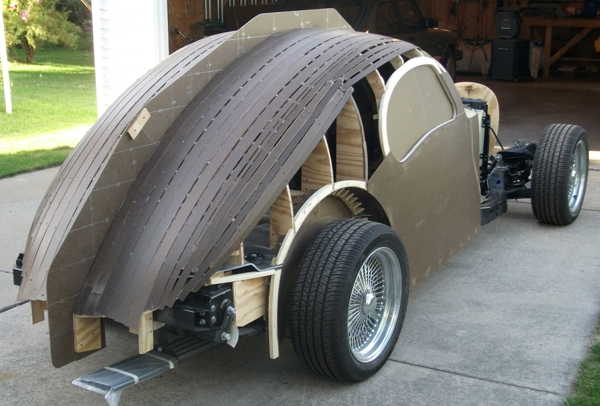
[07-08-10] Cutting and fitting ribs for body model form... The Atlantic shape is just starting to be recognizable.
[08-15-10] Little pieces, one at a time, to generate the shape
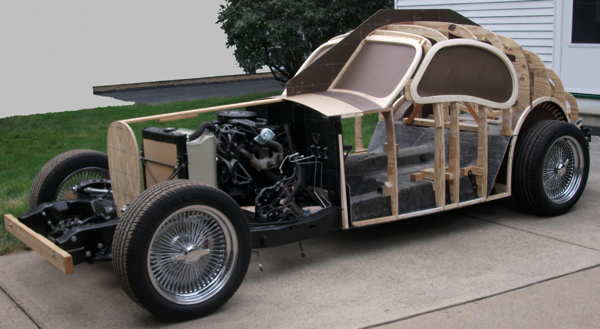
[09-01-10] Window frame forms further hint at the shape.
[09-05-10] Skinning the model form with 1/8" Masonite. The sides pulled down to the moderate compound curve in one piece.
[09-10-10] More skinning... 2 in. and 1 in. strips of Masonite to get the
compound curve surface of la goutte d'eau (water drop) Atlantic shape.
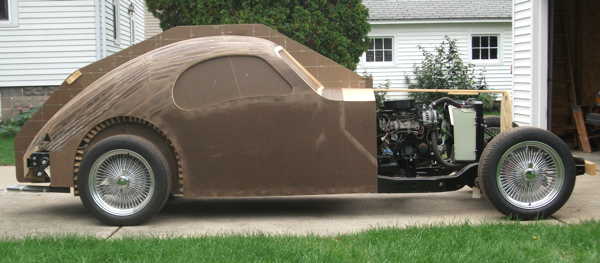
[09-23-10] Skinning about done, ready for a lot of sanding, filling, smoothing, prepping for laying-up the fiberglass mold halves (next spring).
The little triangular "notches" near the tail are to form vertical indexing contact spots
with the floorboard when we bond body shell and floorboard together later.
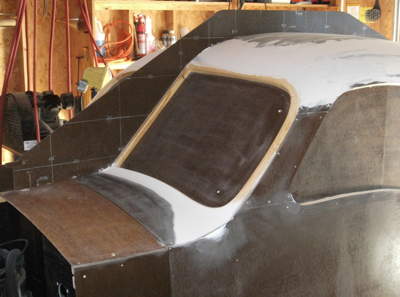
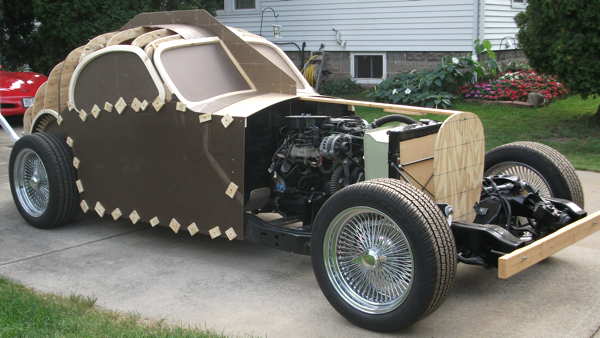
[10-29-10] Filling the wheel well fillets and windshield base fillets
[06-02-11] Body model - fill/sand, fill/sand, fill/sand...
[08-01-11] Body model - prime, fill/sand, prime, fill/sand...
[08-23-11] The brown Masonite pieces are "fences" for shaping a mold insert to be able to pull the front window
frames forward and up while the main body halves pull to the side. The windshield frame insert "fence" is glued to
the model with silicone RTV, hopefully a temporary bond for when we need to pull the fence and insert off of the model.
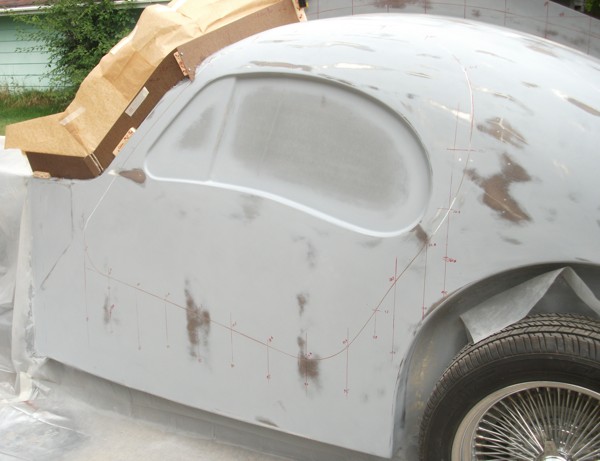
[08-23-11] The cut-out lines for the doors, rear windows, round hatch, and spine profile
are laid-out by the coordinate grid and scribed into the model surface.
(Progress on this part continues on the Body Molds Page. > > >)
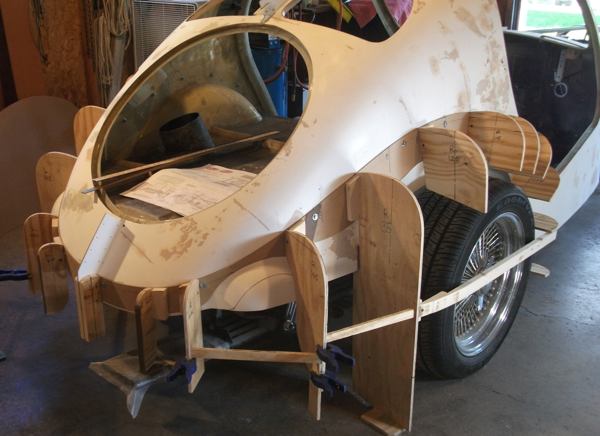
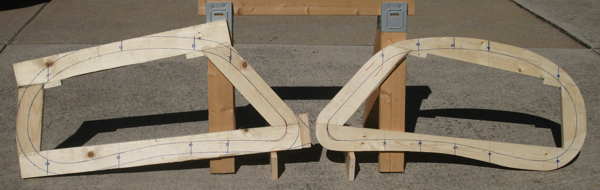
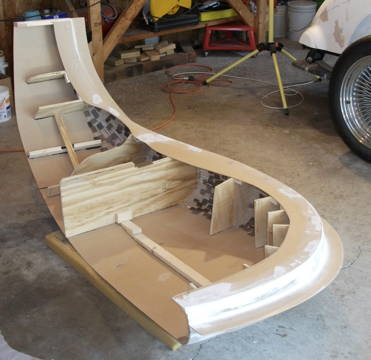
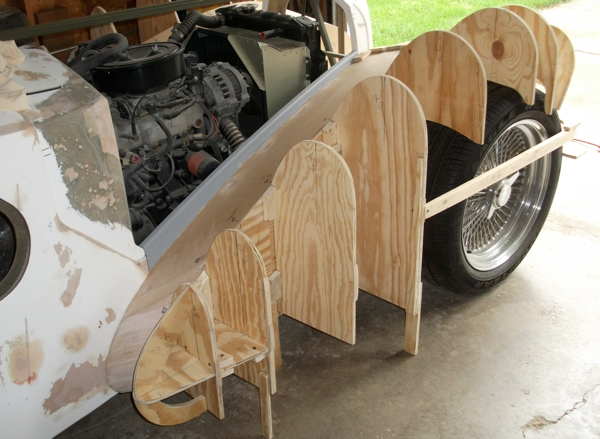
[08-07-13] Start of the rear fender patterns (ribs) being fabricated right on the body
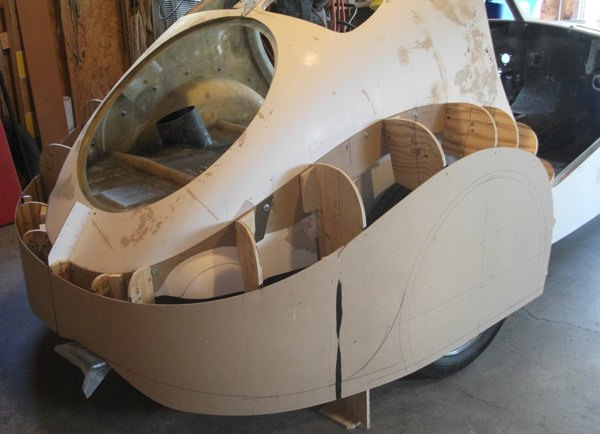
[08-12-13] Skinning the sides of the rear fender patterns
[08-24-13] Skinning the curvaceous tops of the rear fender patterns
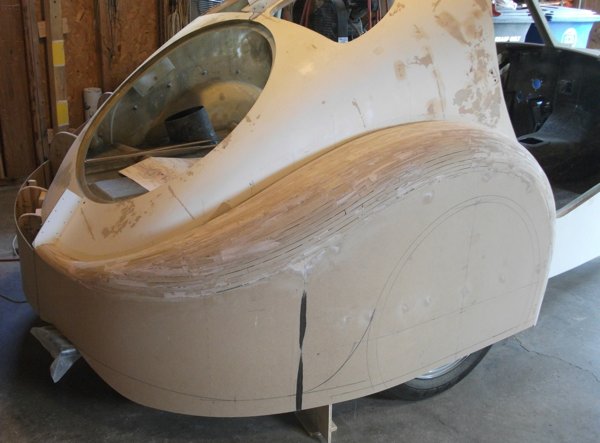
[09-21-13] Fitting and gluing on the forms for the Atlantic fender flange/seams
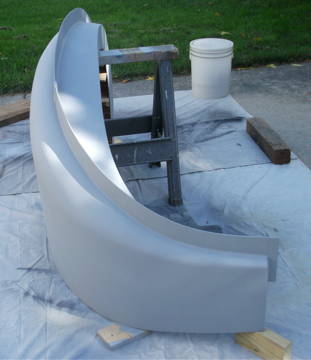
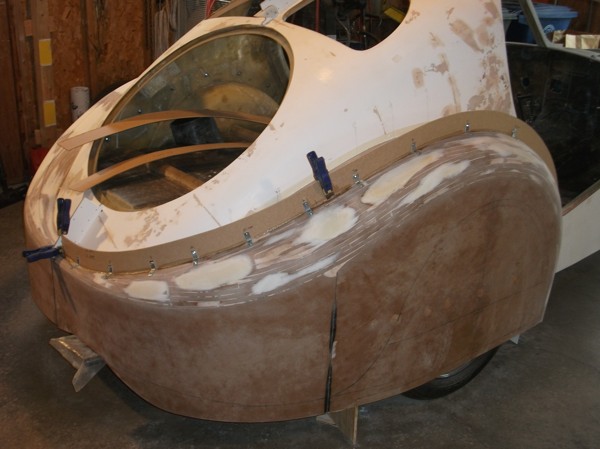
[09-25-13] Patterns off the body for finsh fill sand... [10-01-13] Seal coat of sanding primer on fender patterns
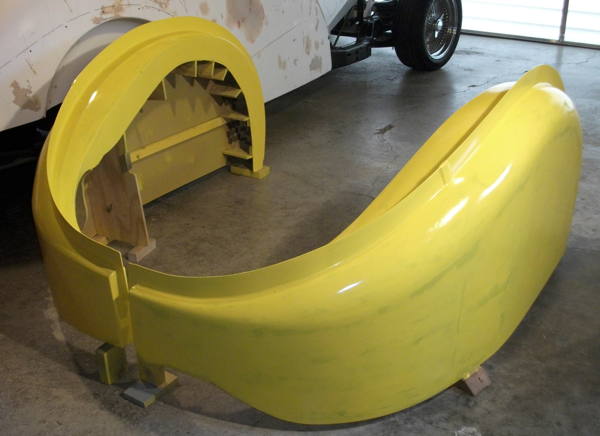
[10-29-13] Patterns with a little enamel to try to get some gloss on the molds... hasn't worked yet but we keep trying. :-0
These are ready for lay up of molds NEXT SPRING.
(Progress on this part continues on the Body Molds Page. > > >)
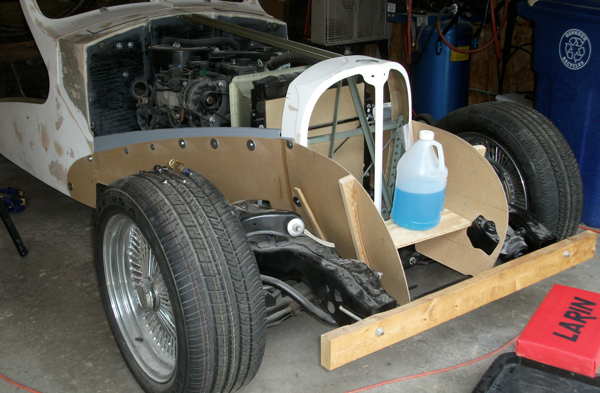
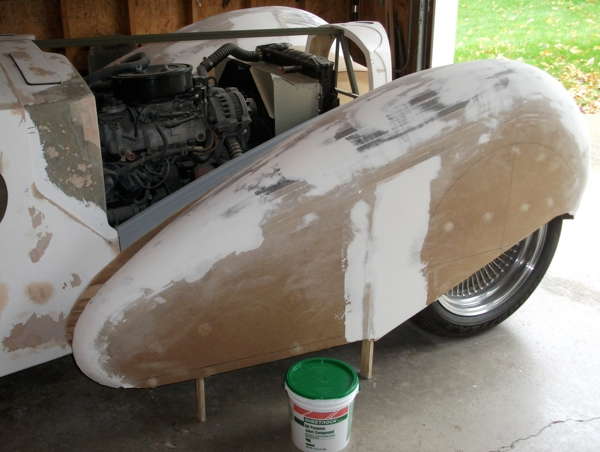
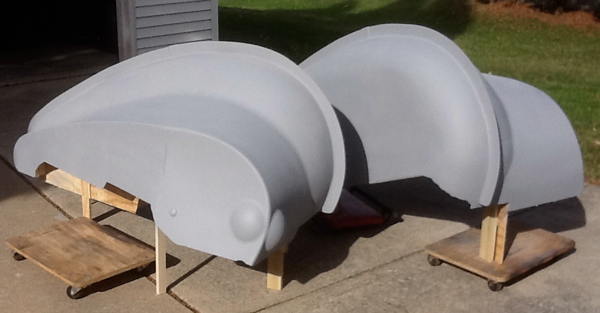
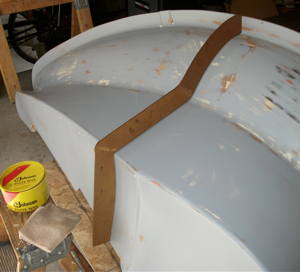
[07-17-14] Start of the front fender patterns
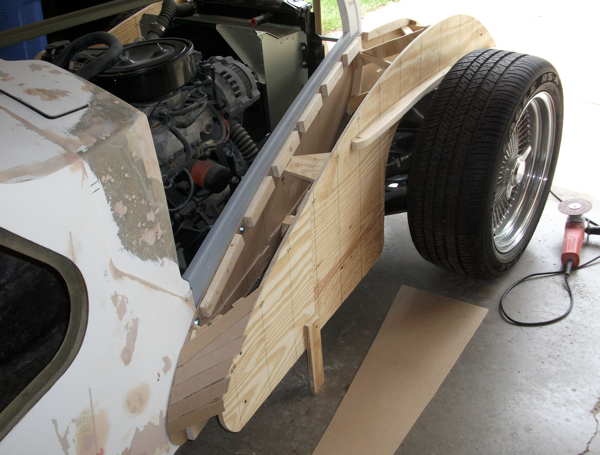
[08-11-14] Establishing the intersection of the "wings" with the "pontoons"
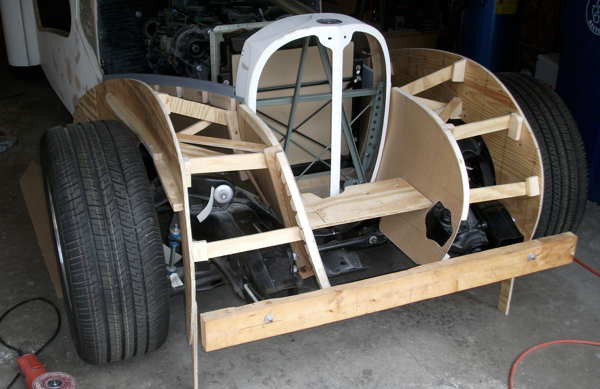
[08-11-14] Makeshift brace structure in between
[08-14-14] Skinning the "wings" with Masonite sheet
[08-30-14] Establishing the form (section and profile) from the drawing coordinates with plywood ribs
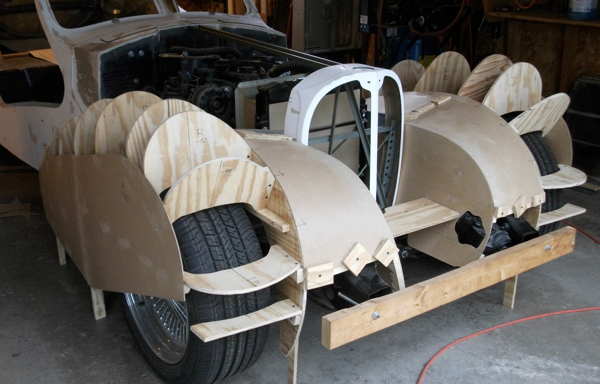
[08-30-14] More Masonite skinning on sides

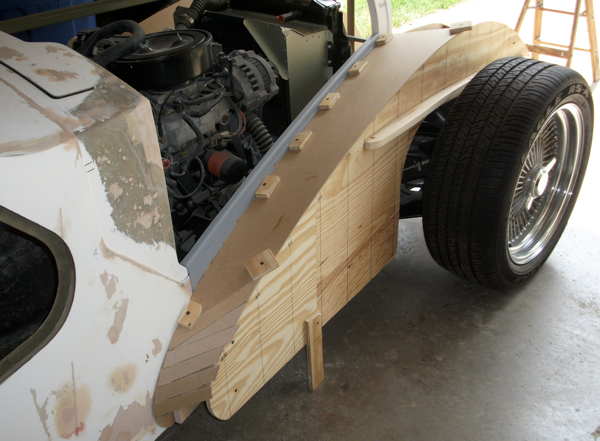
[09-09-14] Starting to skin the voluptuous "pontoon" curves with Masonite strips...
Yes, our pontoon tops are a little wider than a correct Atlantic shape in order to assure jounce
clearance at full lock for the wider tires, which were a choice made at inception.
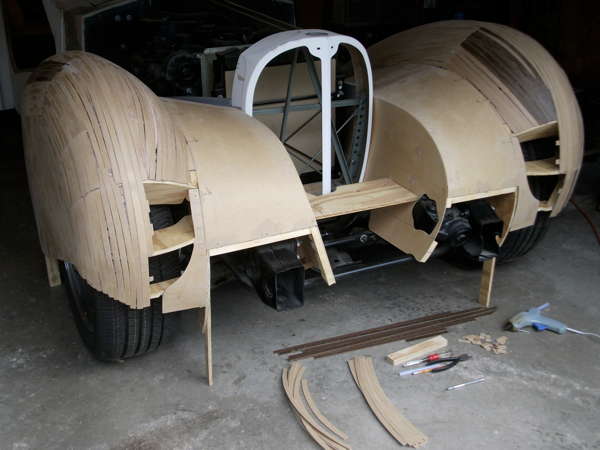
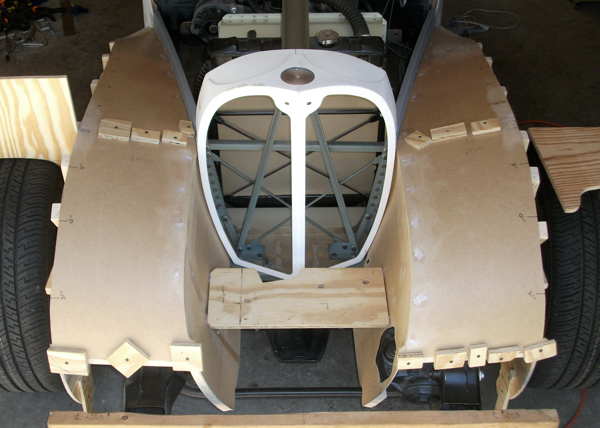
[10-02-14] Still fitting Masonite skin strips; straight and various curved
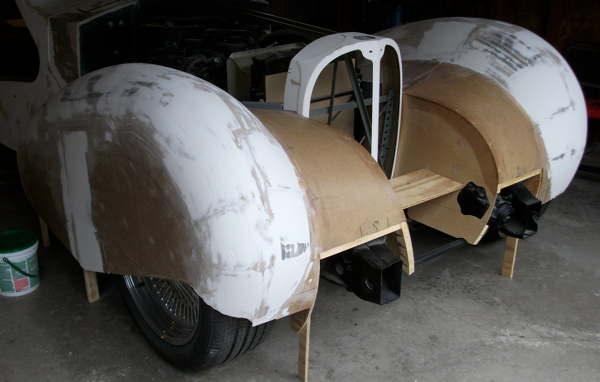
[10-13-14] Starting the sanding down of the high spots and filling of the low spots
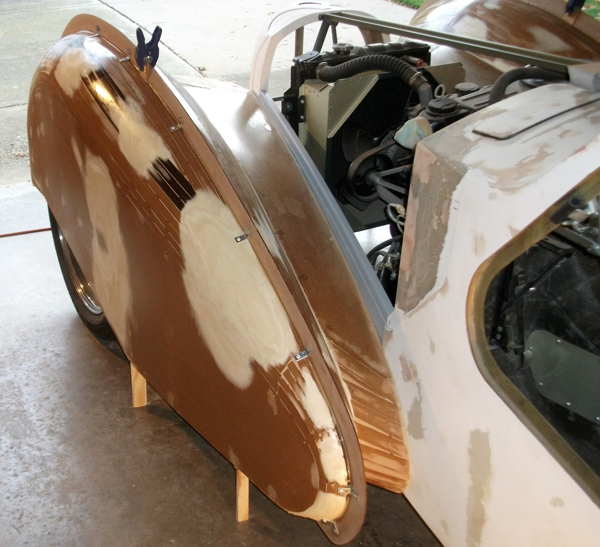
[10-24-14] Gluing on some carefully profiled Masonite forms for the Atlantic rivet flange feature...
Yes, there's a coat of varnish to seal and harden-up the surface of the soft materials we're using here.
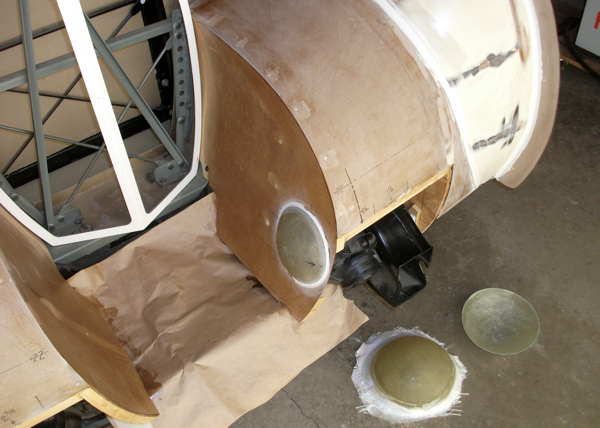
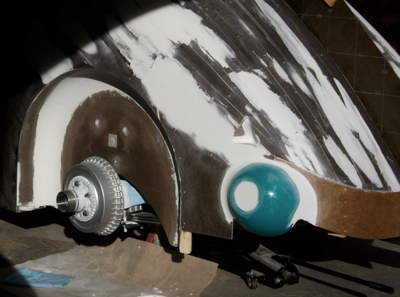
[10-28-14] Little dome shaped bulges for the S10 steering gear box clearance...
The front porch light spherical glass globe was sacrificed as a form for glassing up this shape. :-0
The S10 steering gearbox interference with the Atlantic fender "wing" front shape was a known issue at inception.
This is the chosen solution (slightly altered shape, and some little hemispherical bulges).

[11-03-14] Patterns removed from the car, allowing completion of the front "wing" skins
and filling / sanding / sealing / tweaking the inboard surfaces
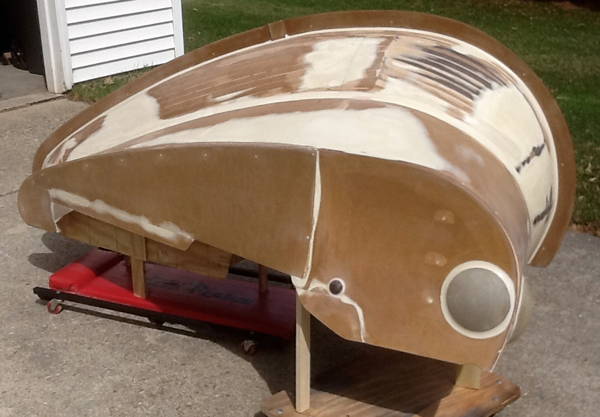
[04-14-15] Final blending / tweaking, and a coat of sanding primer...
These are getting close to ready for laying resin and glass for molds when spring gets warm enough.
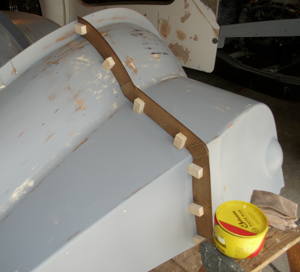
[04-28-15] Fitted Masonite "fences" to split the inboard molds into two parts with
bolt together flanges so that it will be possible to remove the final part from the mold
(Progress on this part continues on the Body Molds Page. > > >)
| -- Site Navigation -- [Website Disclaimer] (pop-up) [Site Map / Search] | ||||
|---|---|---|---|---|
| 57SC Home | Donor/Chassis | Wheels/Tires | Body Patterns | Body Molds |
| Body Pieces | Hood/Radiator | Systems/Wiring | Interior Details | Glass/Finishing |
![]() Last tinkered with December 27, 2023
Last tinkered with December 27, 2023