 |
1936 Bugatti Atlantic Replica Project |
[10-03-16] First trial in driveway...
Do some basic checks while waiting for the state to respond to application for Hobbyist registration and plates.
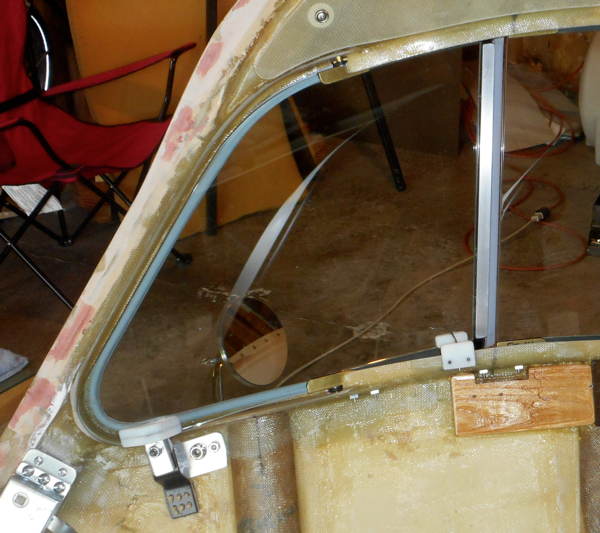
[10-13-16] Side window latch detail...
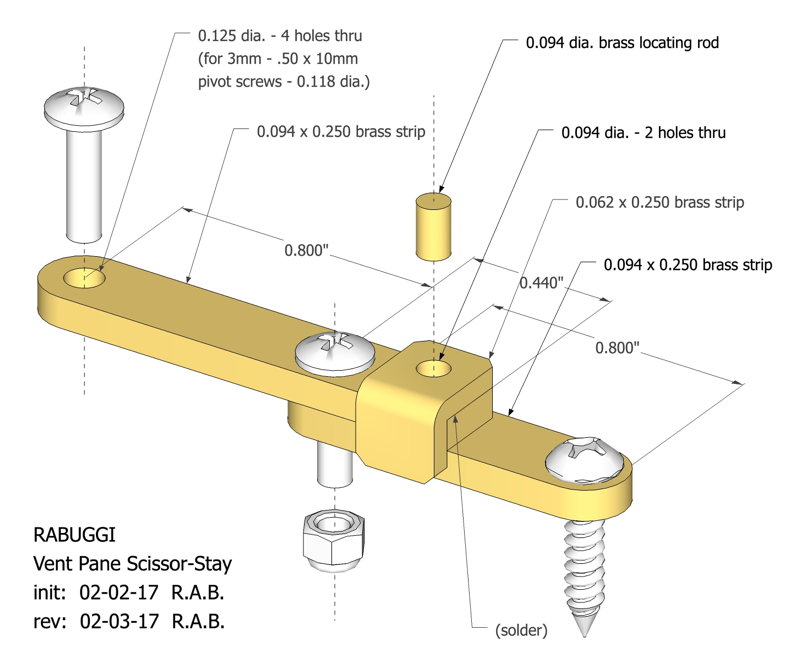
Trying to replicate the Atlantic "vent pane" window style.

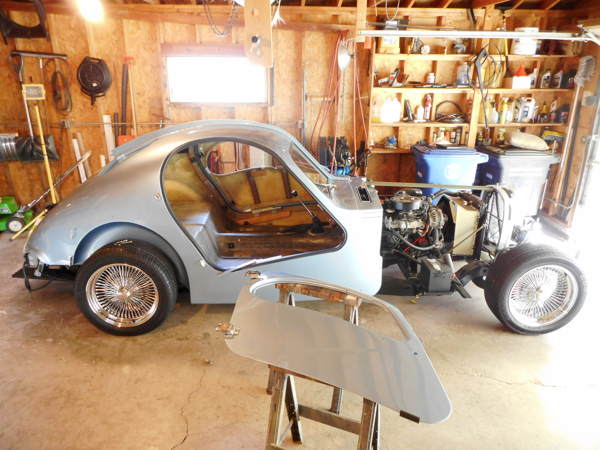
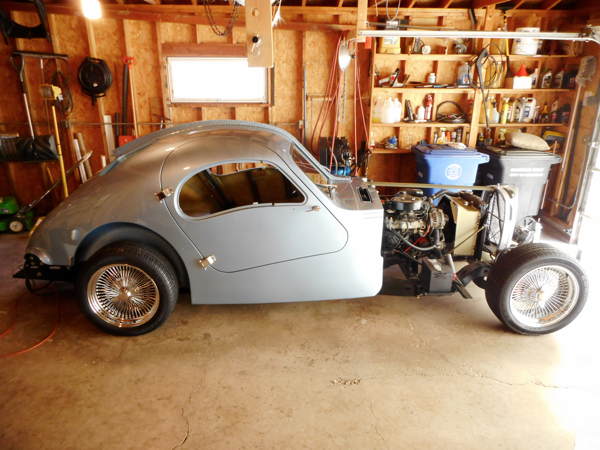
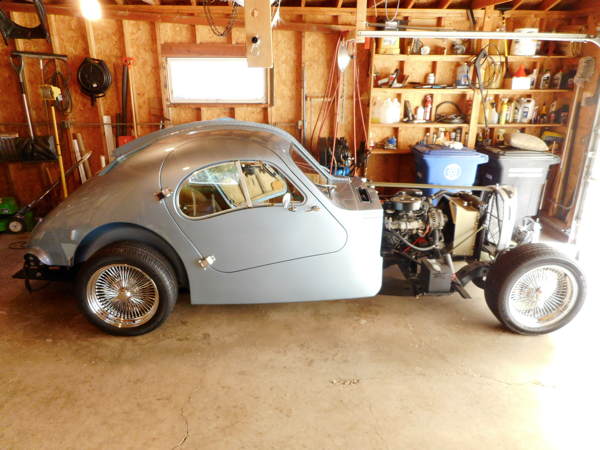
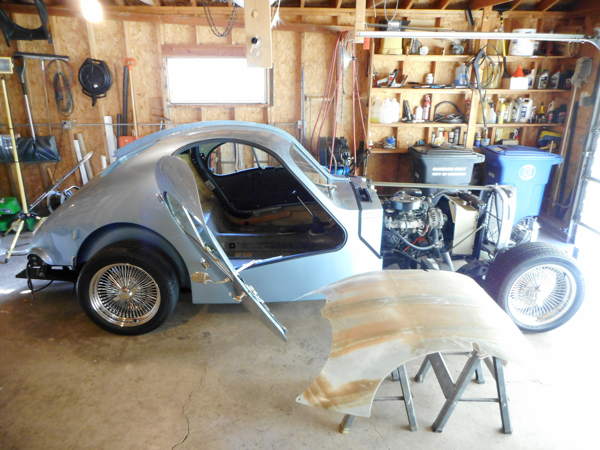
[11-26-16] Installing the re-sized laminated safety glass windshield panes
(from Tri-City Glass) with extruded gasket #60-0133-99 from Steele Rubber
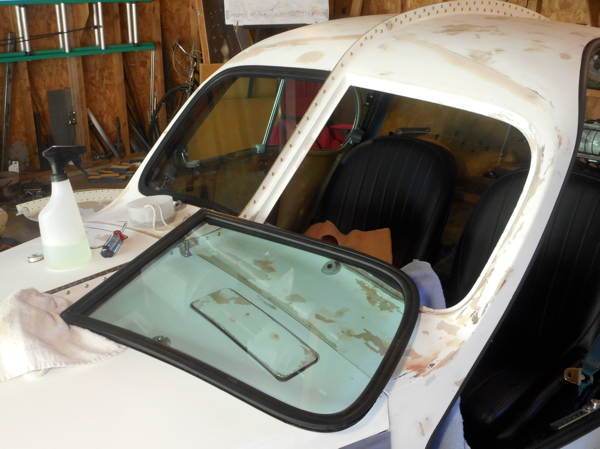
[11-26-16] Right pane is in; left one ready for the soapy string.
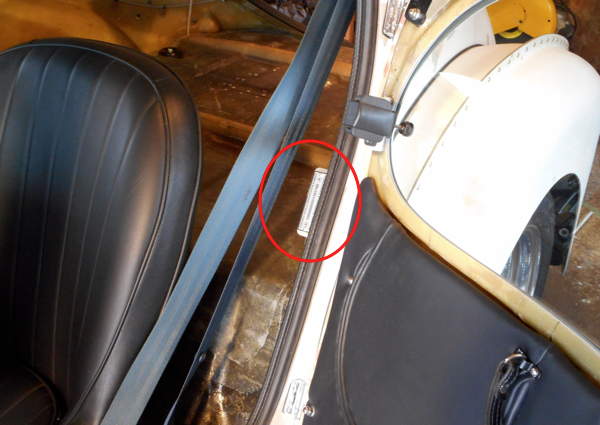
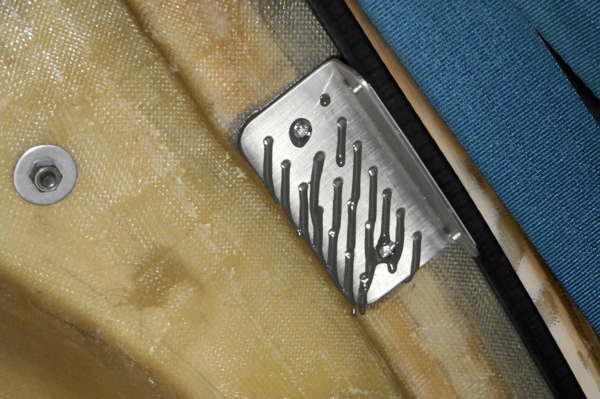
[12-16-16] State issued VIN tag, mounted on door jamb with an epoxy bonded aluminum bracket...
This is a small but very significant step. [History of this Hobbyist registration application]
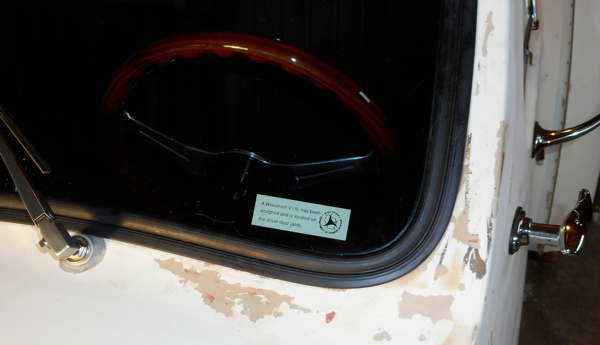
[12-16-16] A state issued windshield decal advises that "A Wisconsin
V.I.N. has been assigned and is located on the driver door jamb."
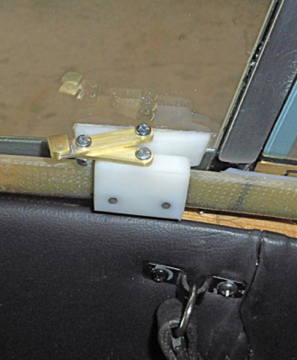
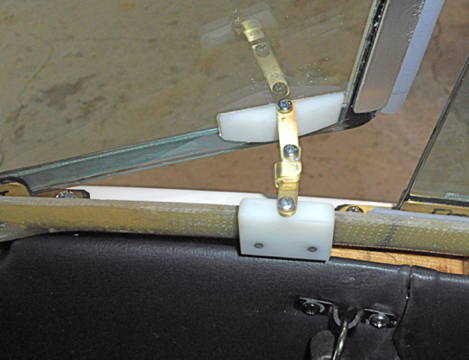
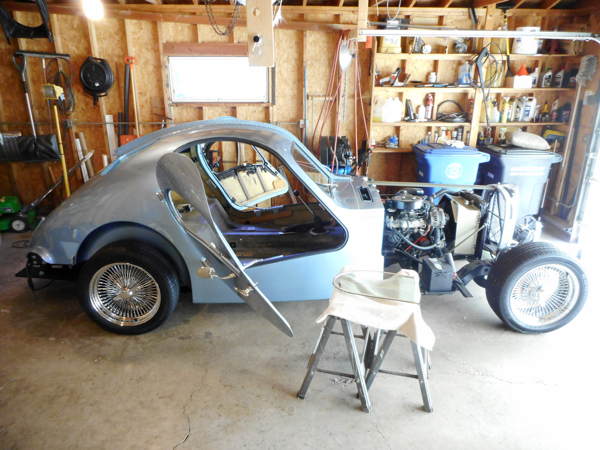
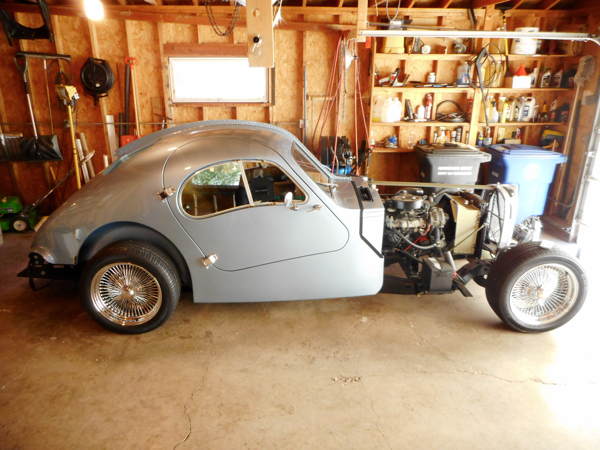
[02-20-17] Side window vent-pane scissor-stays -- closed / open
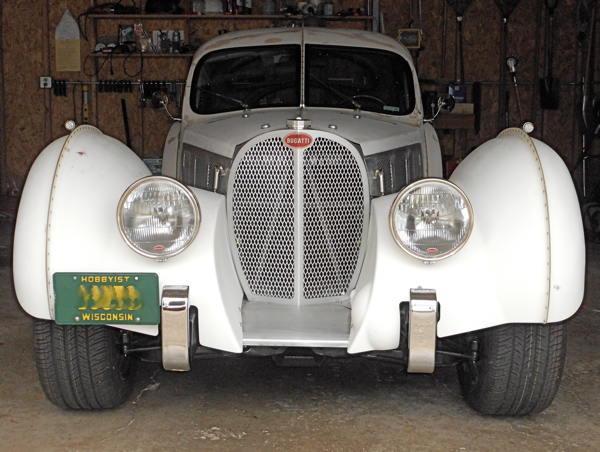
[02-20-17] RABUGGI, wearng his spiffy new license plates, waiting
patiently for some decent weather for shakedown on the road
|
This might be a good place to add a note about the radiator shell finish... After researching various processes to simulate chrome plate on non-metallic materials, ie:
|
|
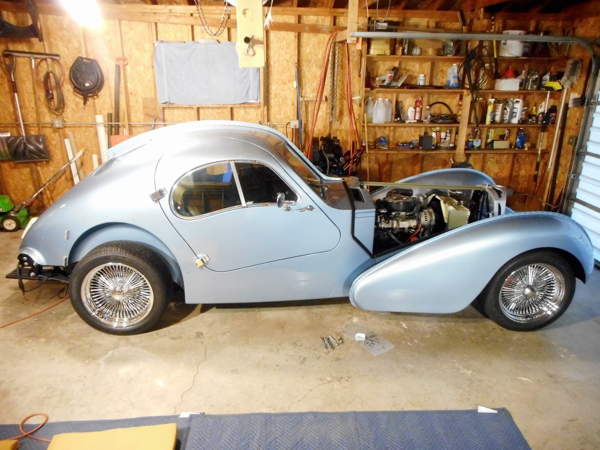
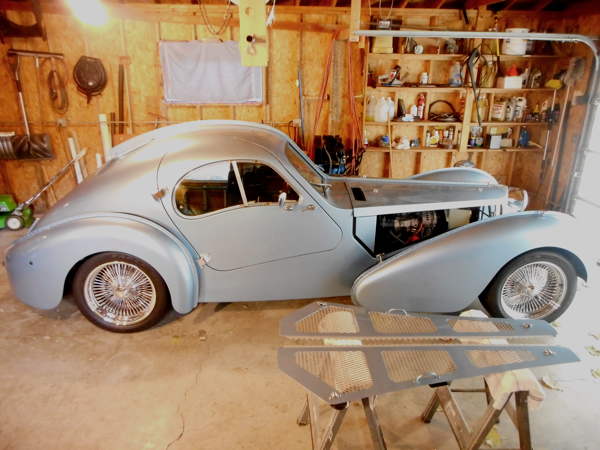
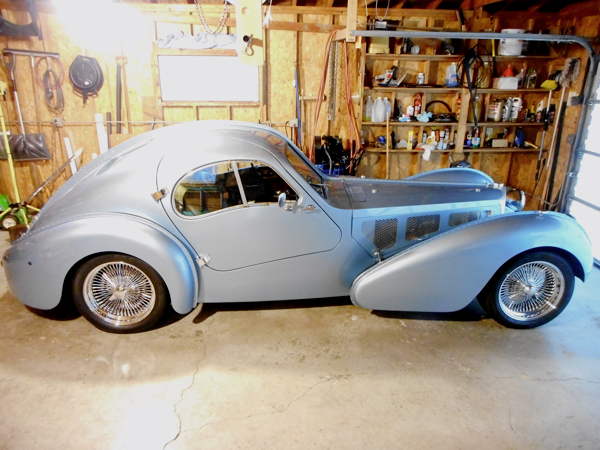
[02-22-17] RABUGGI's first road trial!... An uncommonly beautiful February day presents an opportunity for some initial shakedown and impressions.
|

^ ^ ^ Click for full resolution images. ^ ^ ^
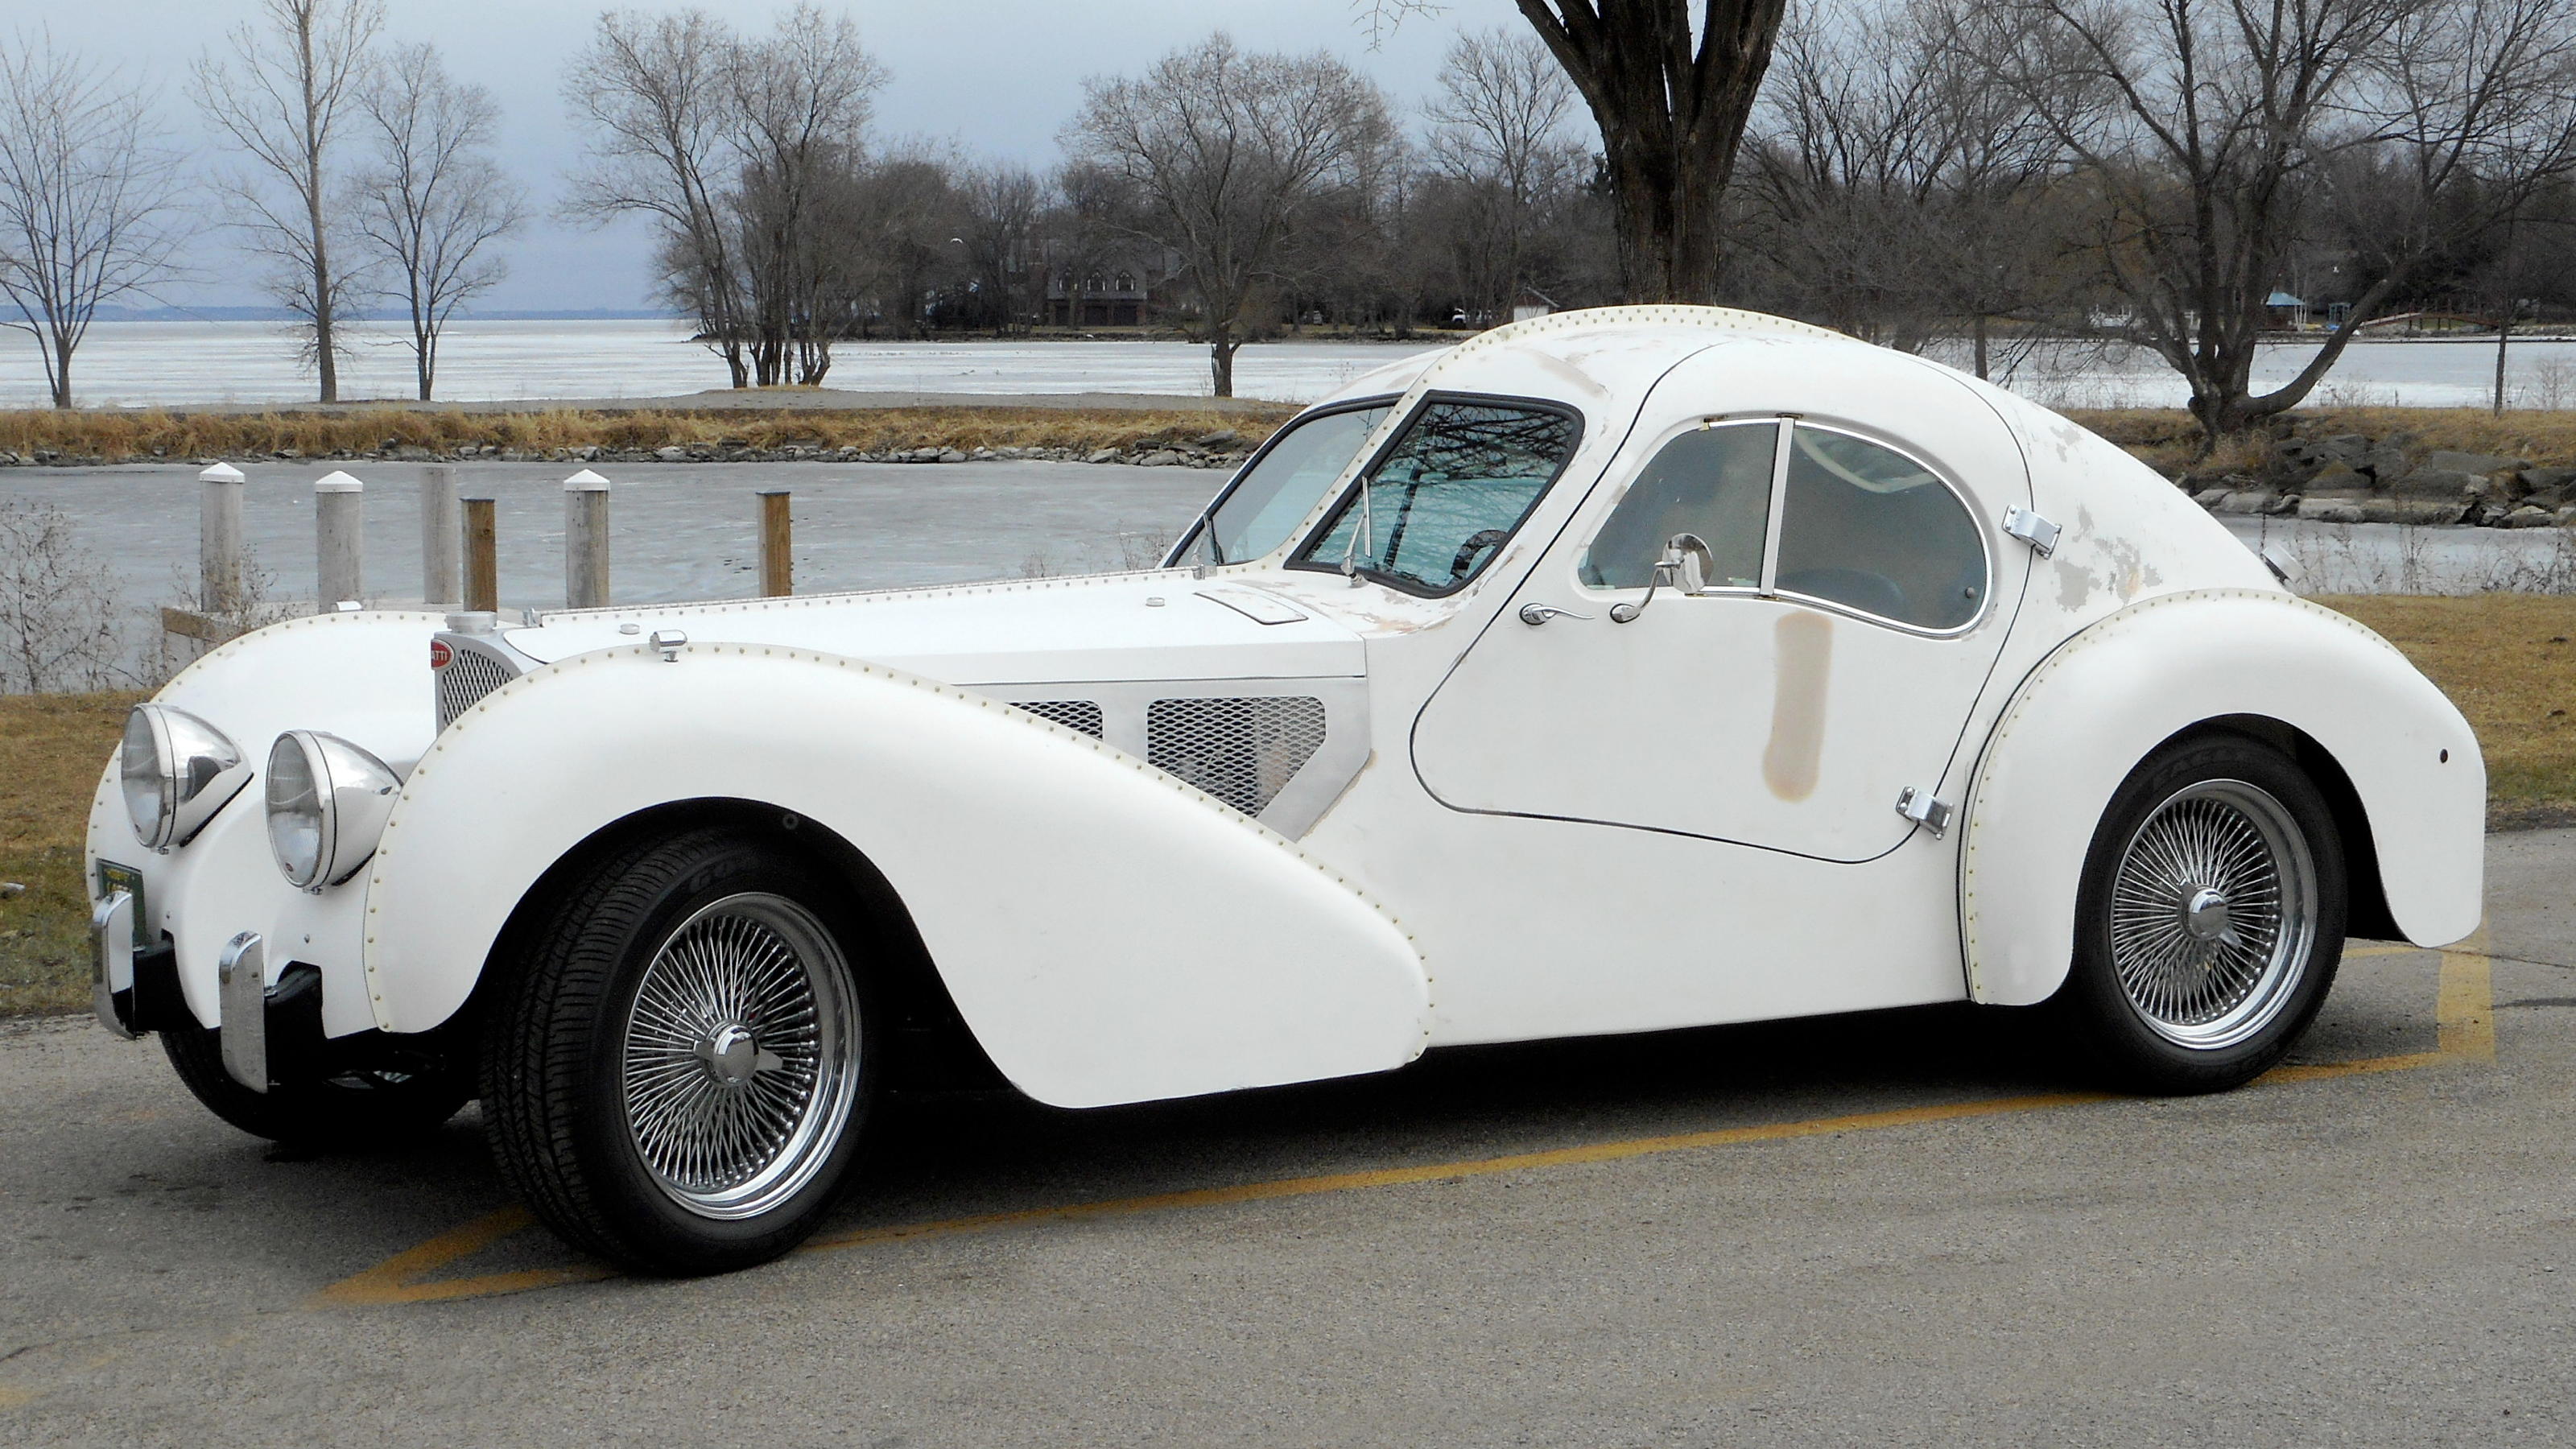
[02-23-17] Another unseasonably nice February day, out and about, road legal...
These are the first pictures not in the garage or driveway (!!). Backdrop is a still frozen Lake Winnebago.

|
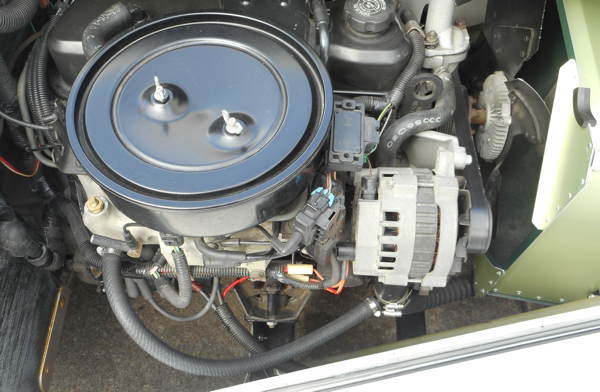
[04-05-17] Since the plan is not to bother with a heater/defroster for a fair weather toy, we initially simply plugged off the heater hose circuit. It turns out that the heater circuit is an integral part of the S10 cooling system. Blocking it off defeats the intake manifold warming flow and cold start driveability. Soooo, this image shows a simulated heater circuit hose to provide flow through the intake manifold like O.E. This improved the cold start-up engine running; but this circuit, at least in 40F ambient, cooled the whole system so much that it never gets up to temp. Chatting with some techie friends at breakfast Saturday morning led to a forehead smacking realization that the heater circuit return fitting was in a wrong place in the radiator I had made 10 years ago. It's one of those blindingly obvious mistakes that turn invisible after looking at it for a long time. |

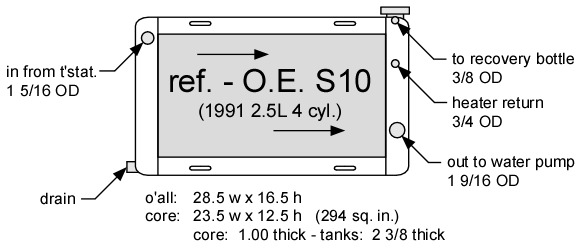
| In my defense, there was a "boobytrap" there when replacing the S10 short wide cross-flow radiator with a tall narrow down-flow unit in determining the location of a heater return fitting. The original location was roughly copied, not paying attention that it is no longer in the cold tank. :-0 |
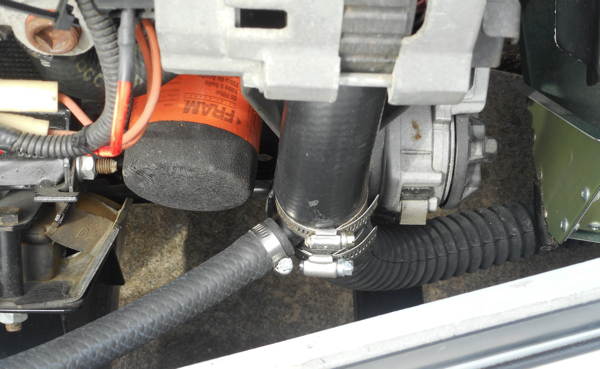
[04-13-17] The "heater hose" circuit is now returning to a T-fitting in the lower radiator hose (to the water pump).
This is much better, although it still runs a little cool (~170F). Hmmm? ...better than too hot.
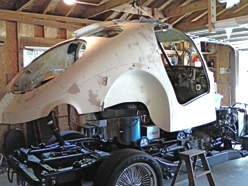
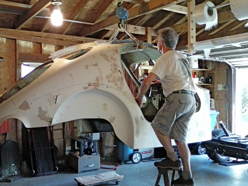
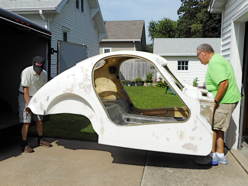
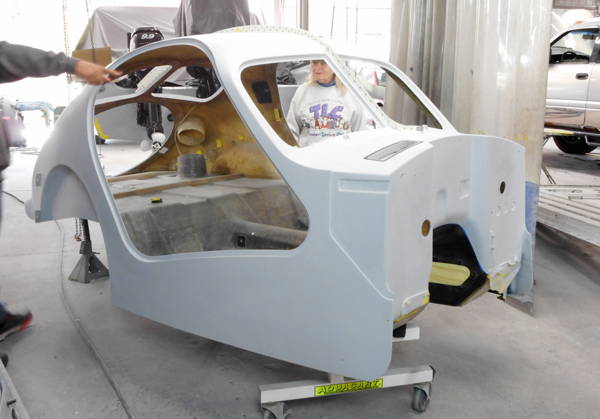
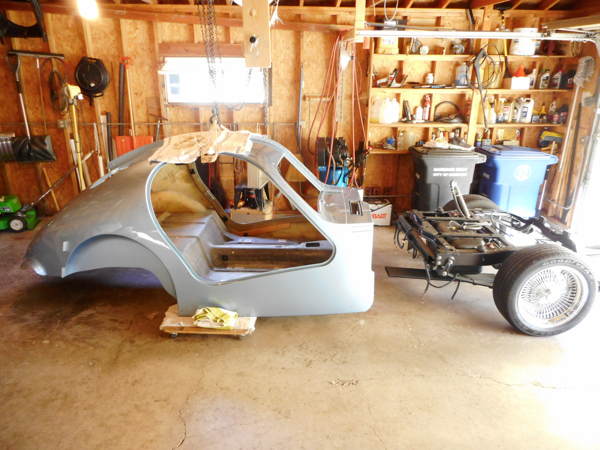
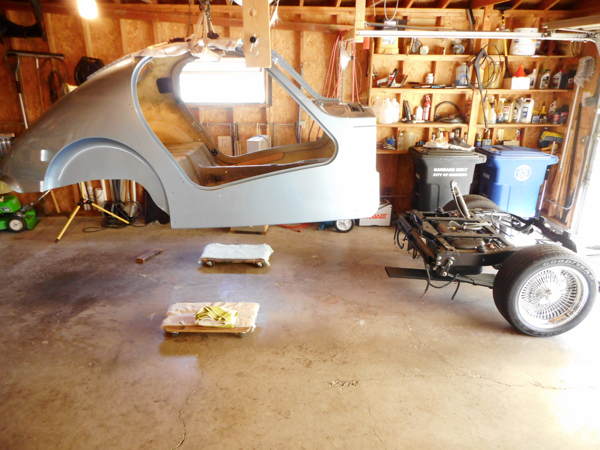
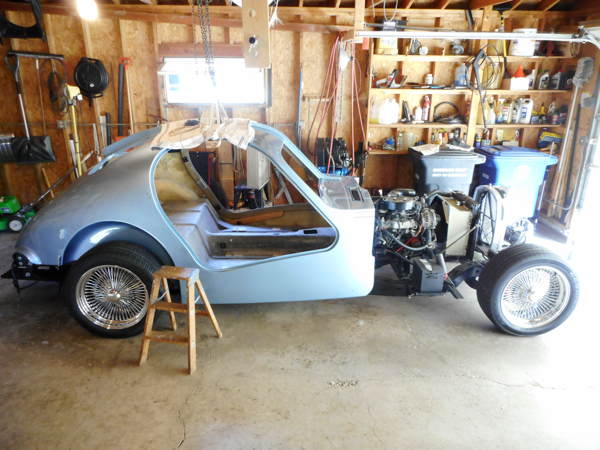
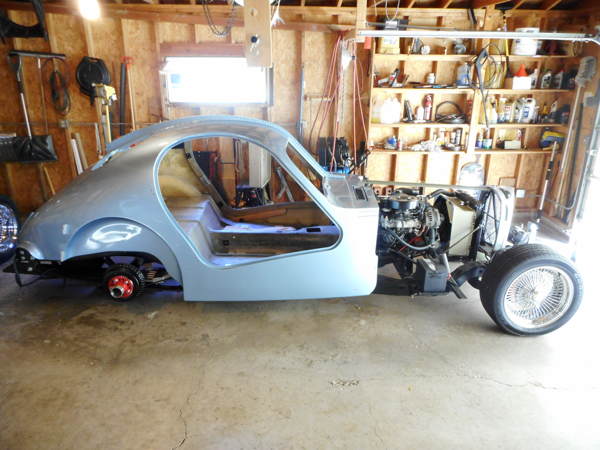
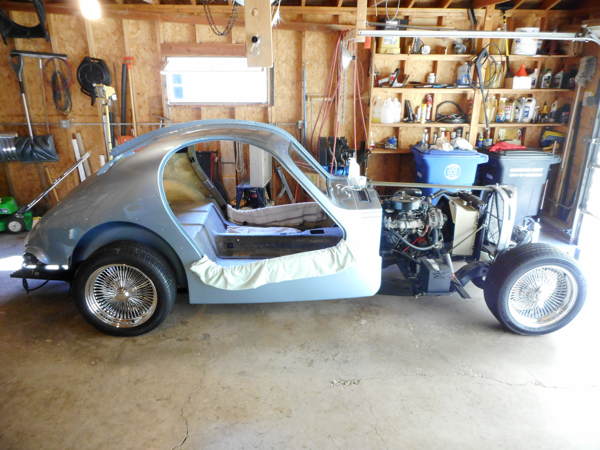
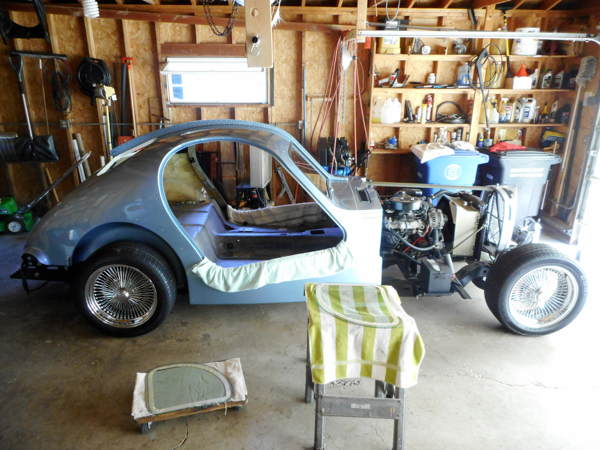
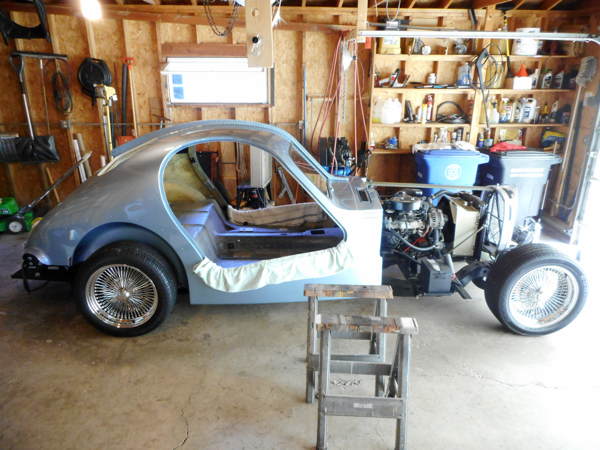
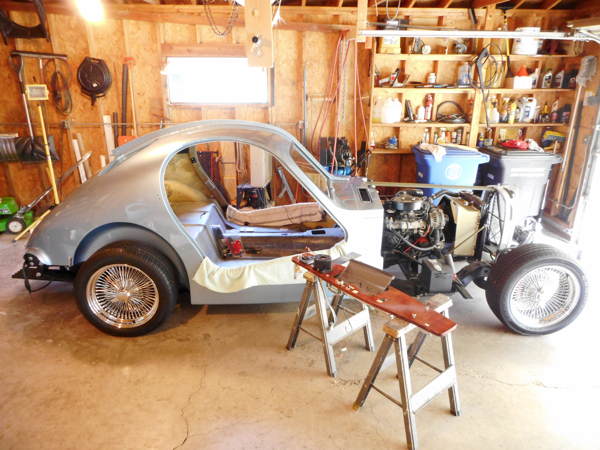
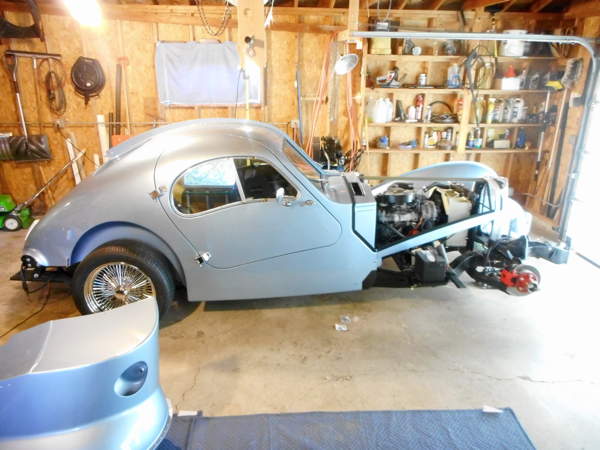
[06-09-17] Disassembling the body pieces for the finish paint...
This is the main body cabin being chain hoisted off of the rolling chassis.
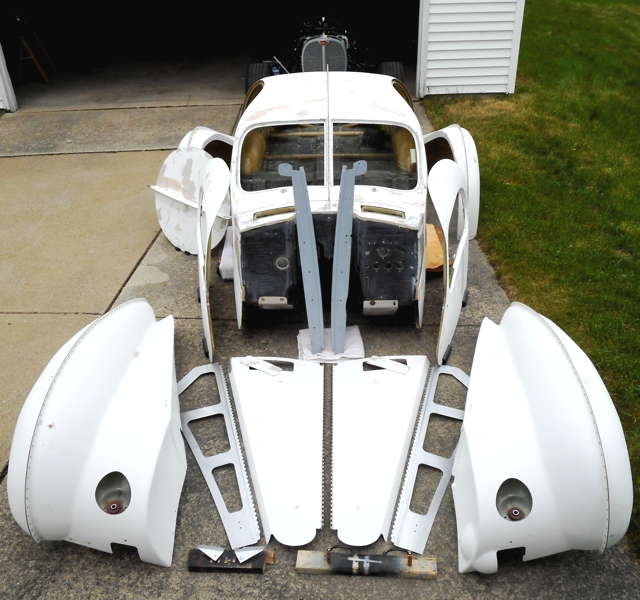
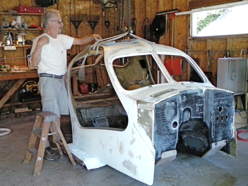
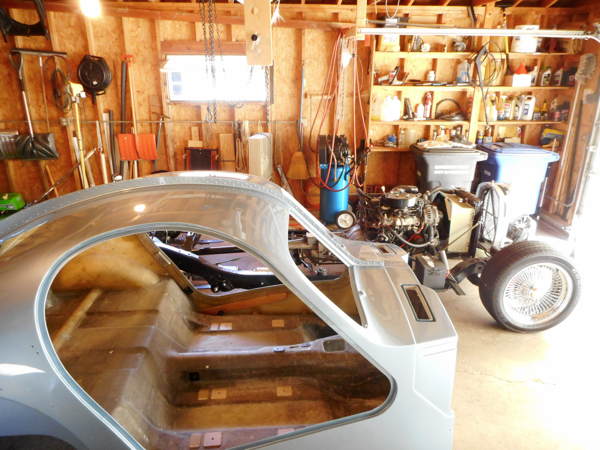
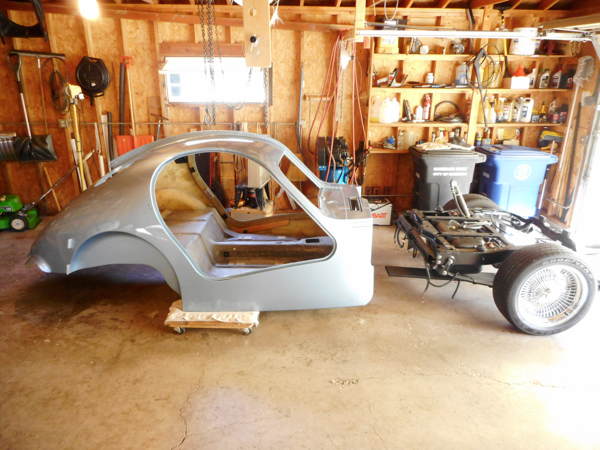
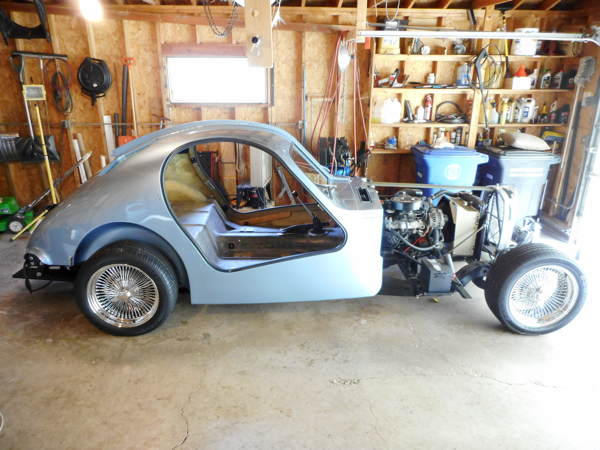
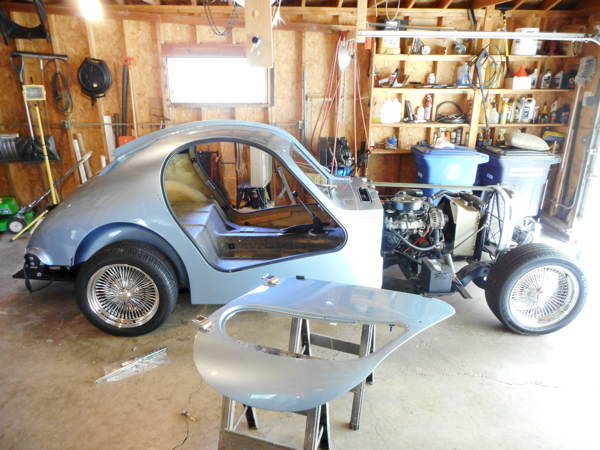
[06-13-17] The body components, completely disassembled for a paint job...
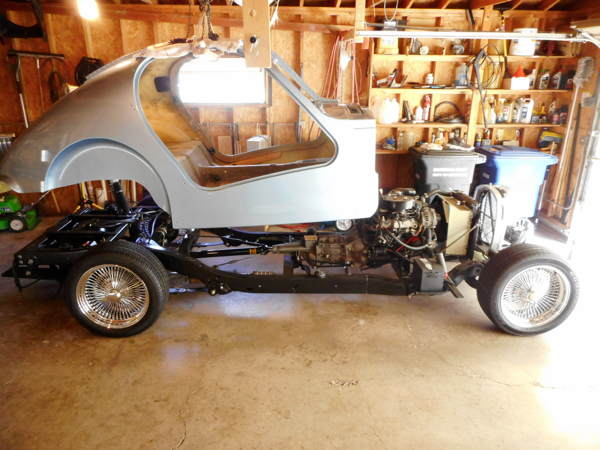
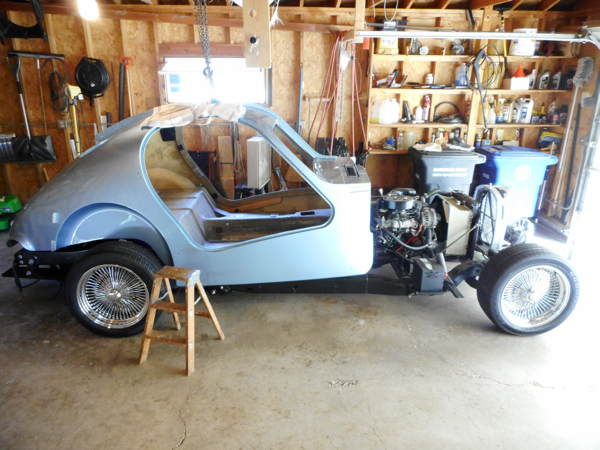
1,213 miles and three months of road-use shakedown, adjusting, tweaking (and a couple
little car shows), instills some confidence that RABUGGI is satisfactory to proceed to finsih painting.
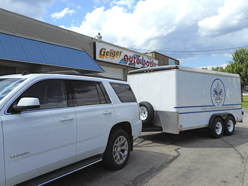
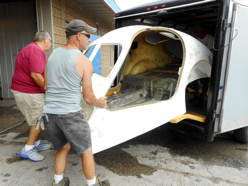
[07-07-17] Loading, trailering, unloading the body pieces to the paint shop, Geiger Auto, Inc....
[09-06-17] At the body shop, painting prep in progress -- sanding grey primer
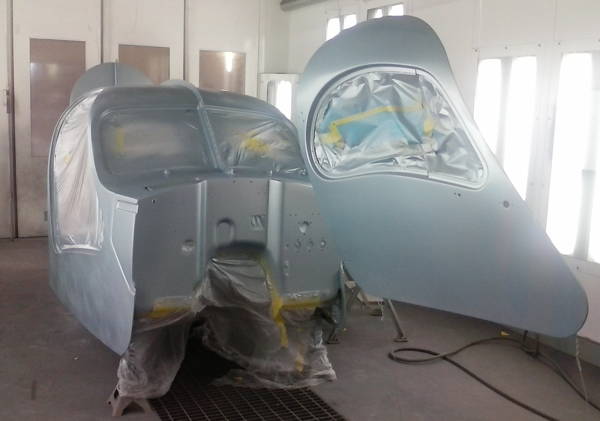
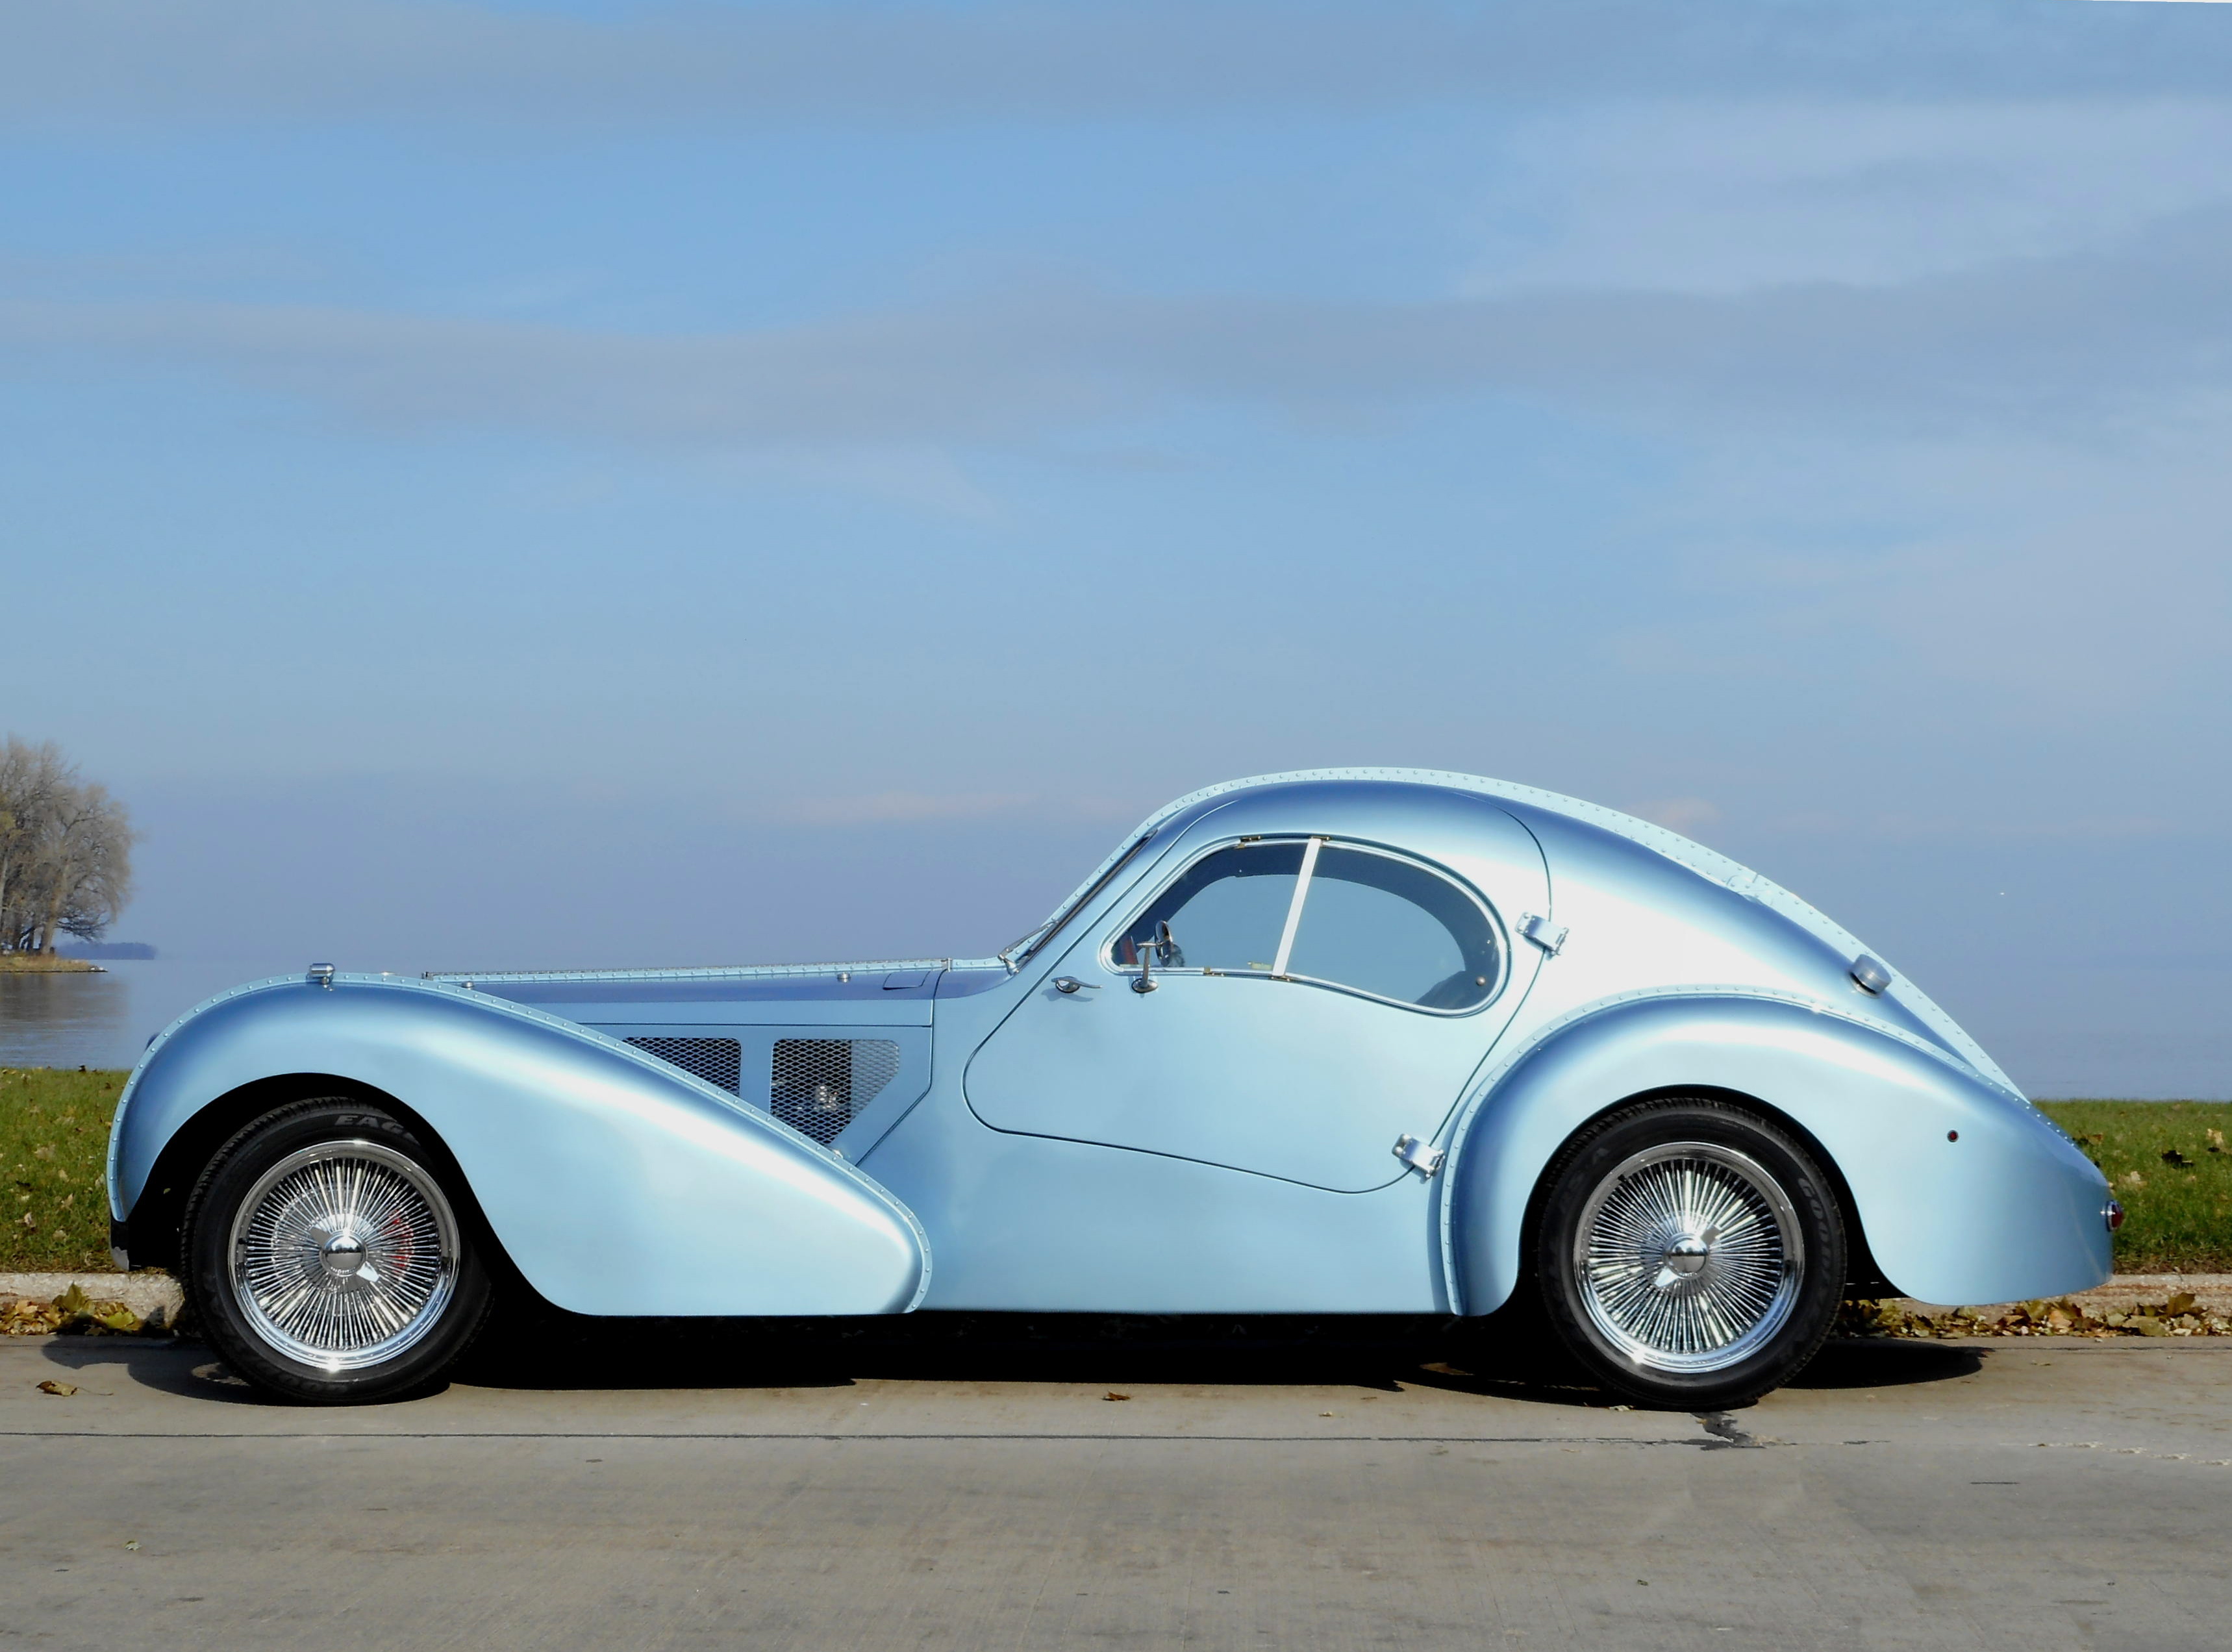
[09-19-17] In the spray booth, painting progressing with the base coat...
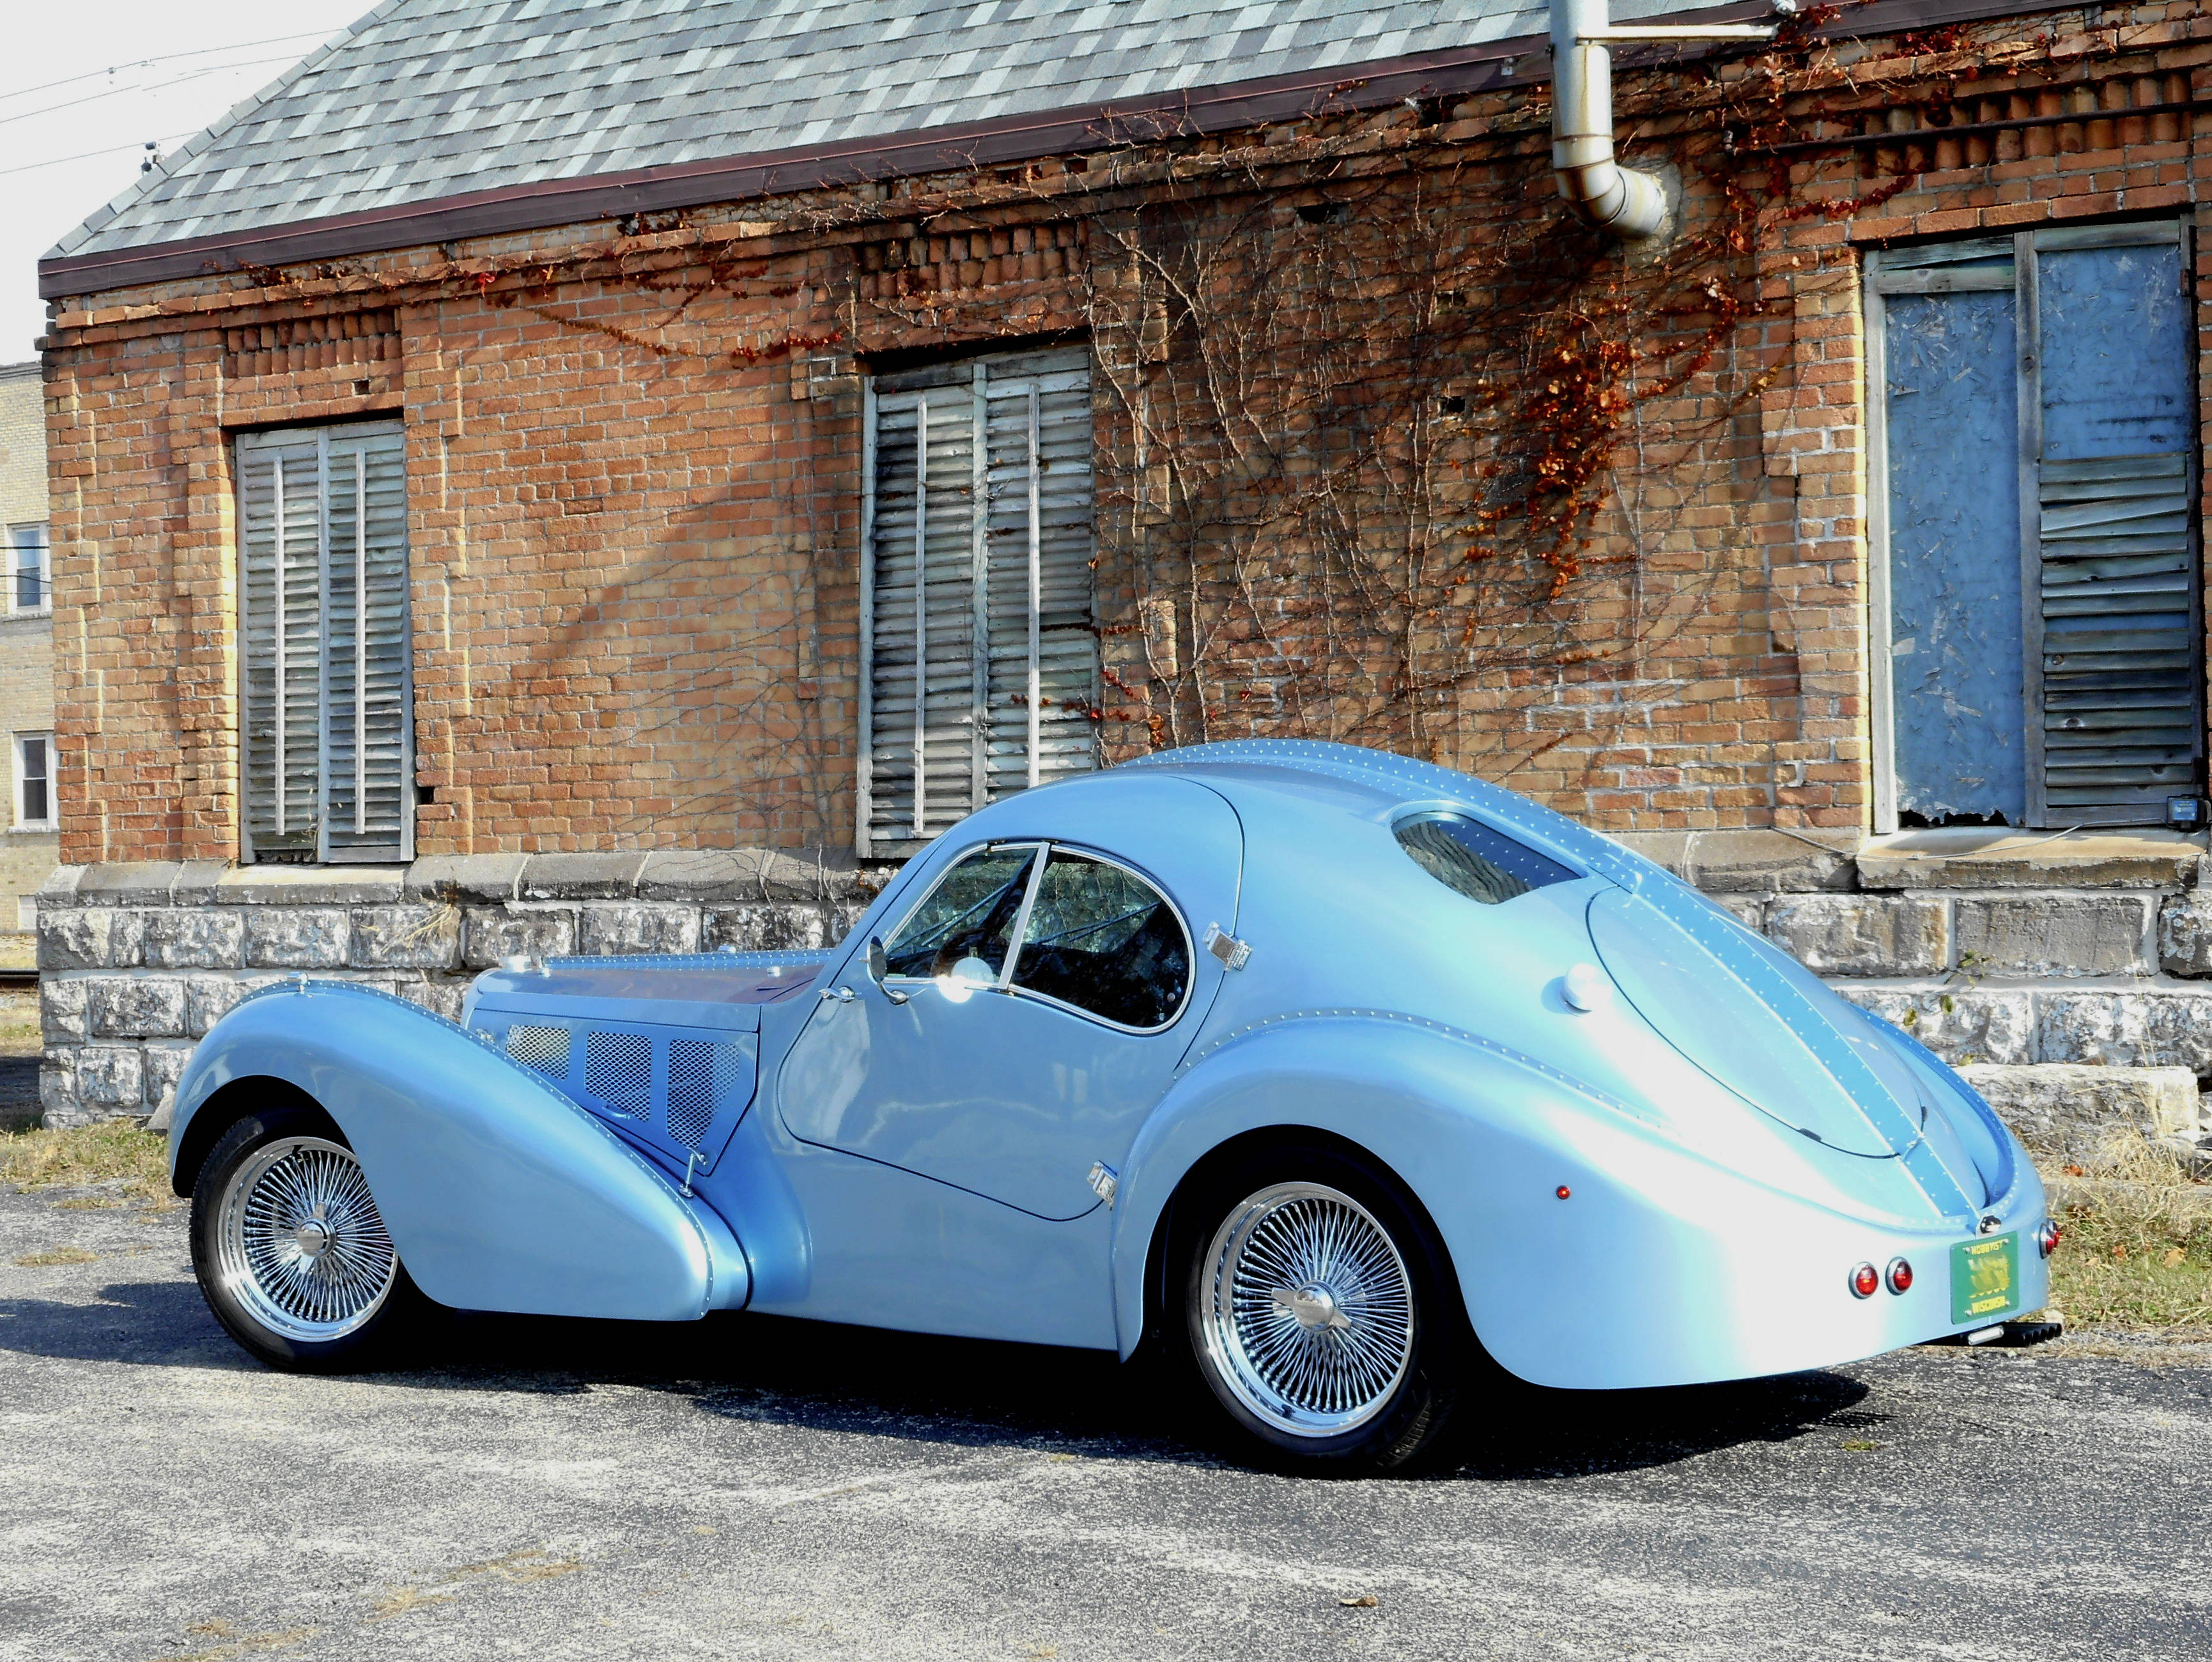
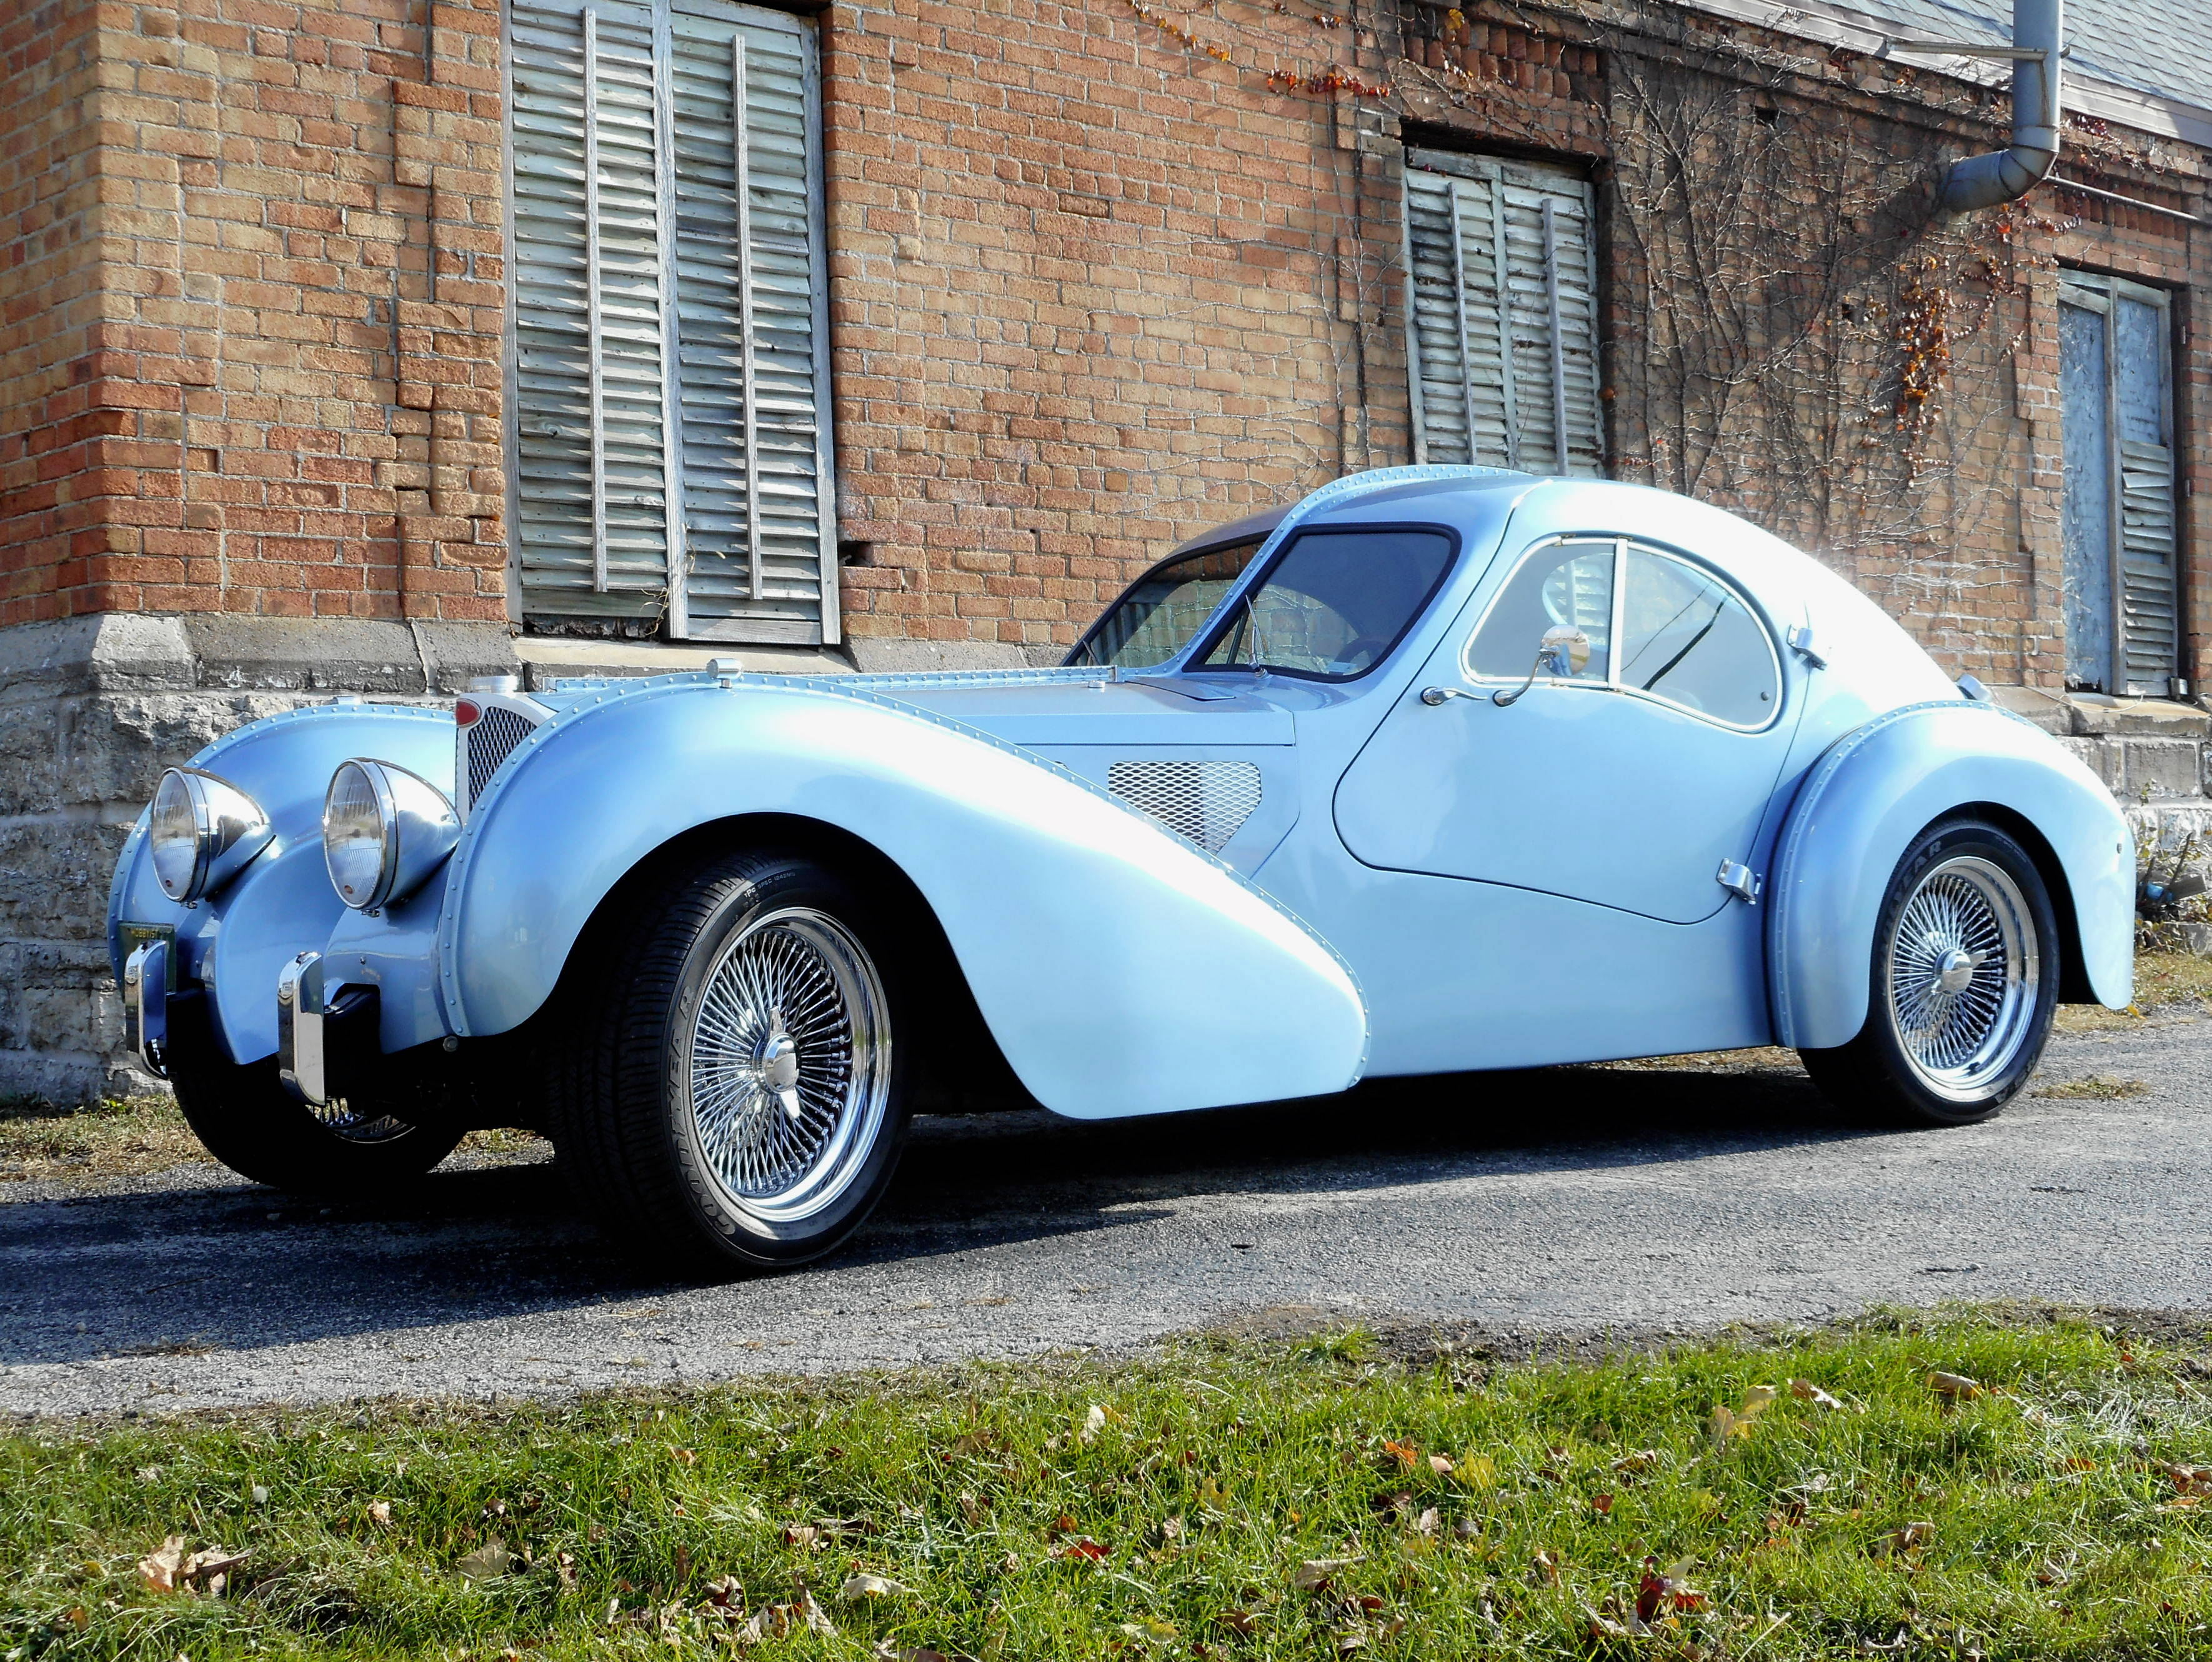
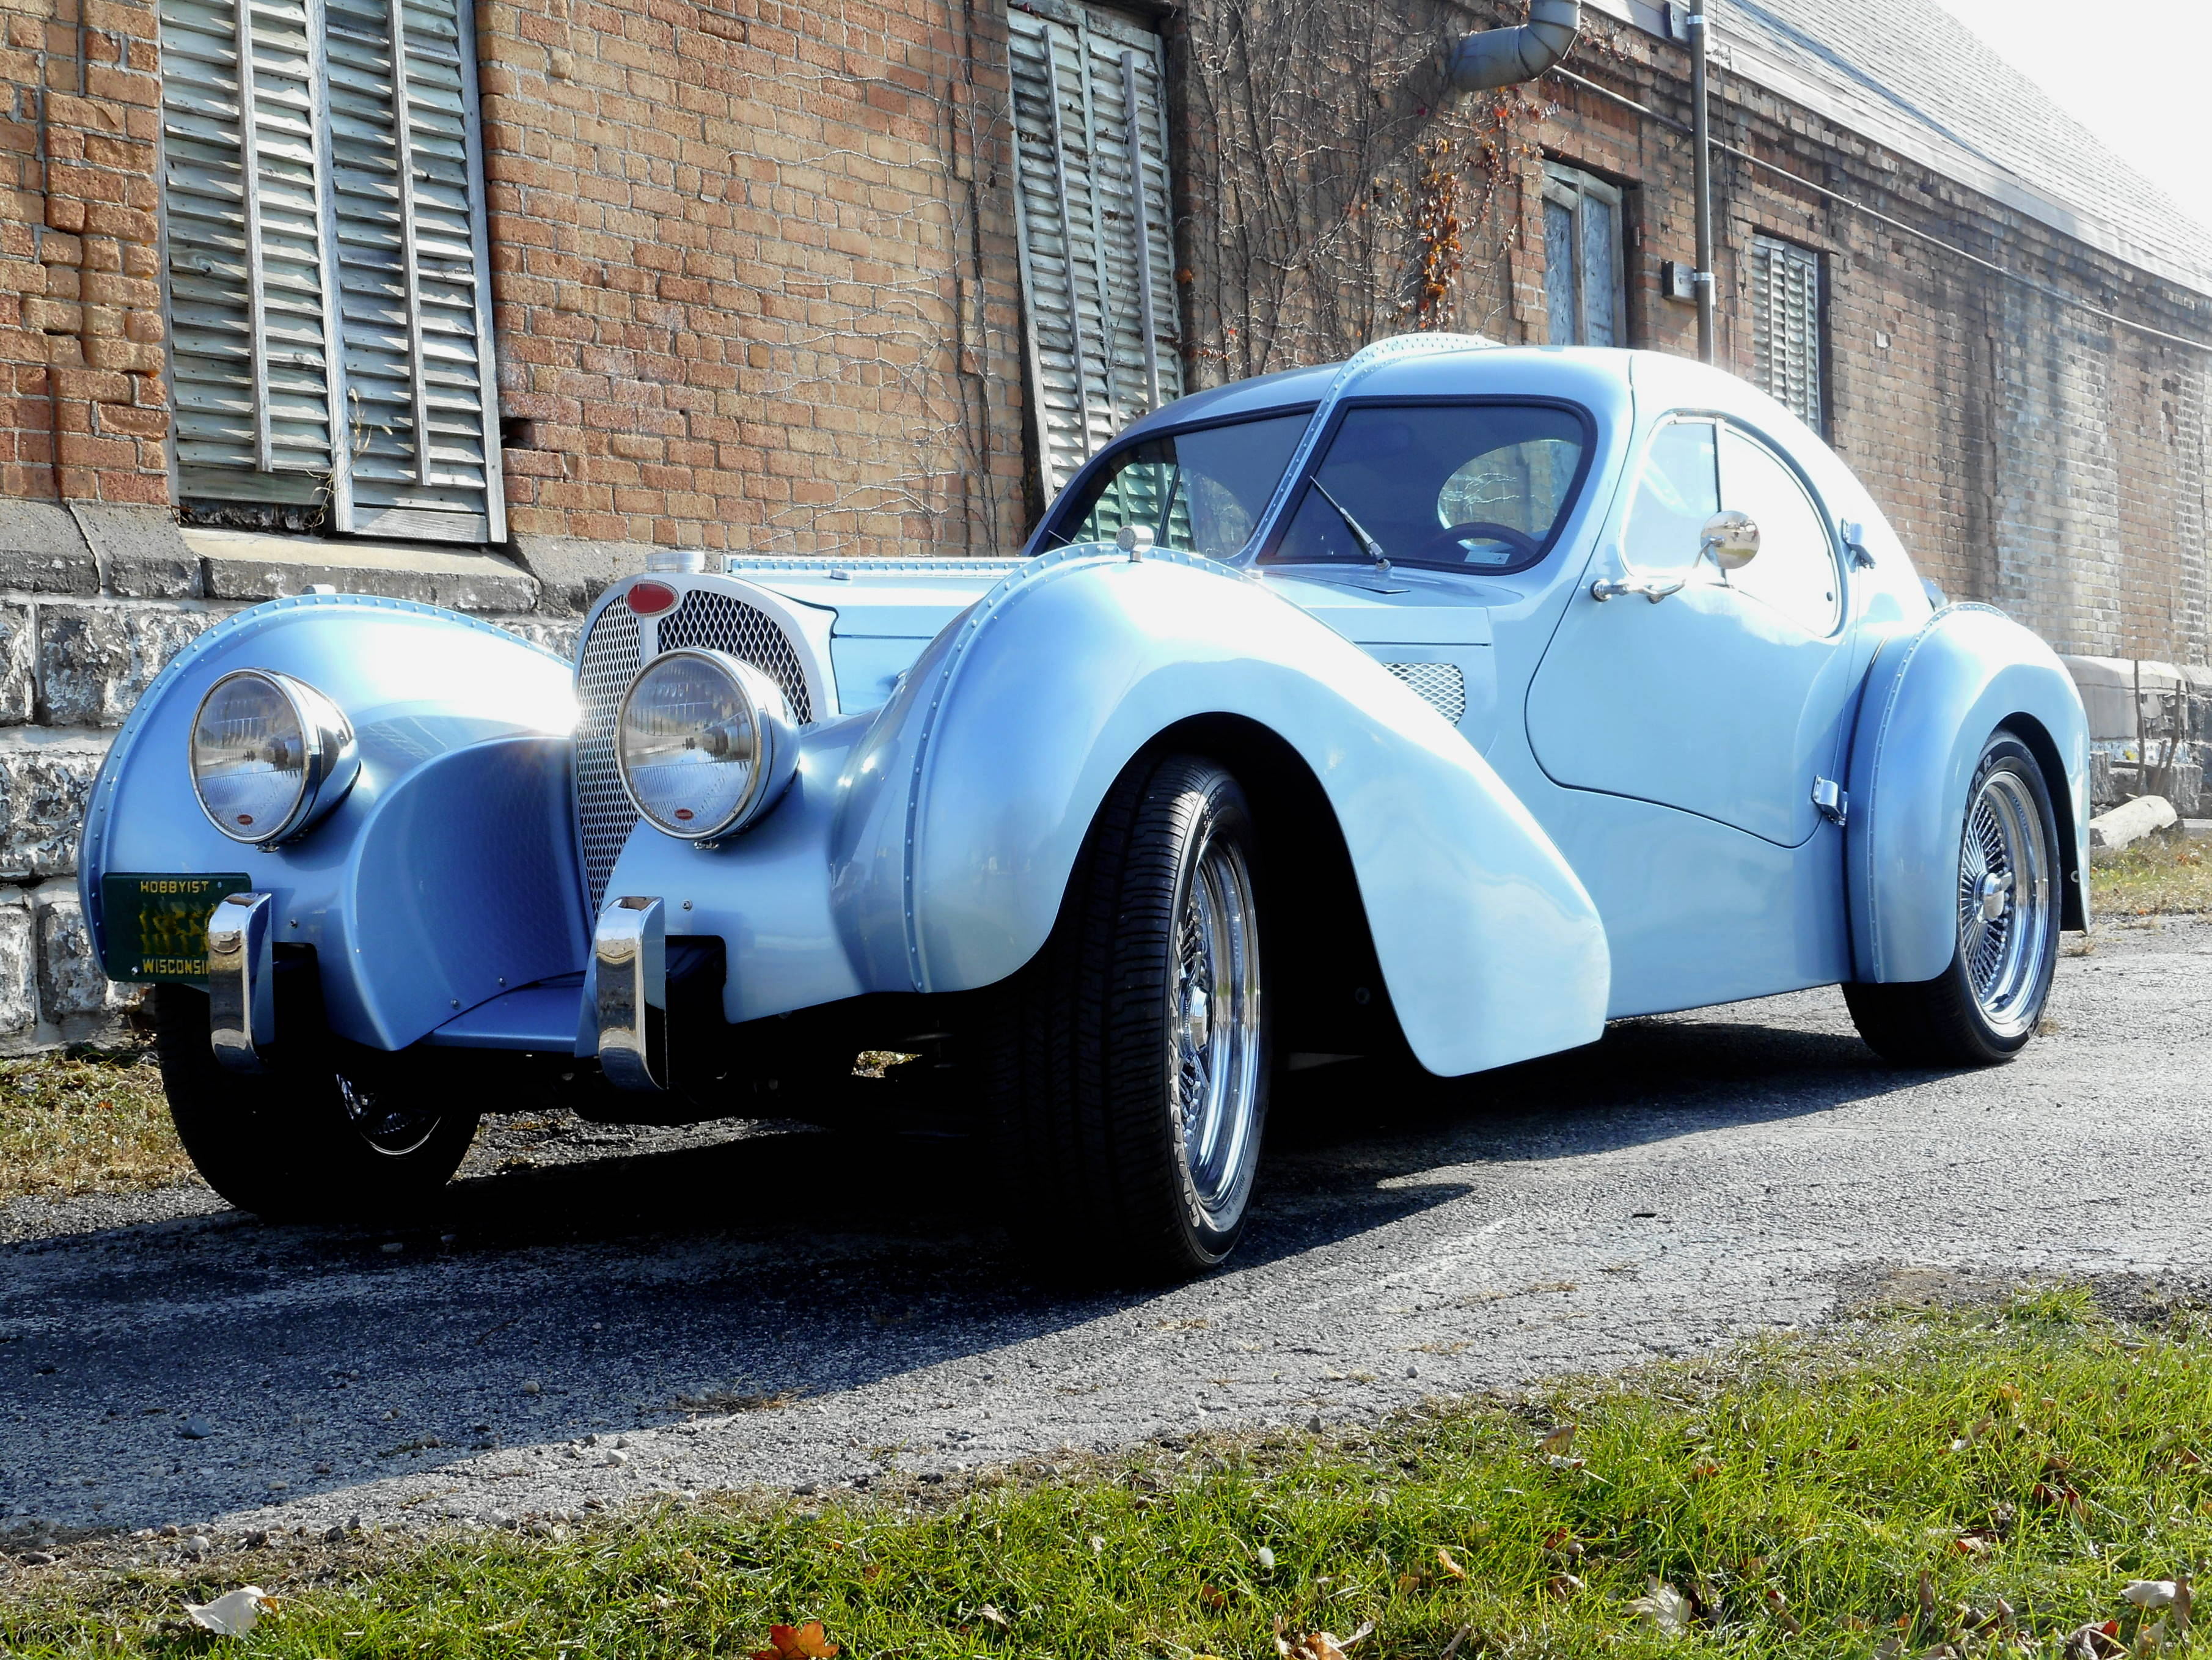
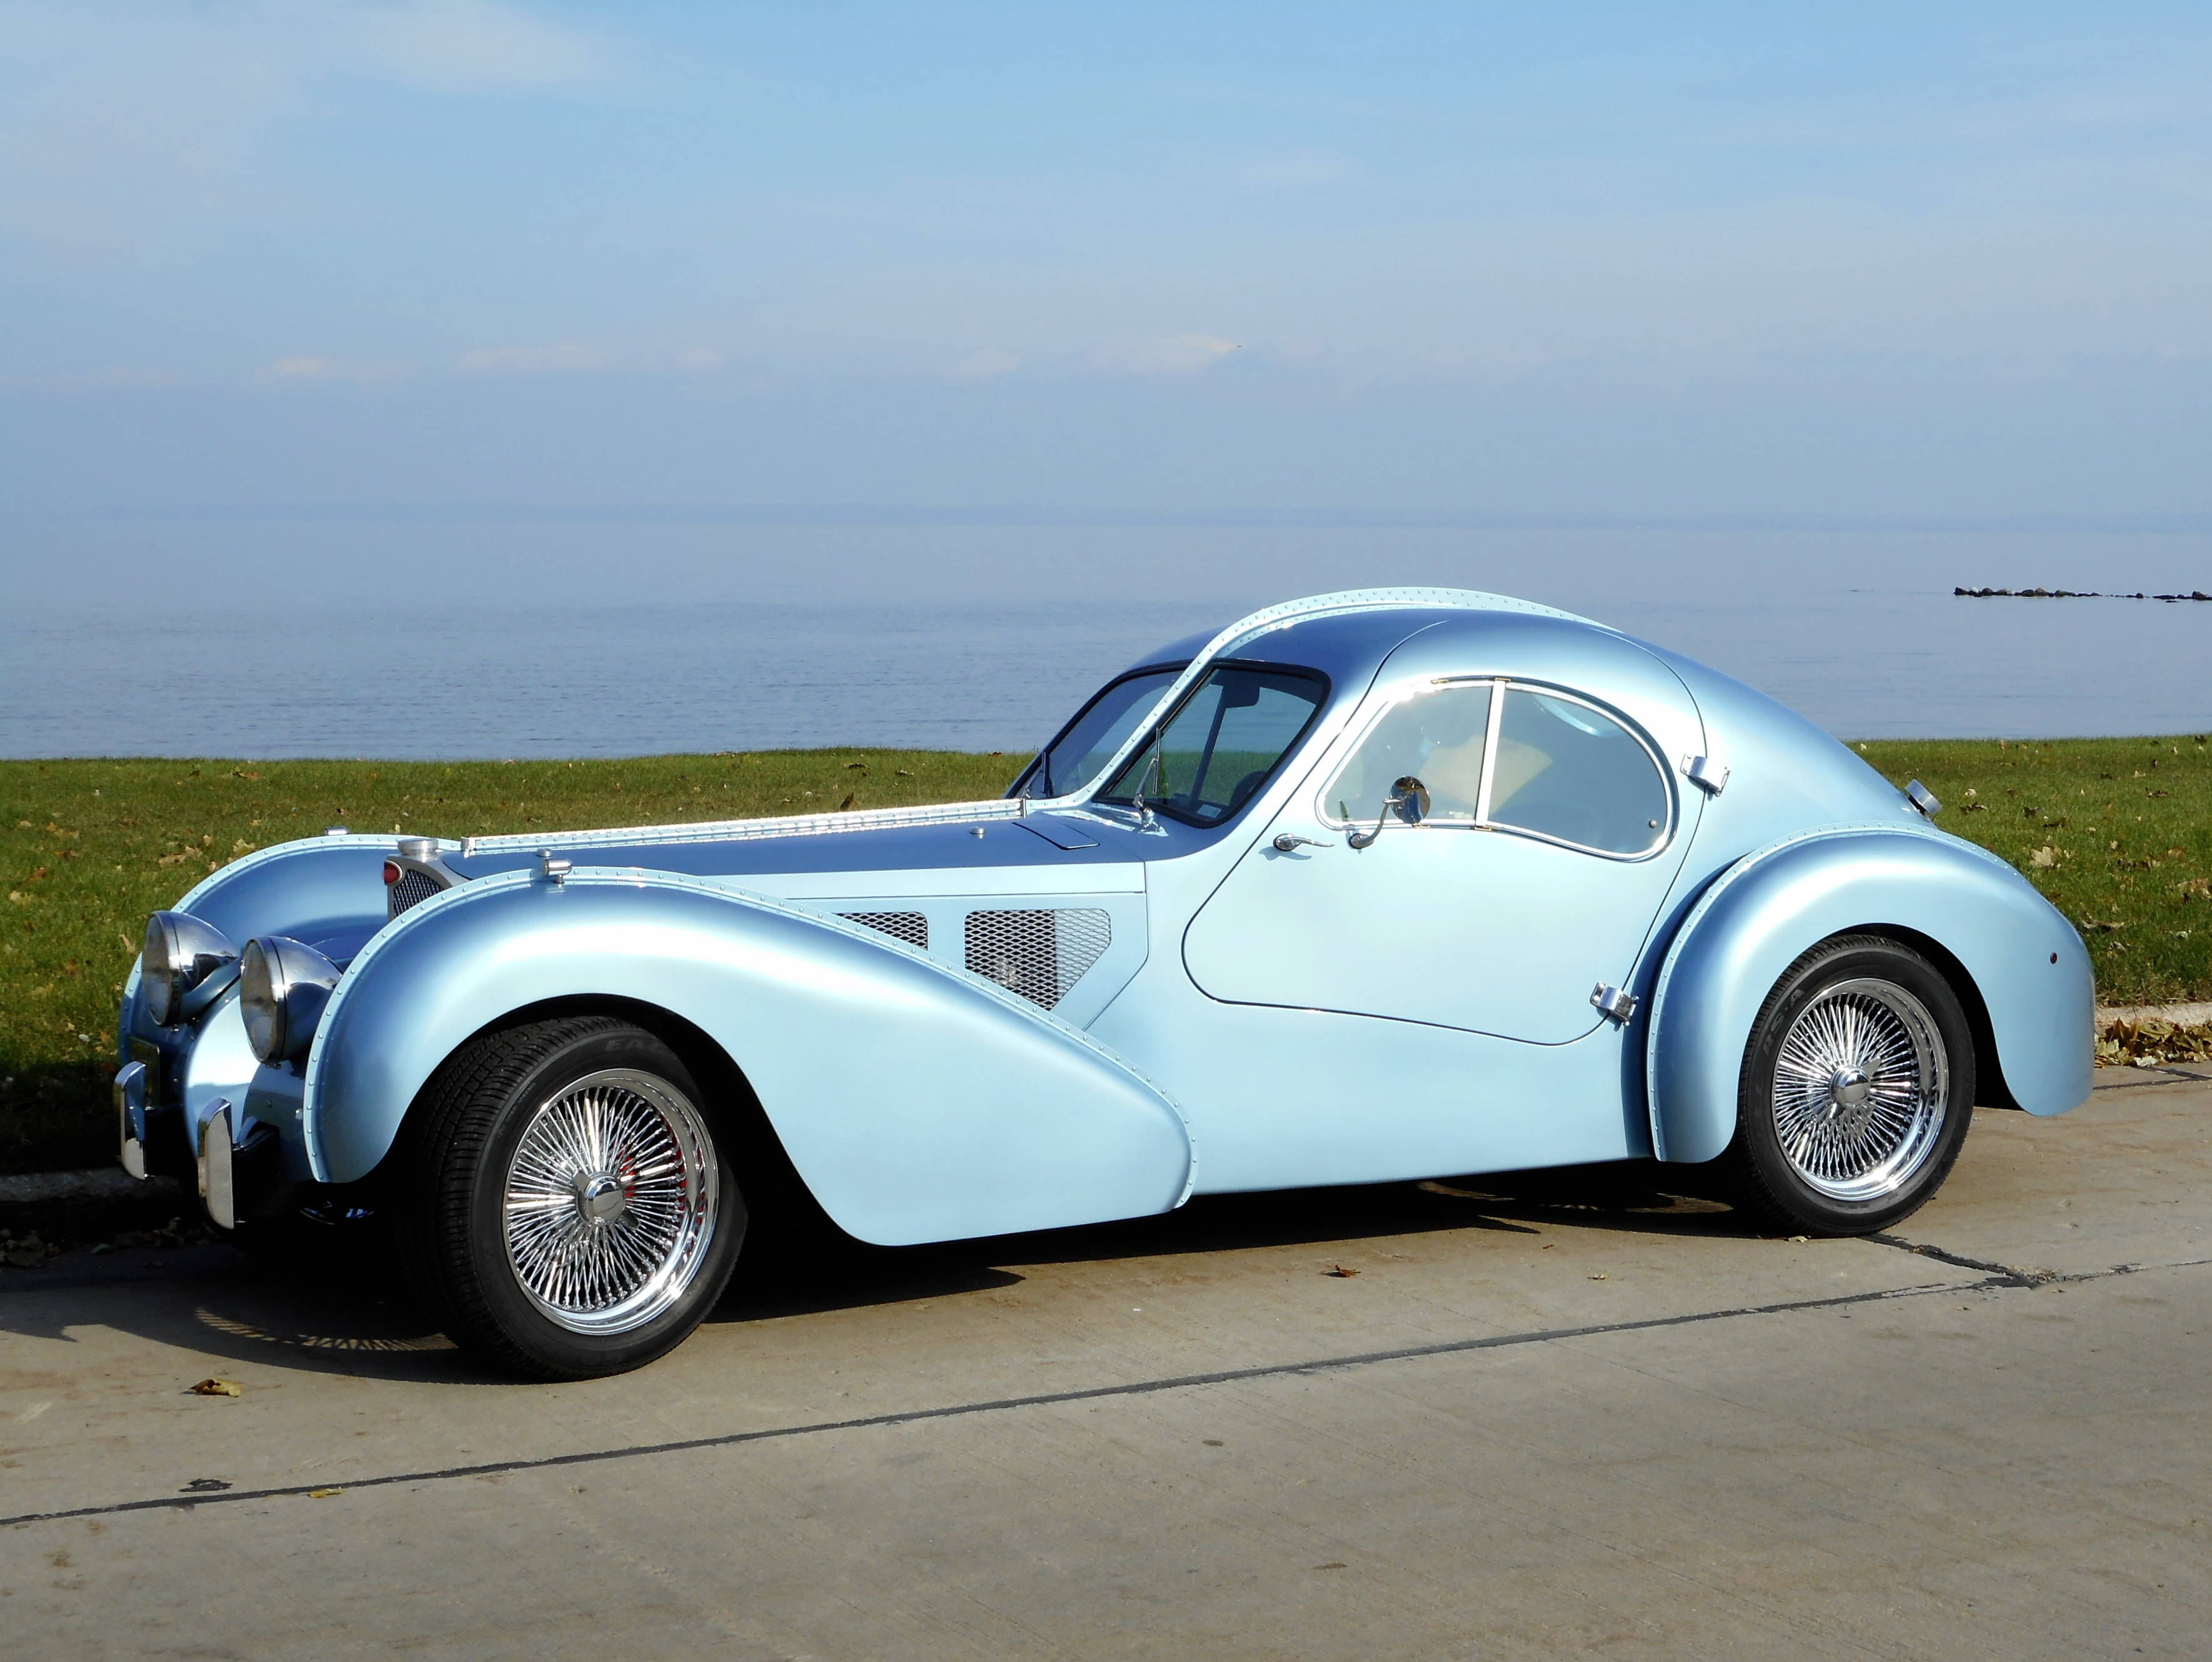
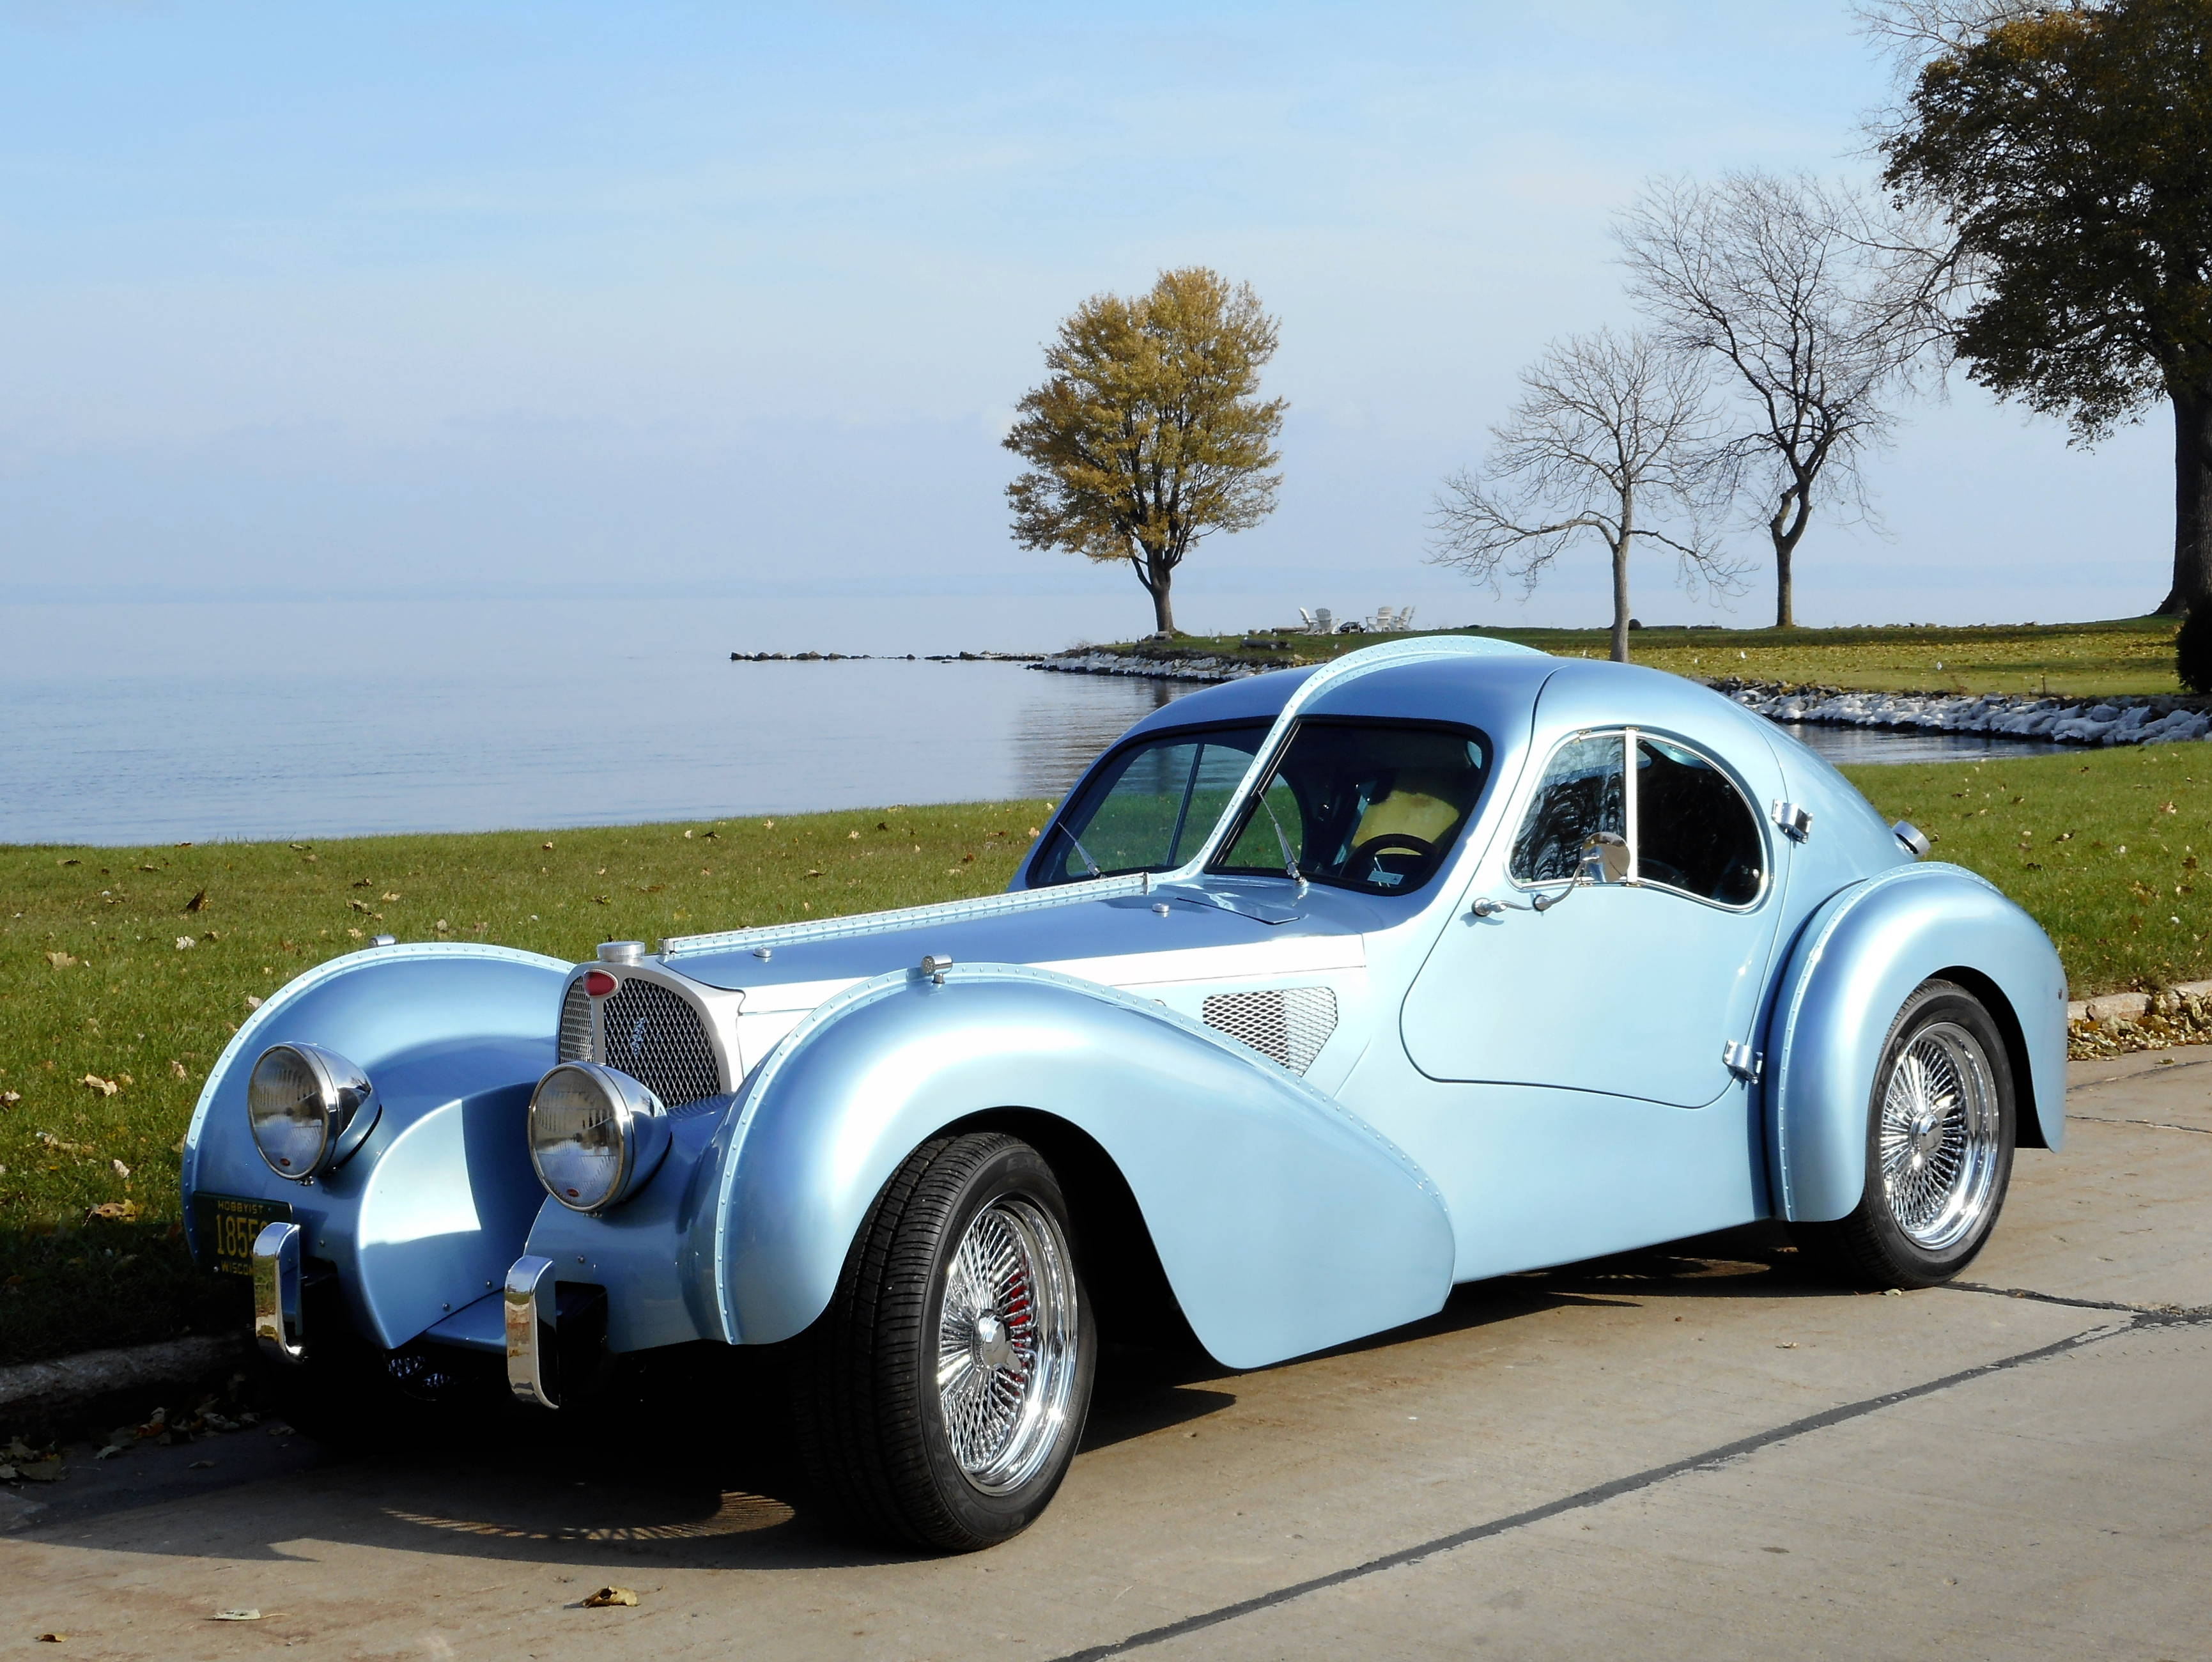
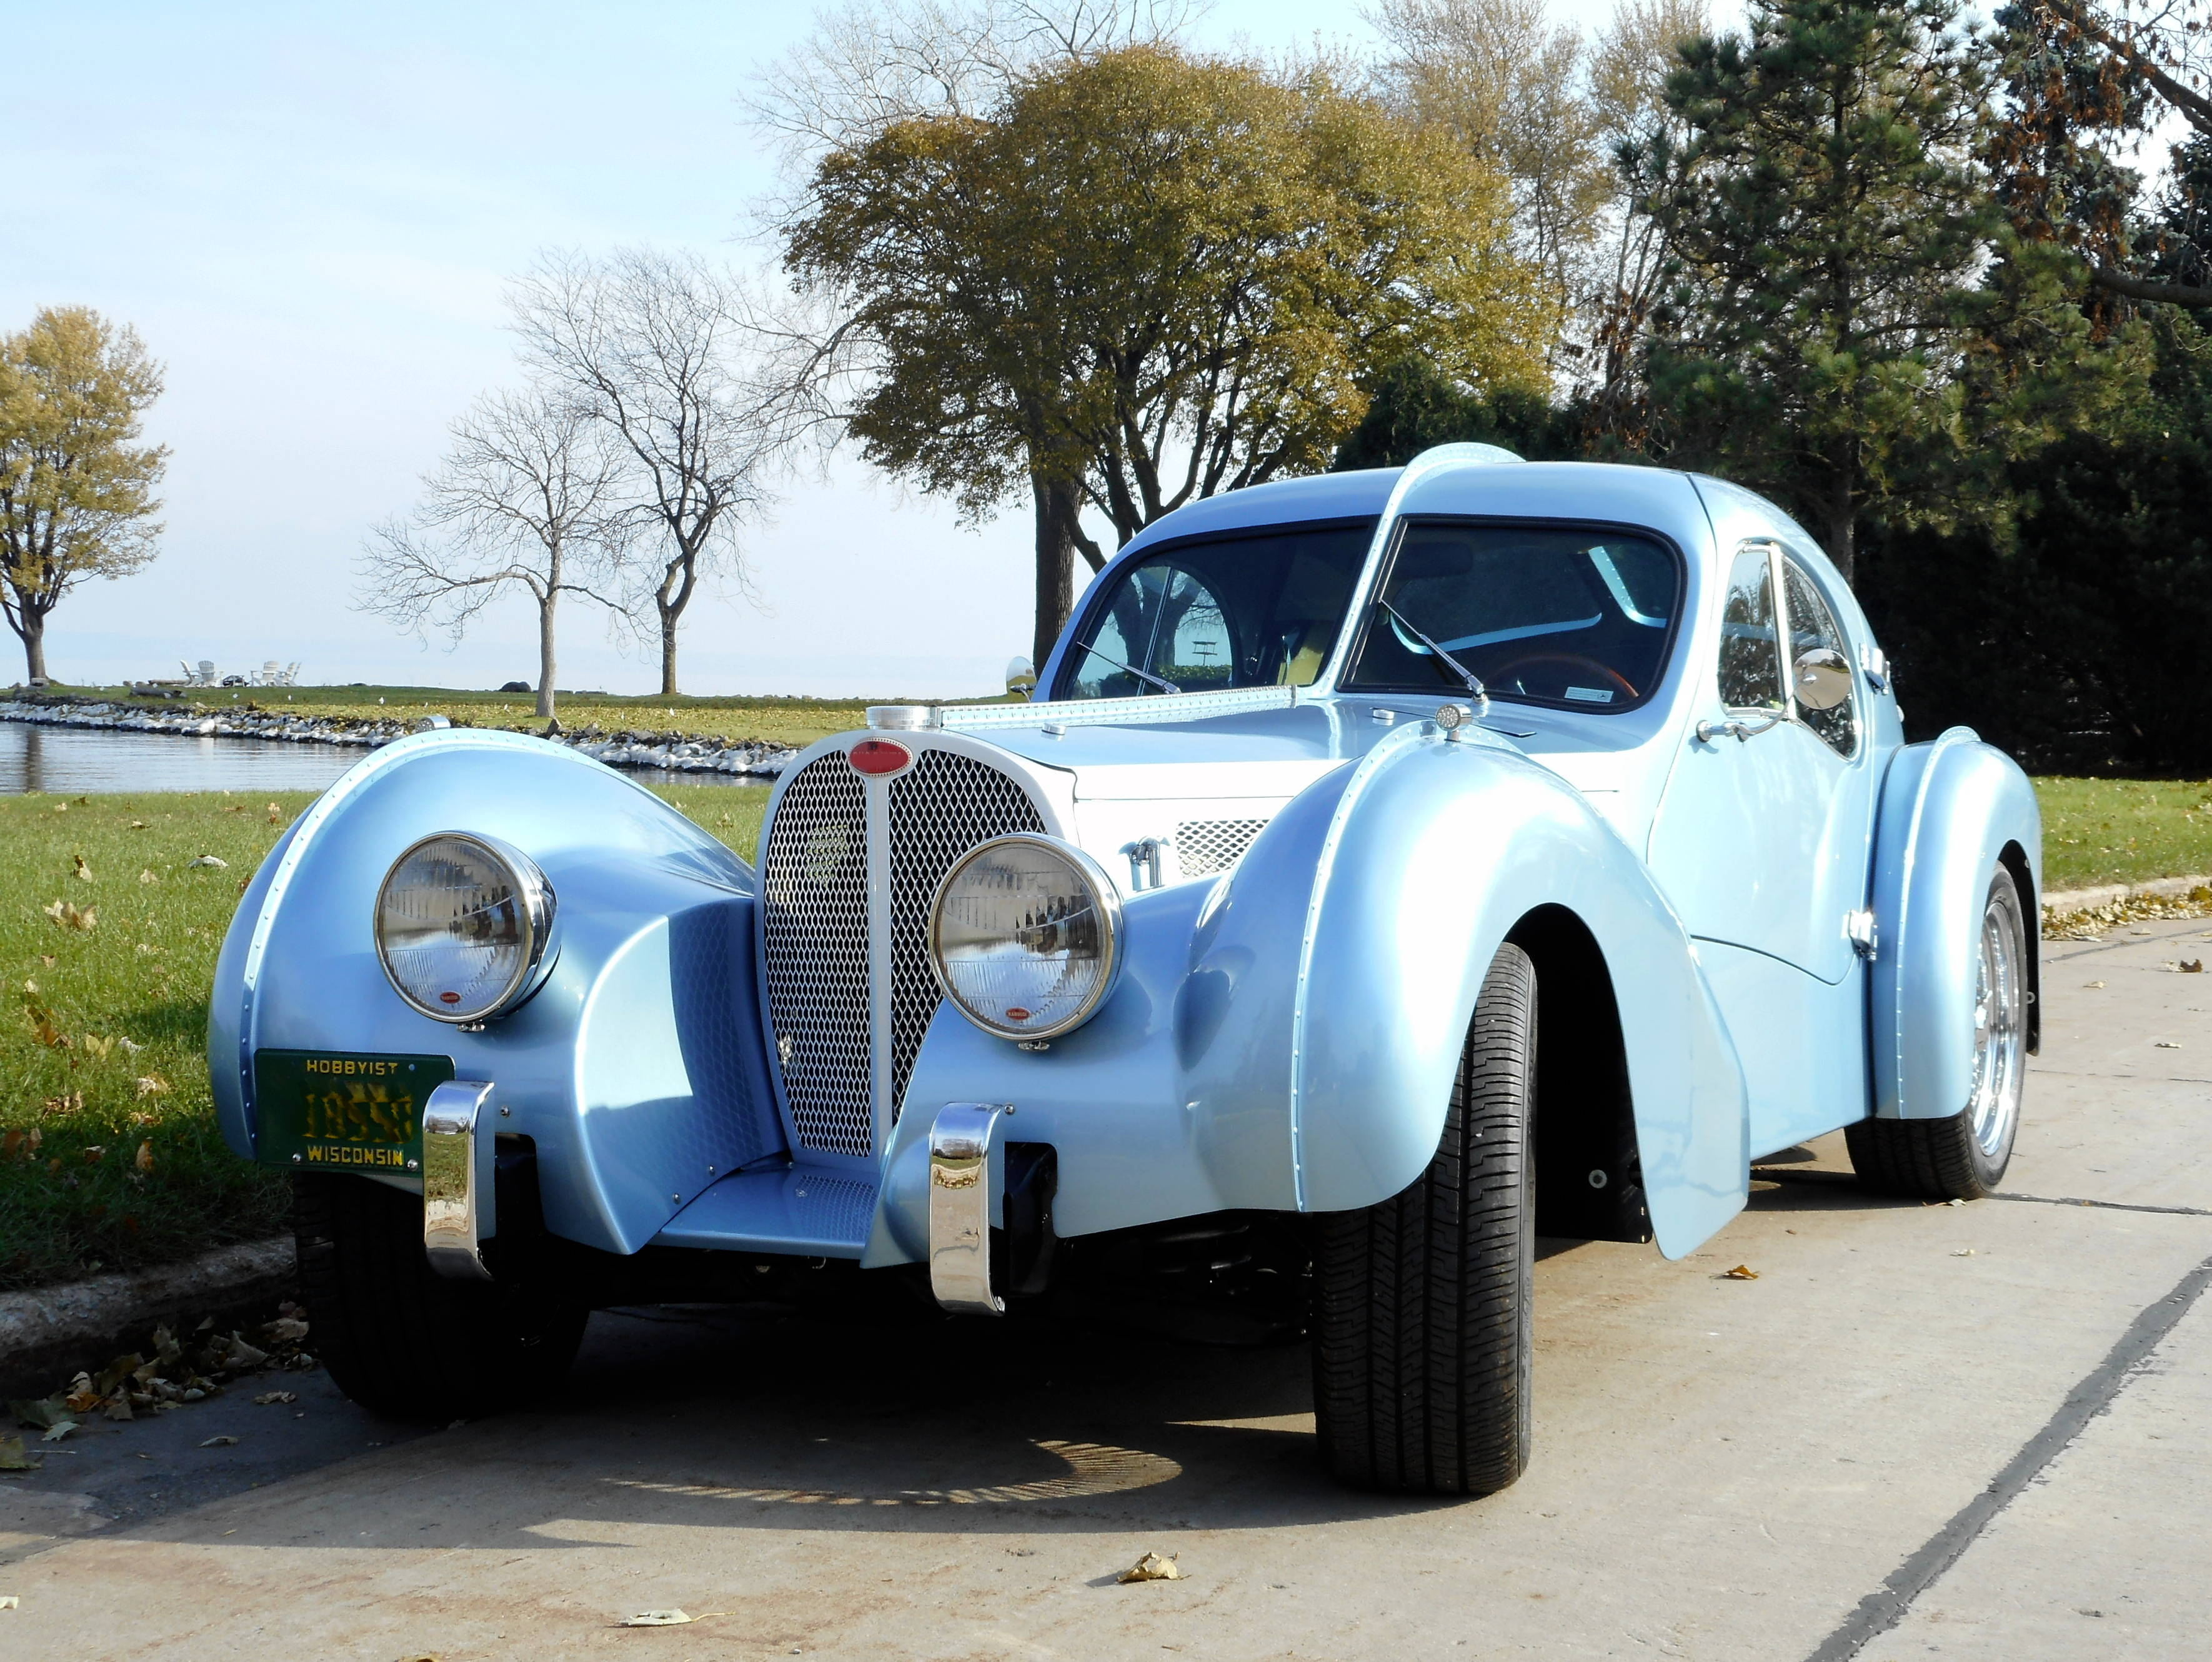
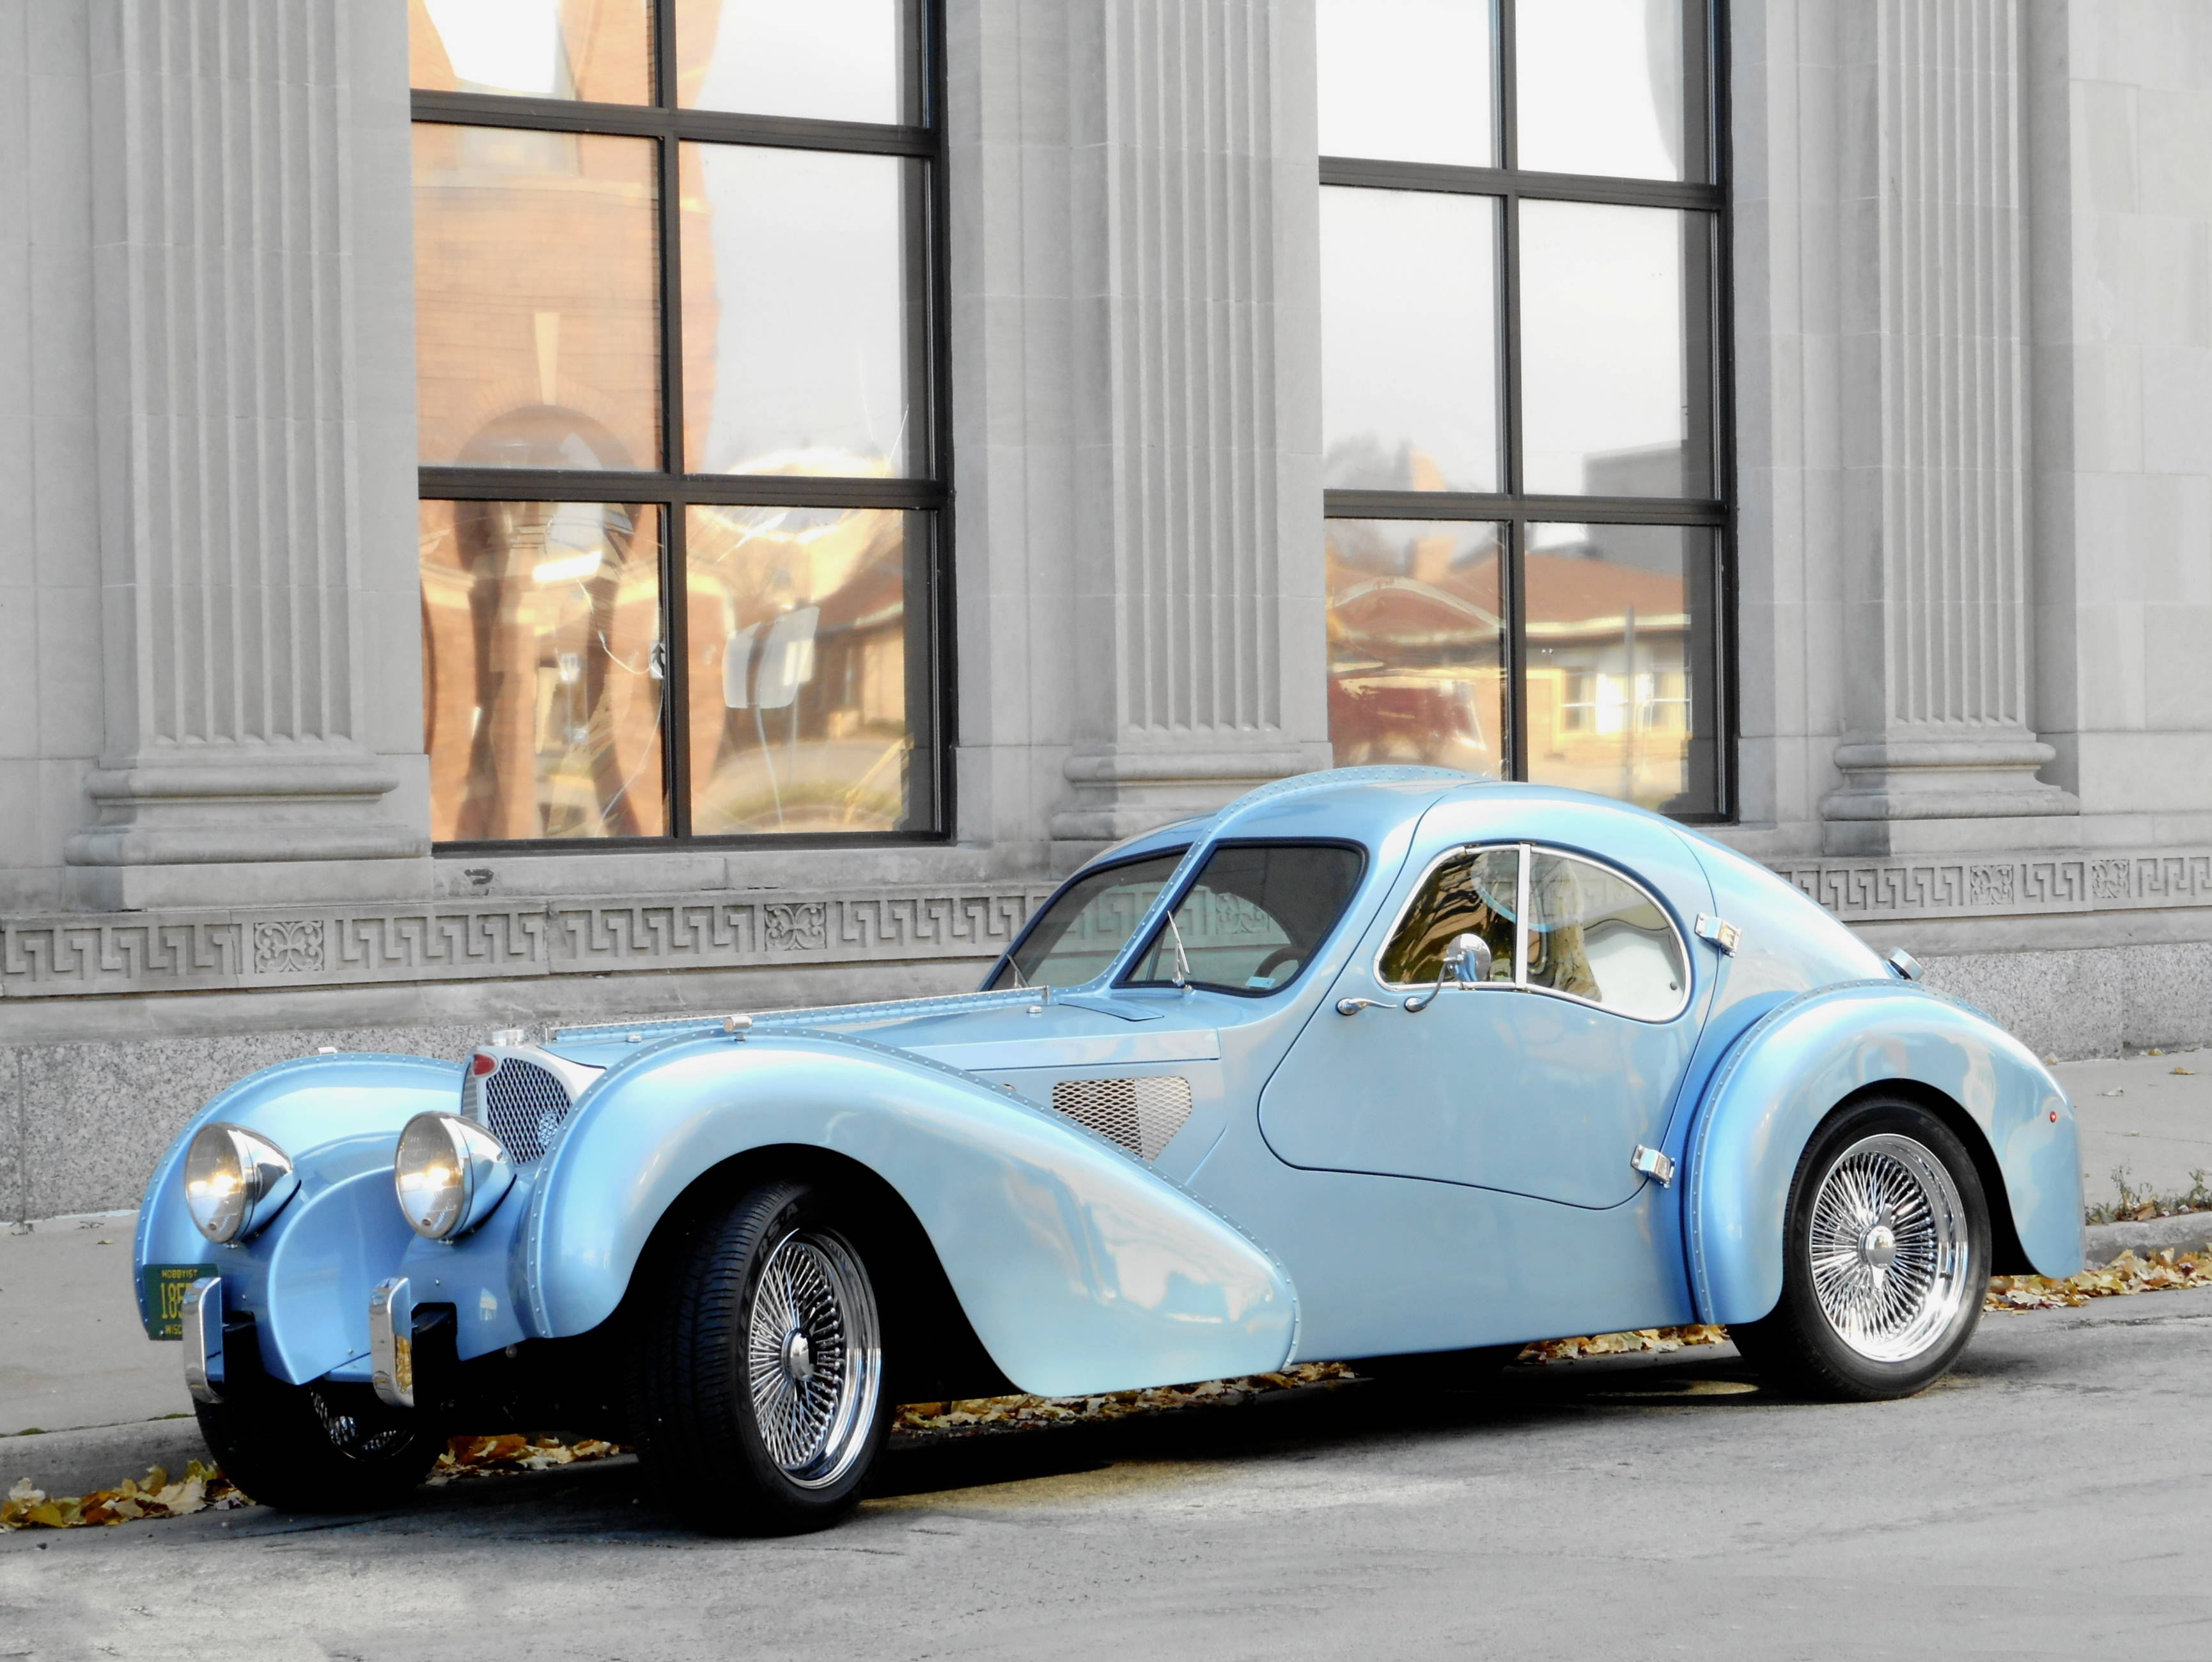
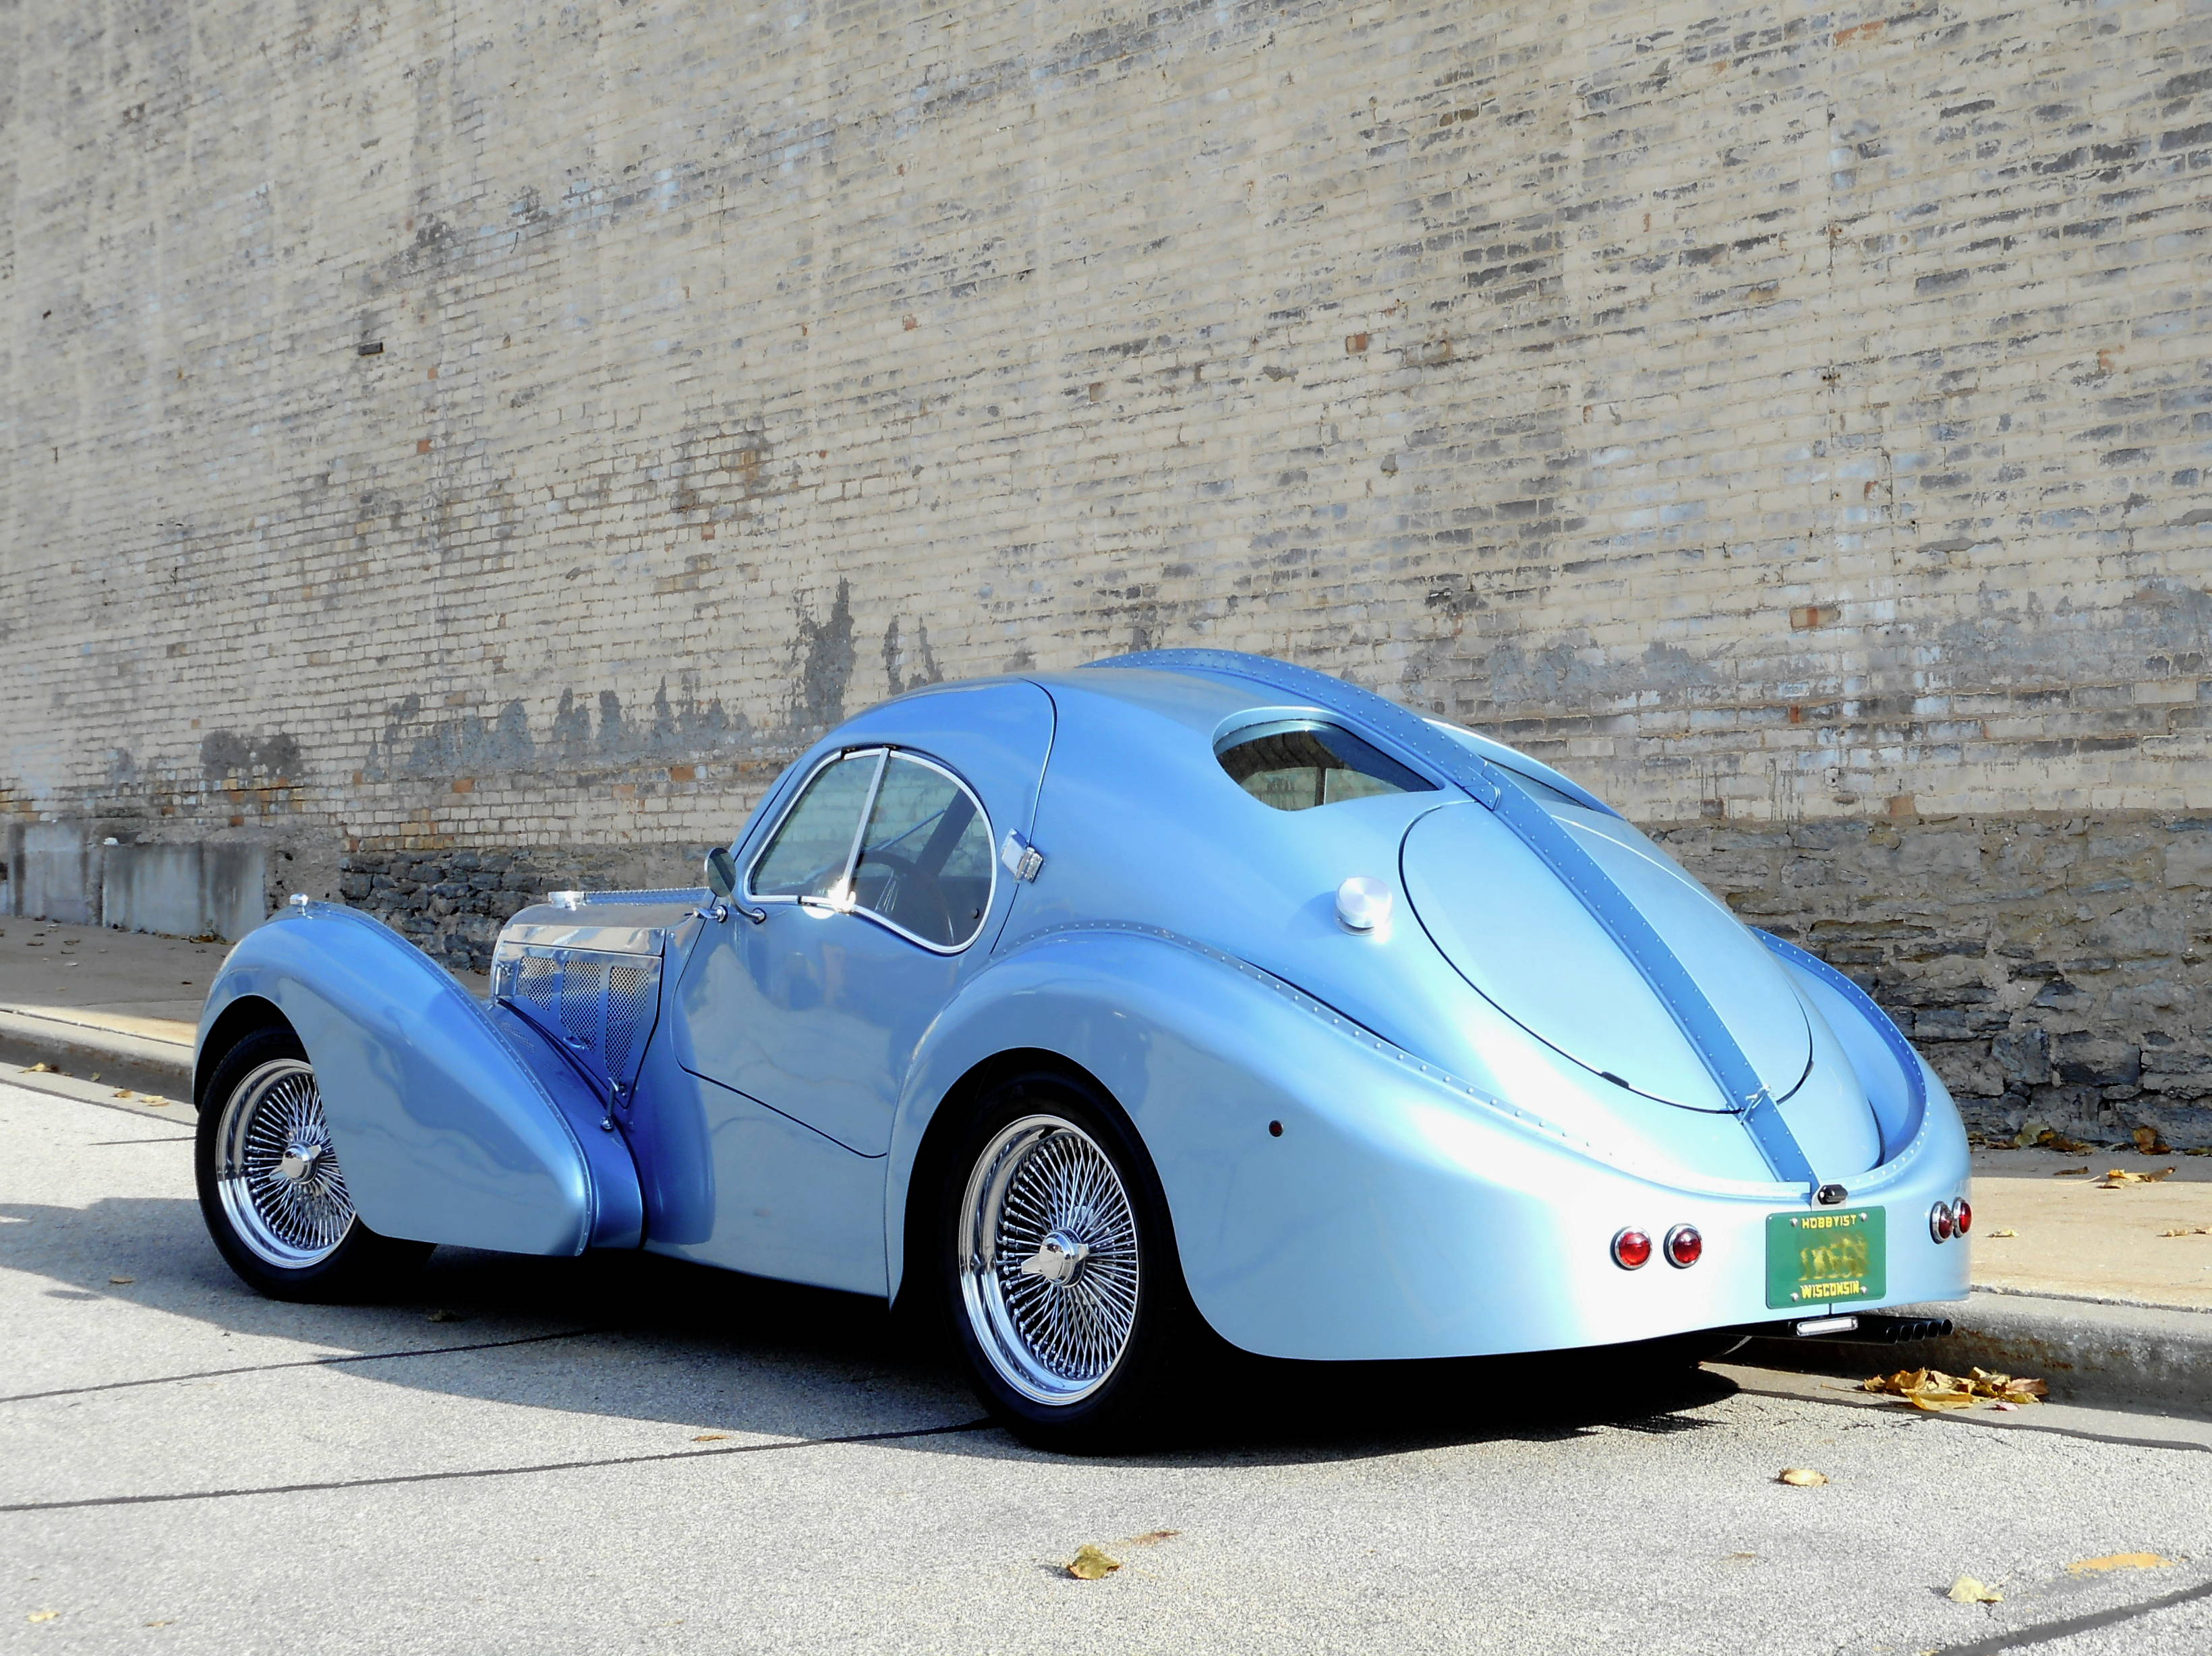
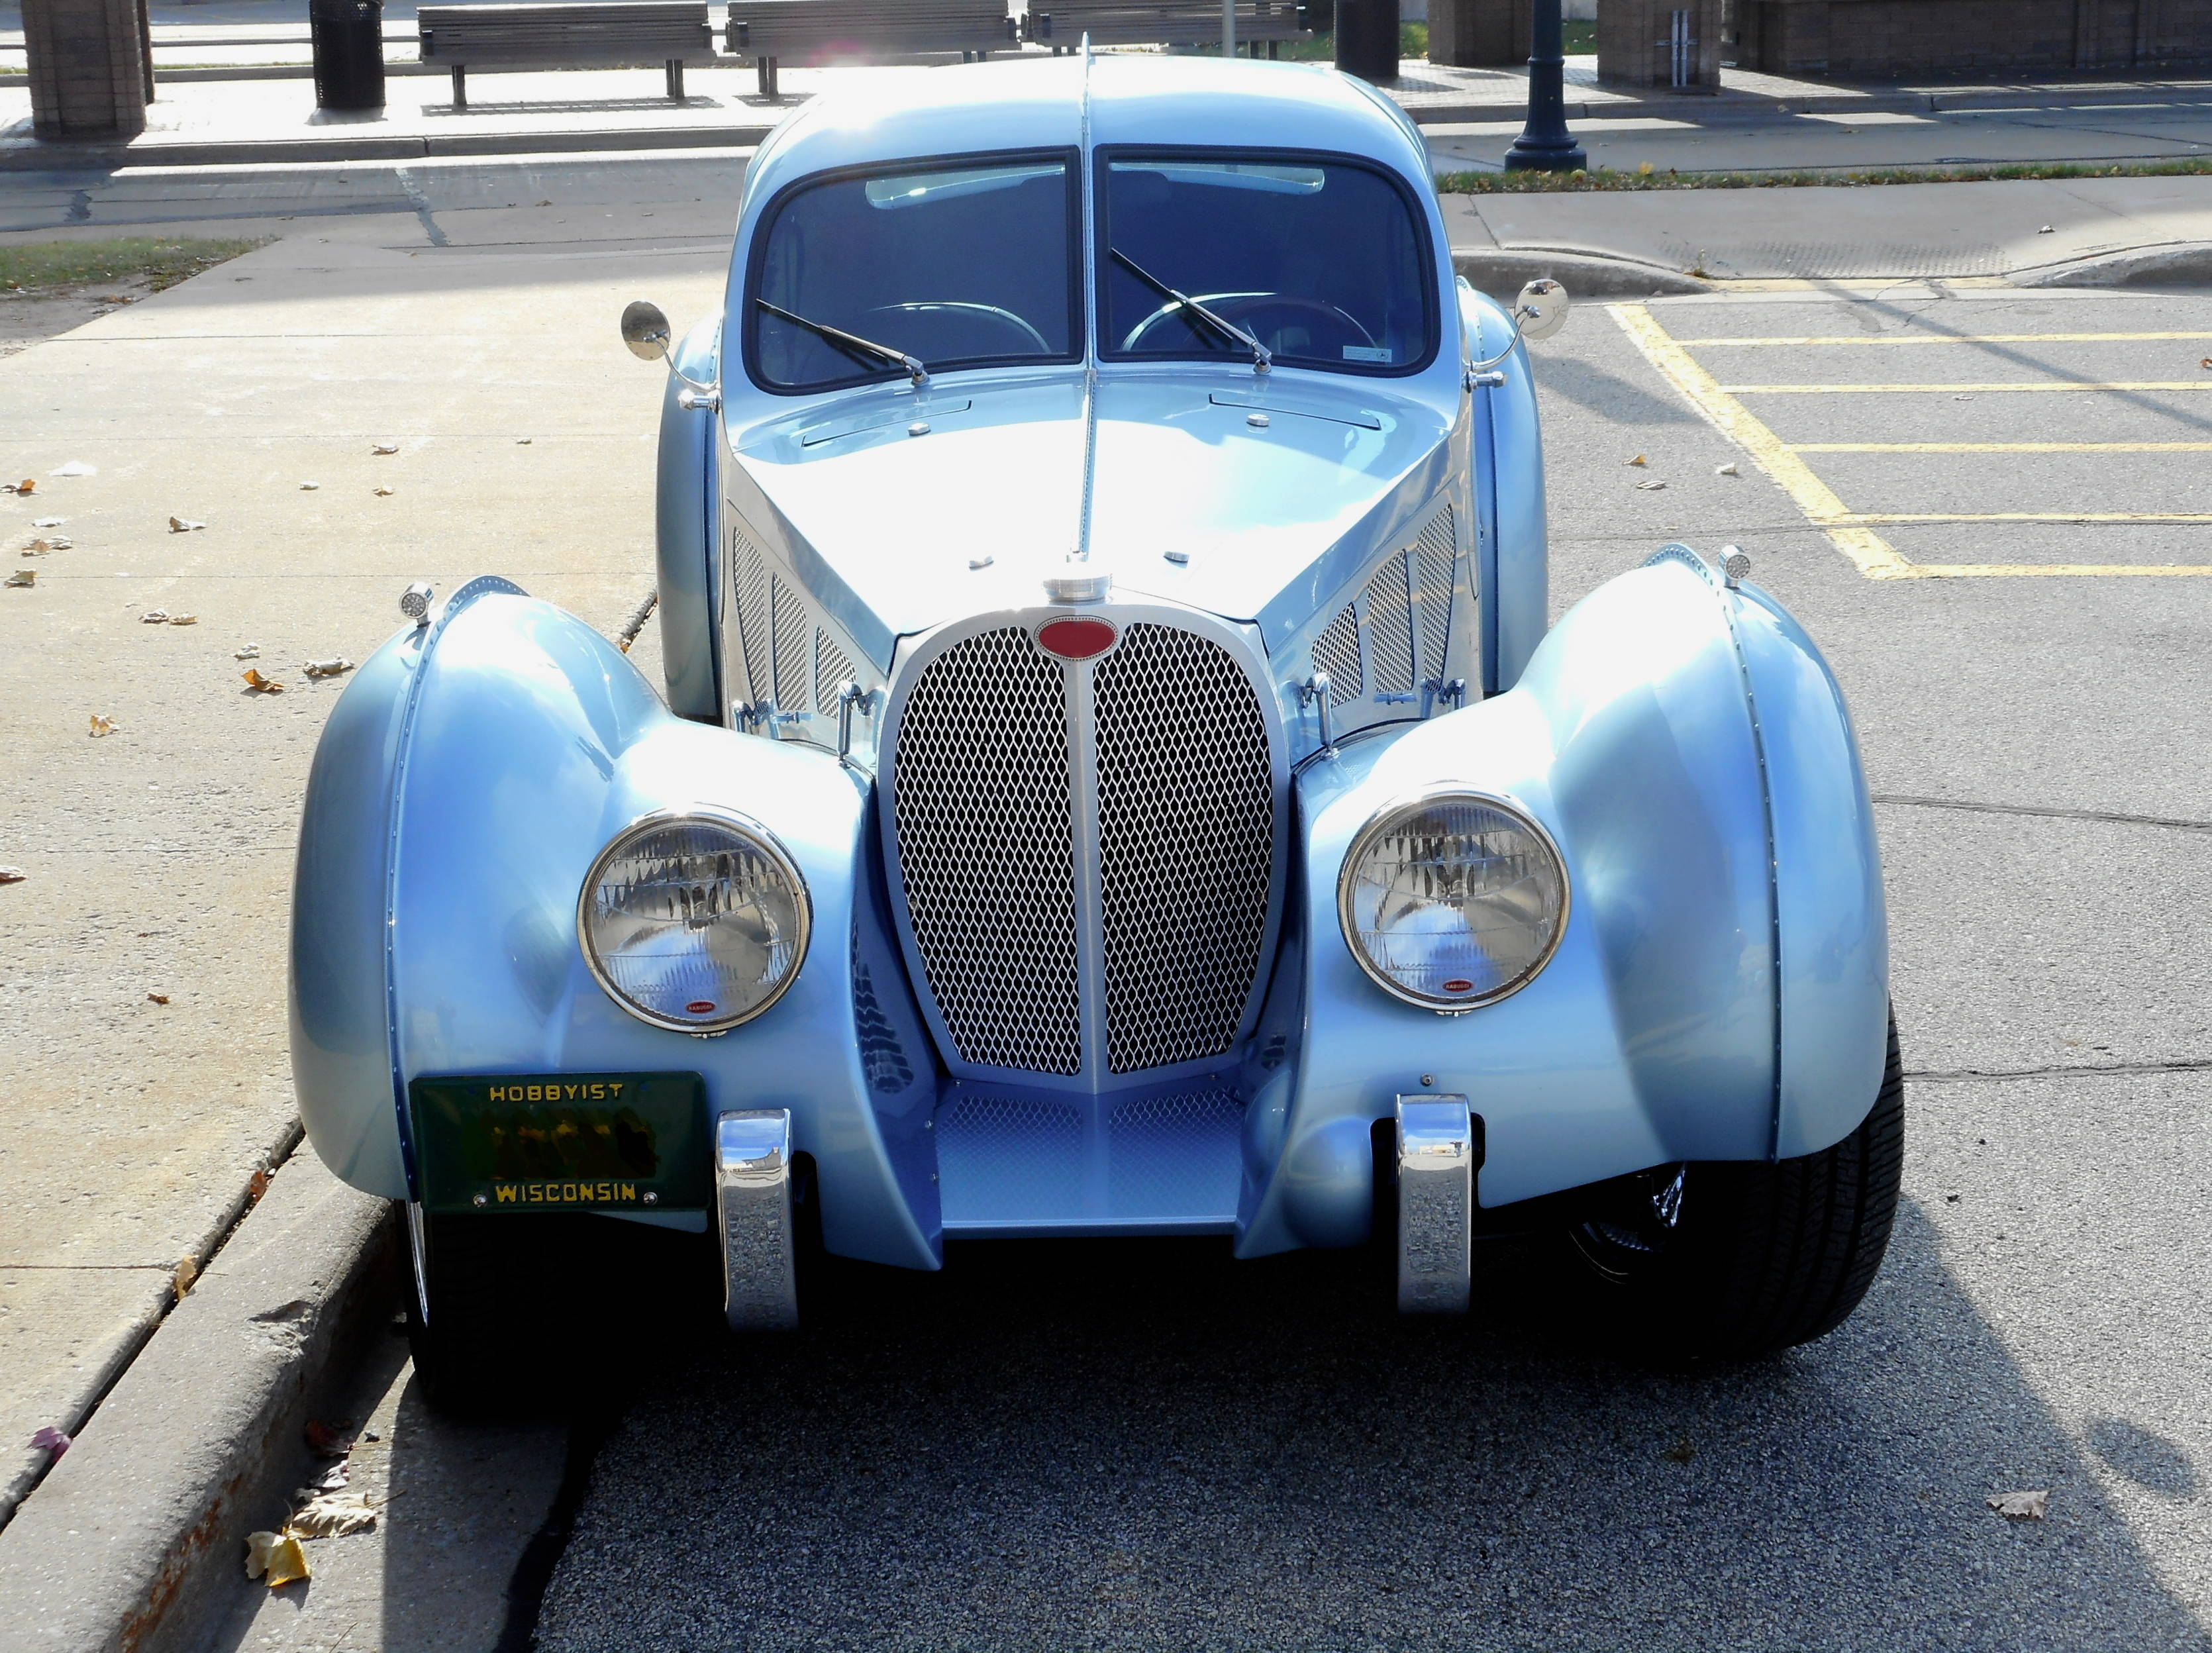
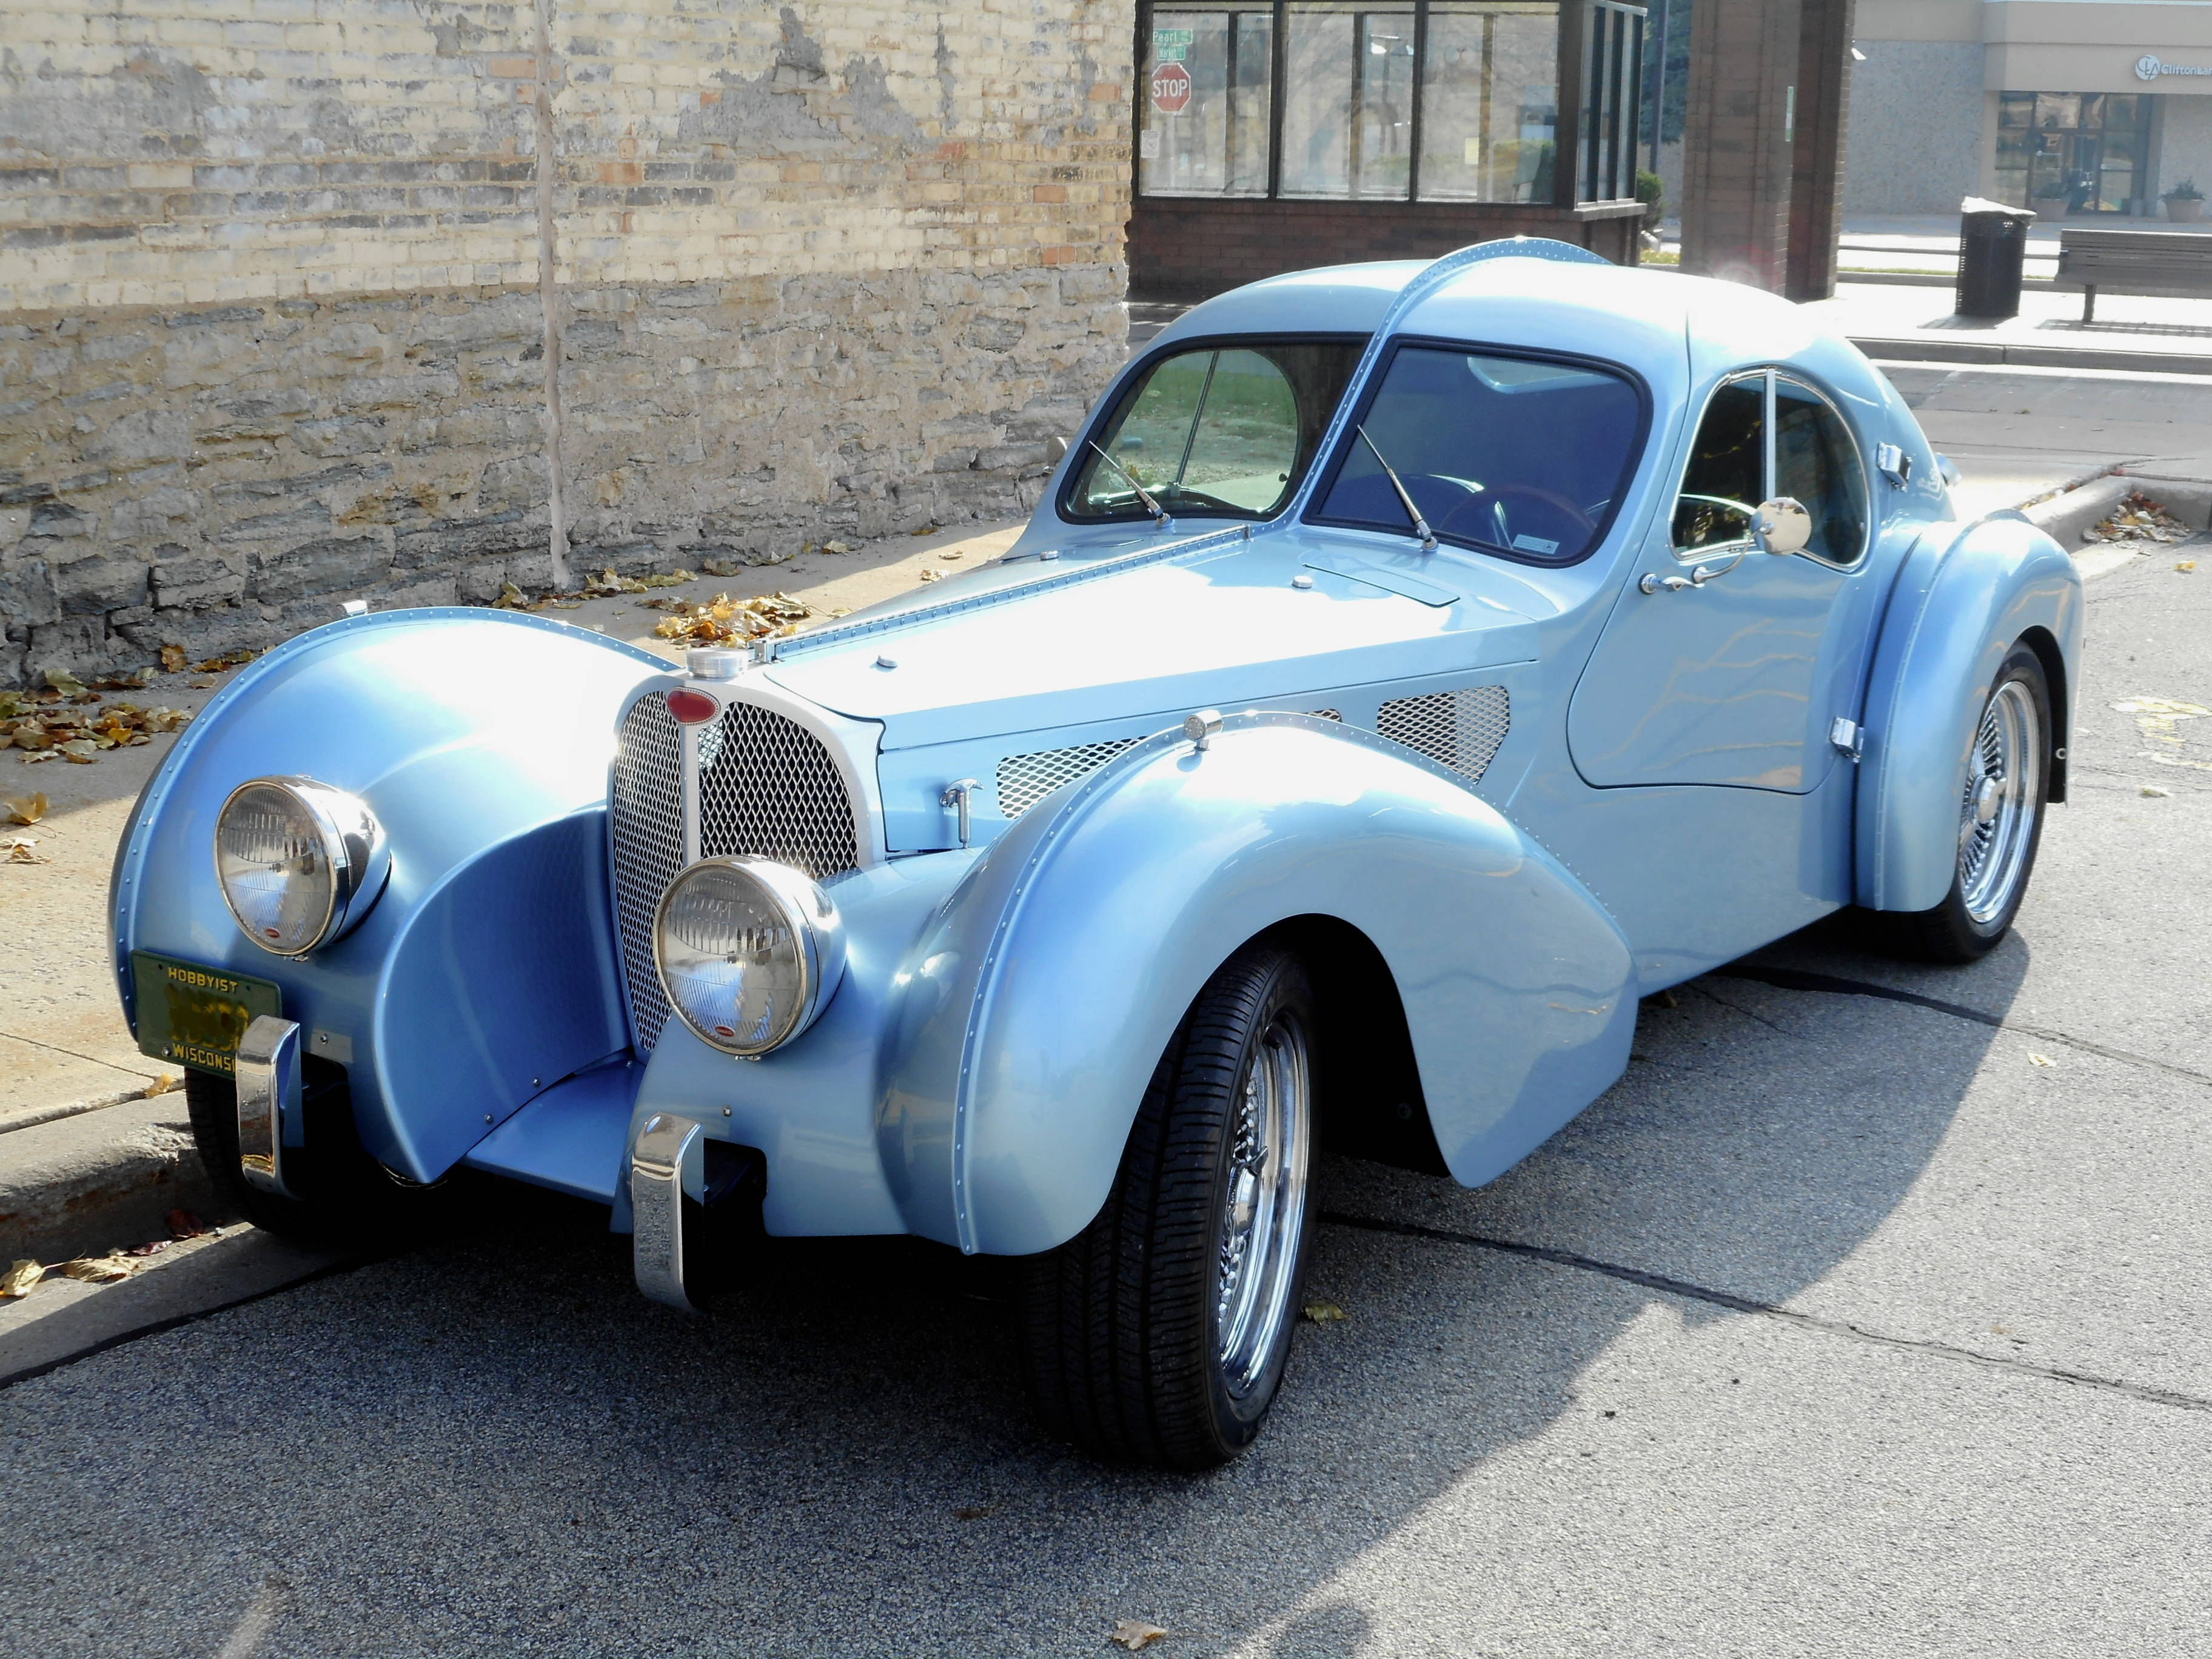
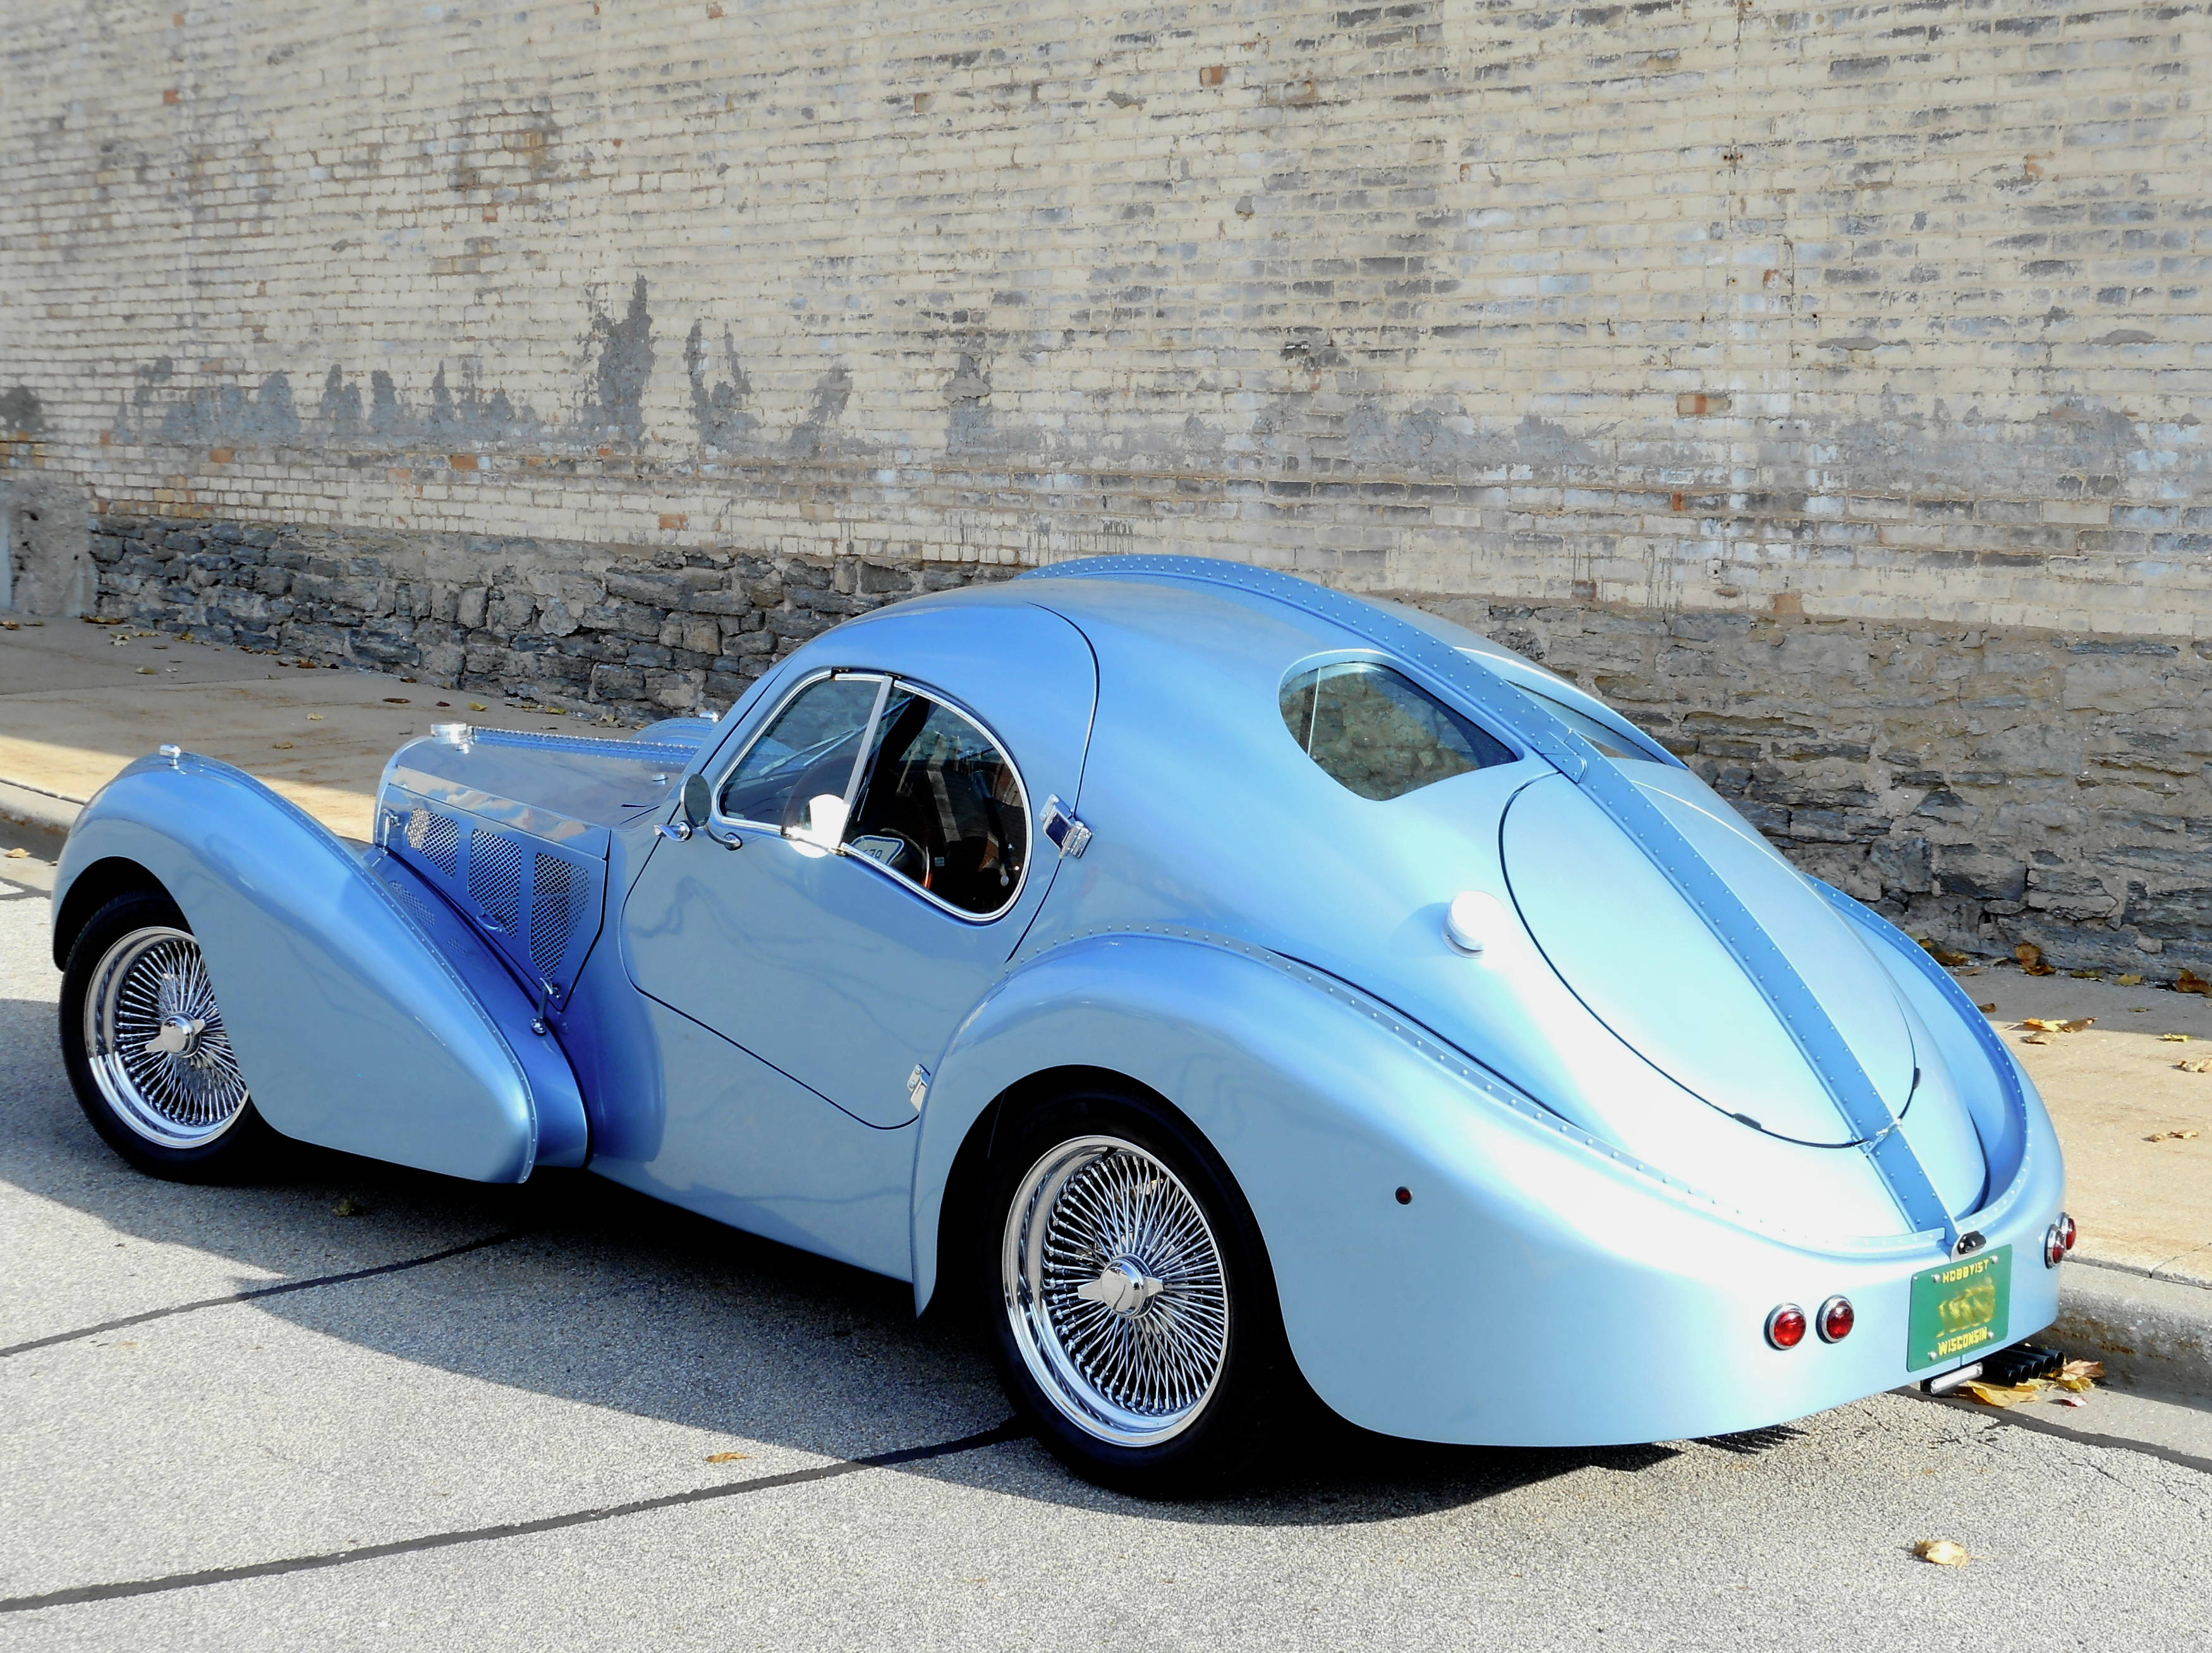
Paint color is '63 - '64 Corvette "Silver Blue", GM code WA2973, Ditzler PPG code 12546.


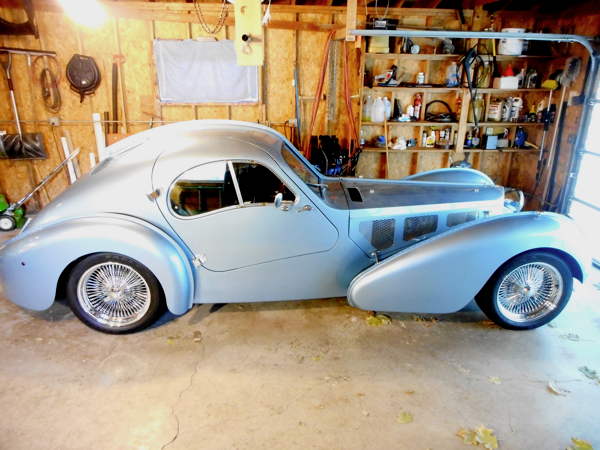
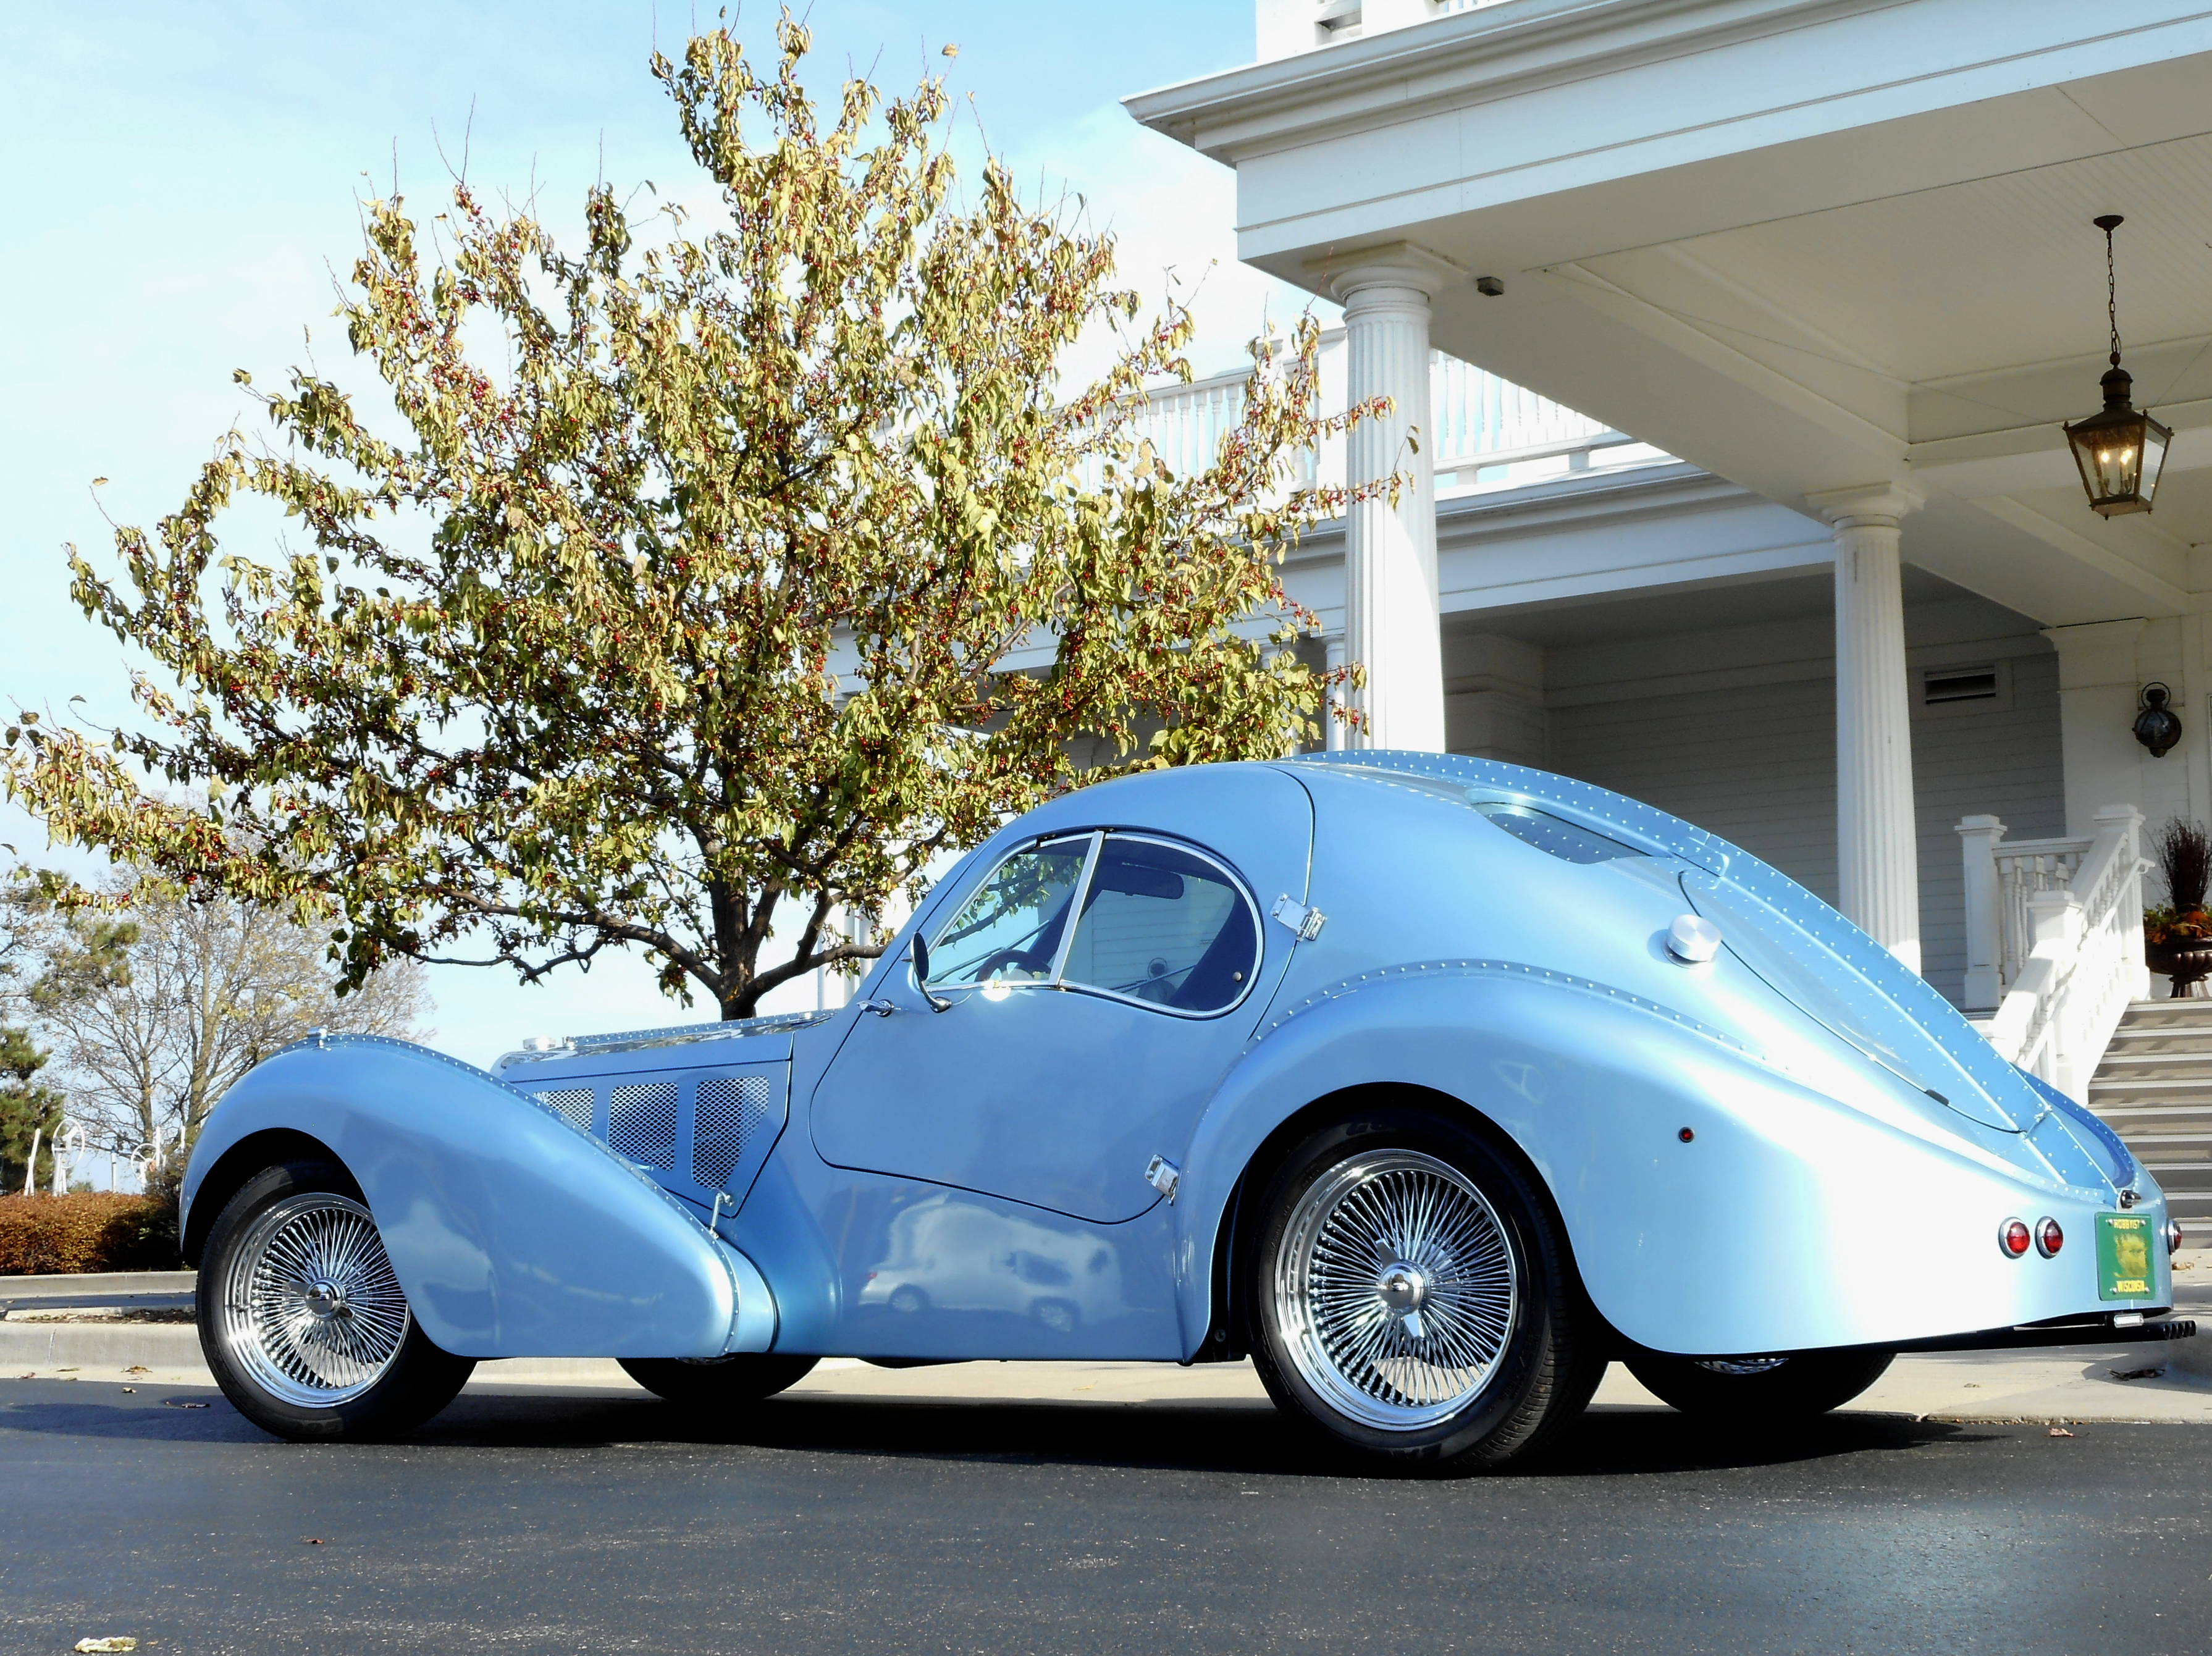
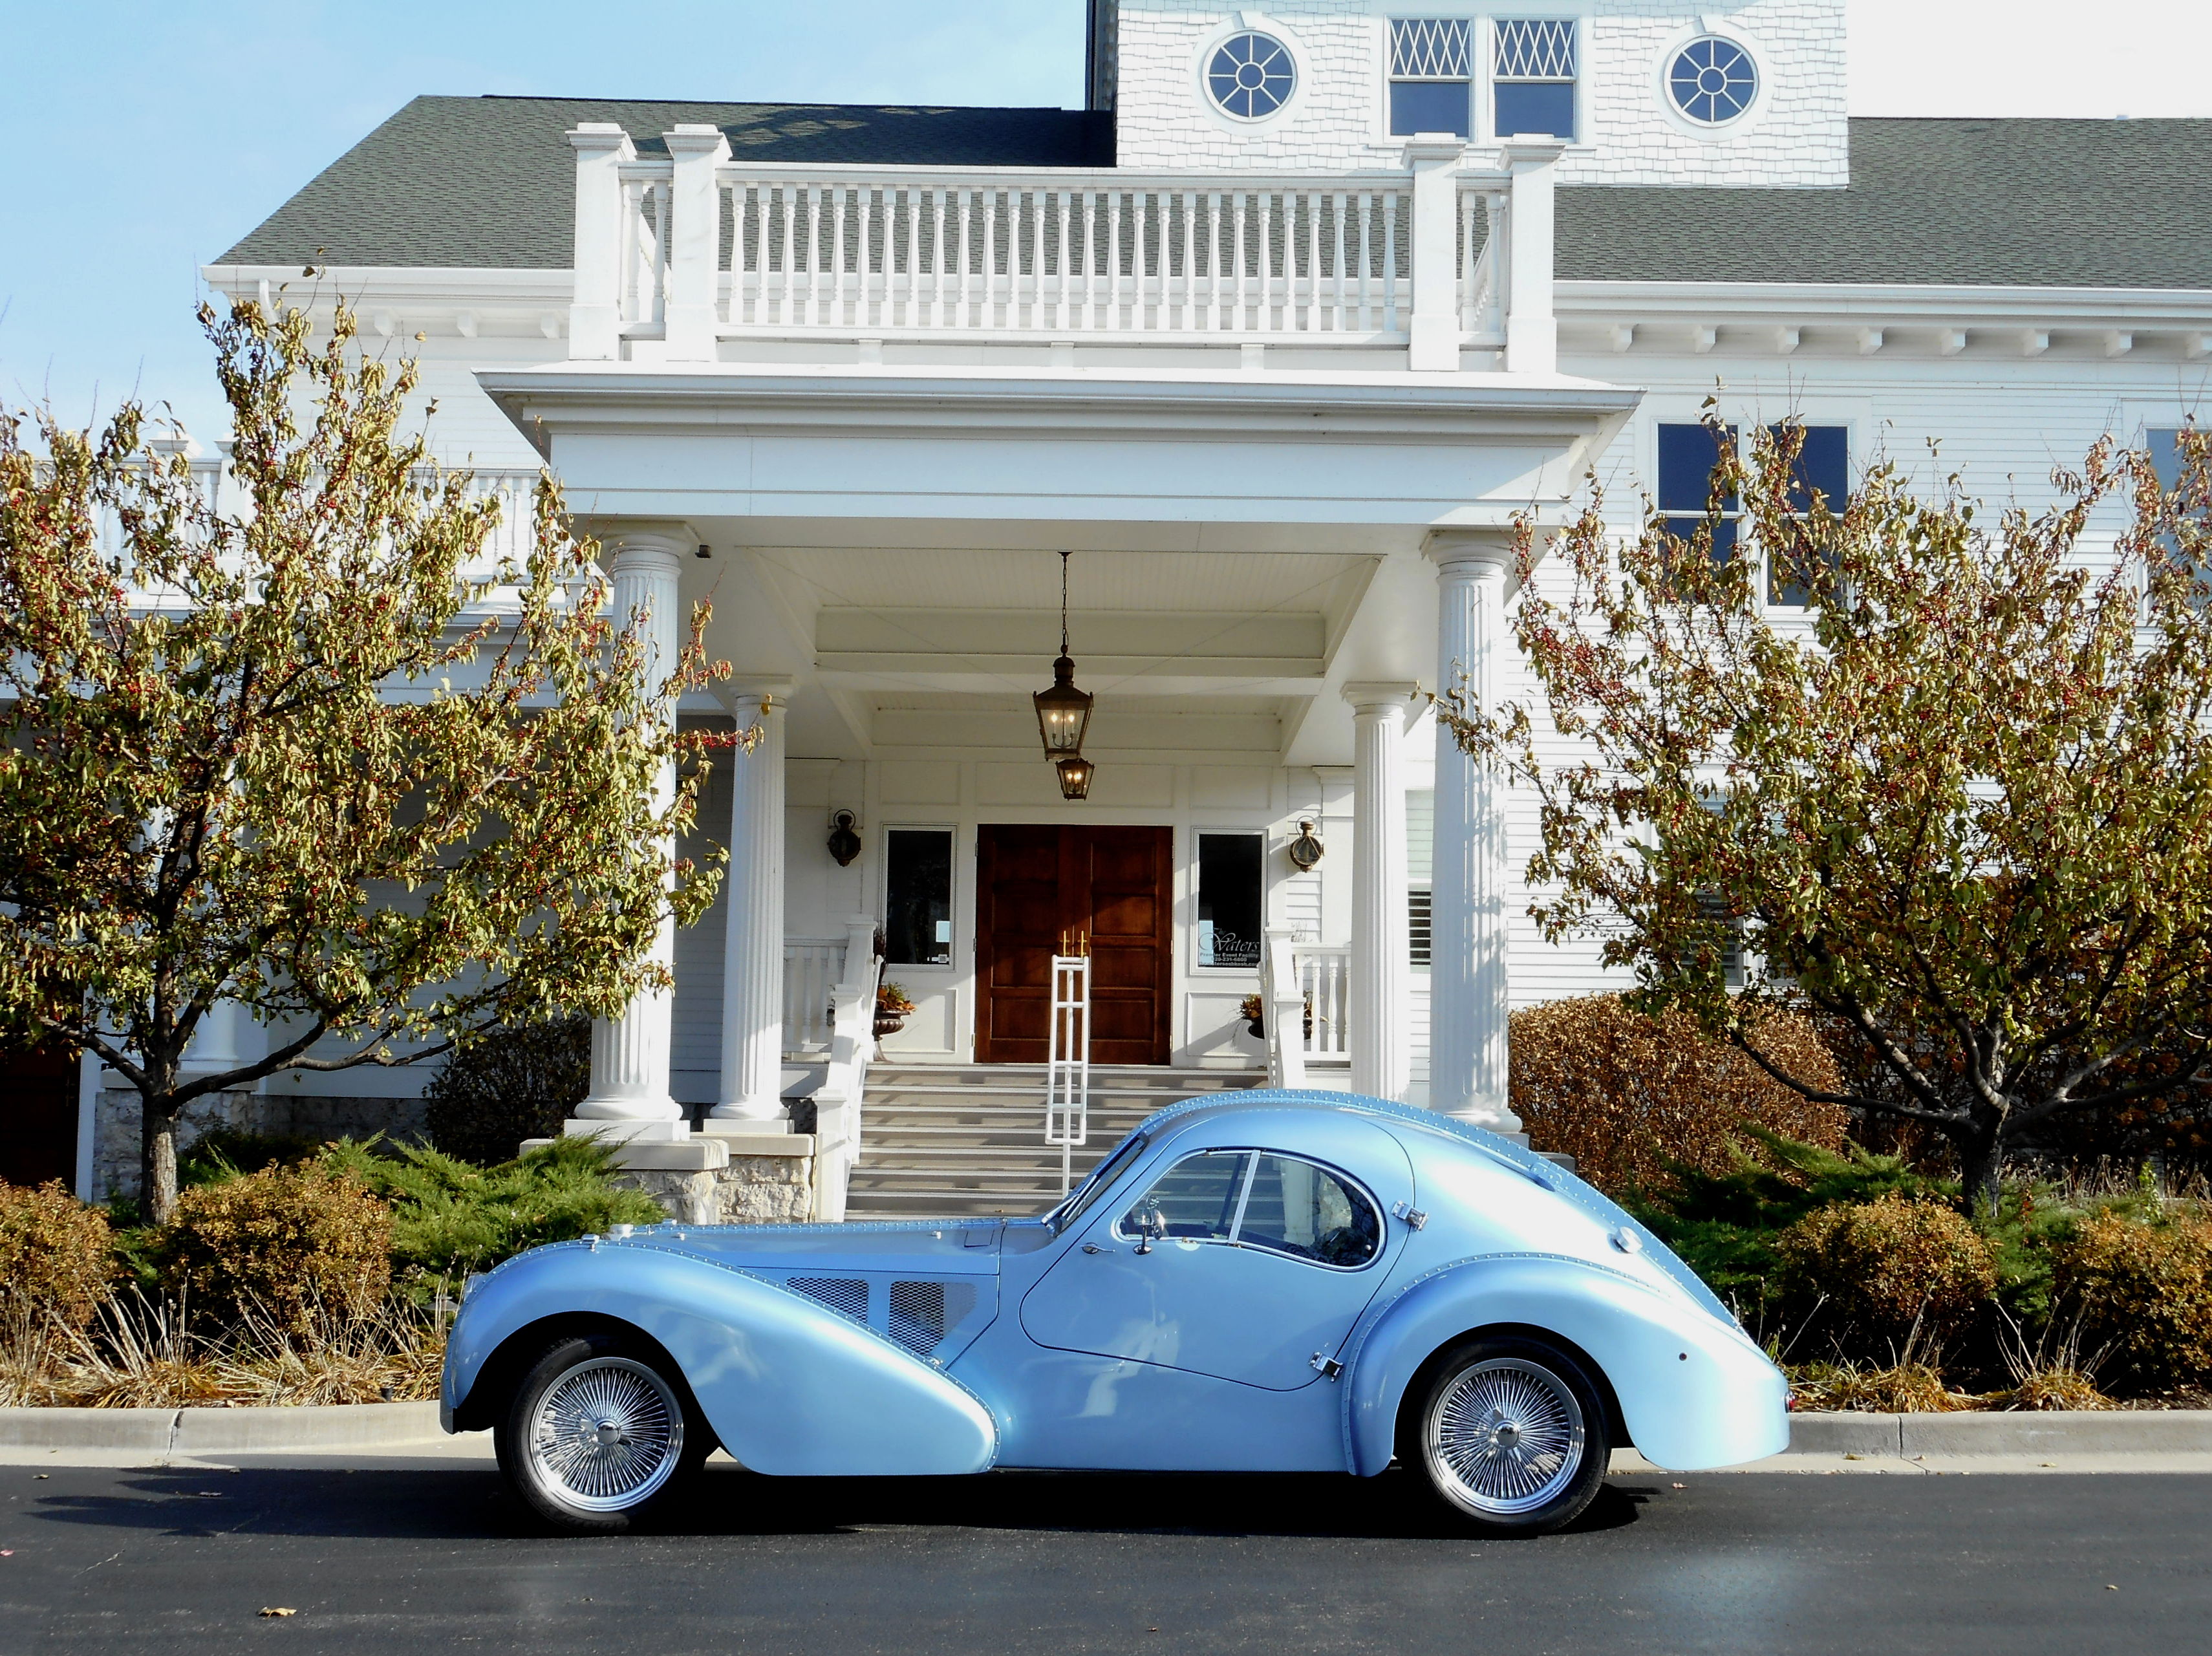
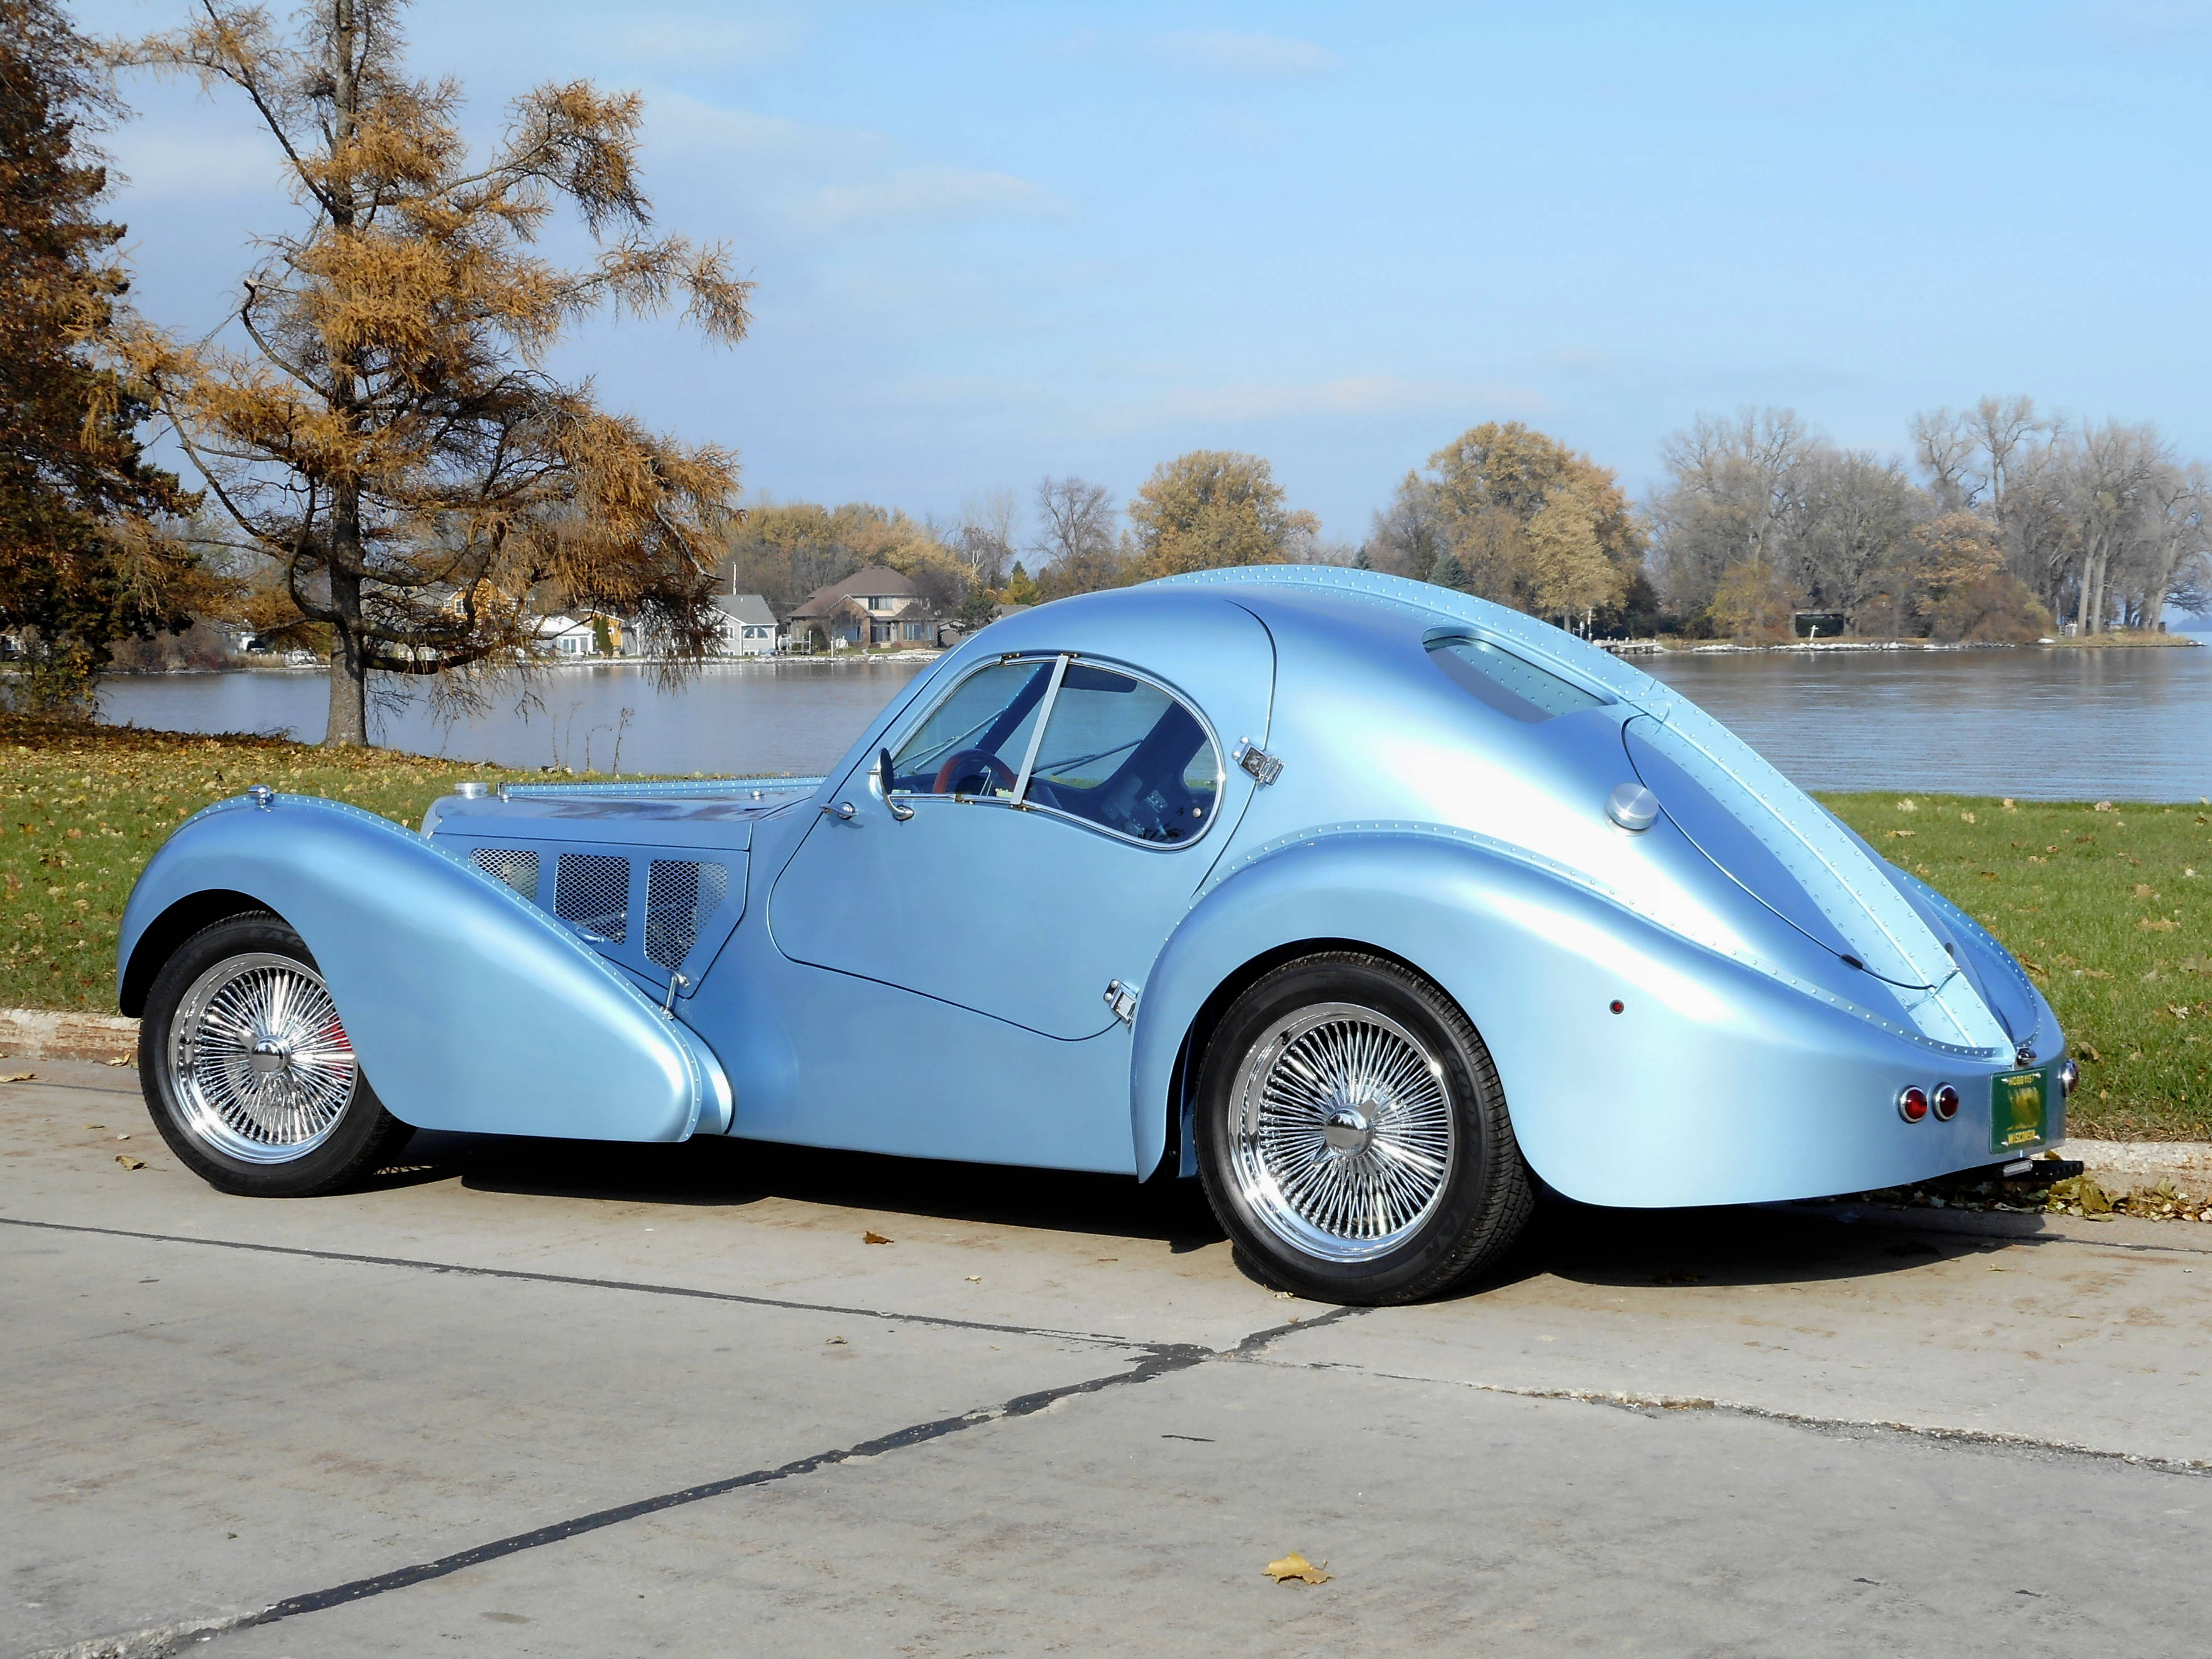
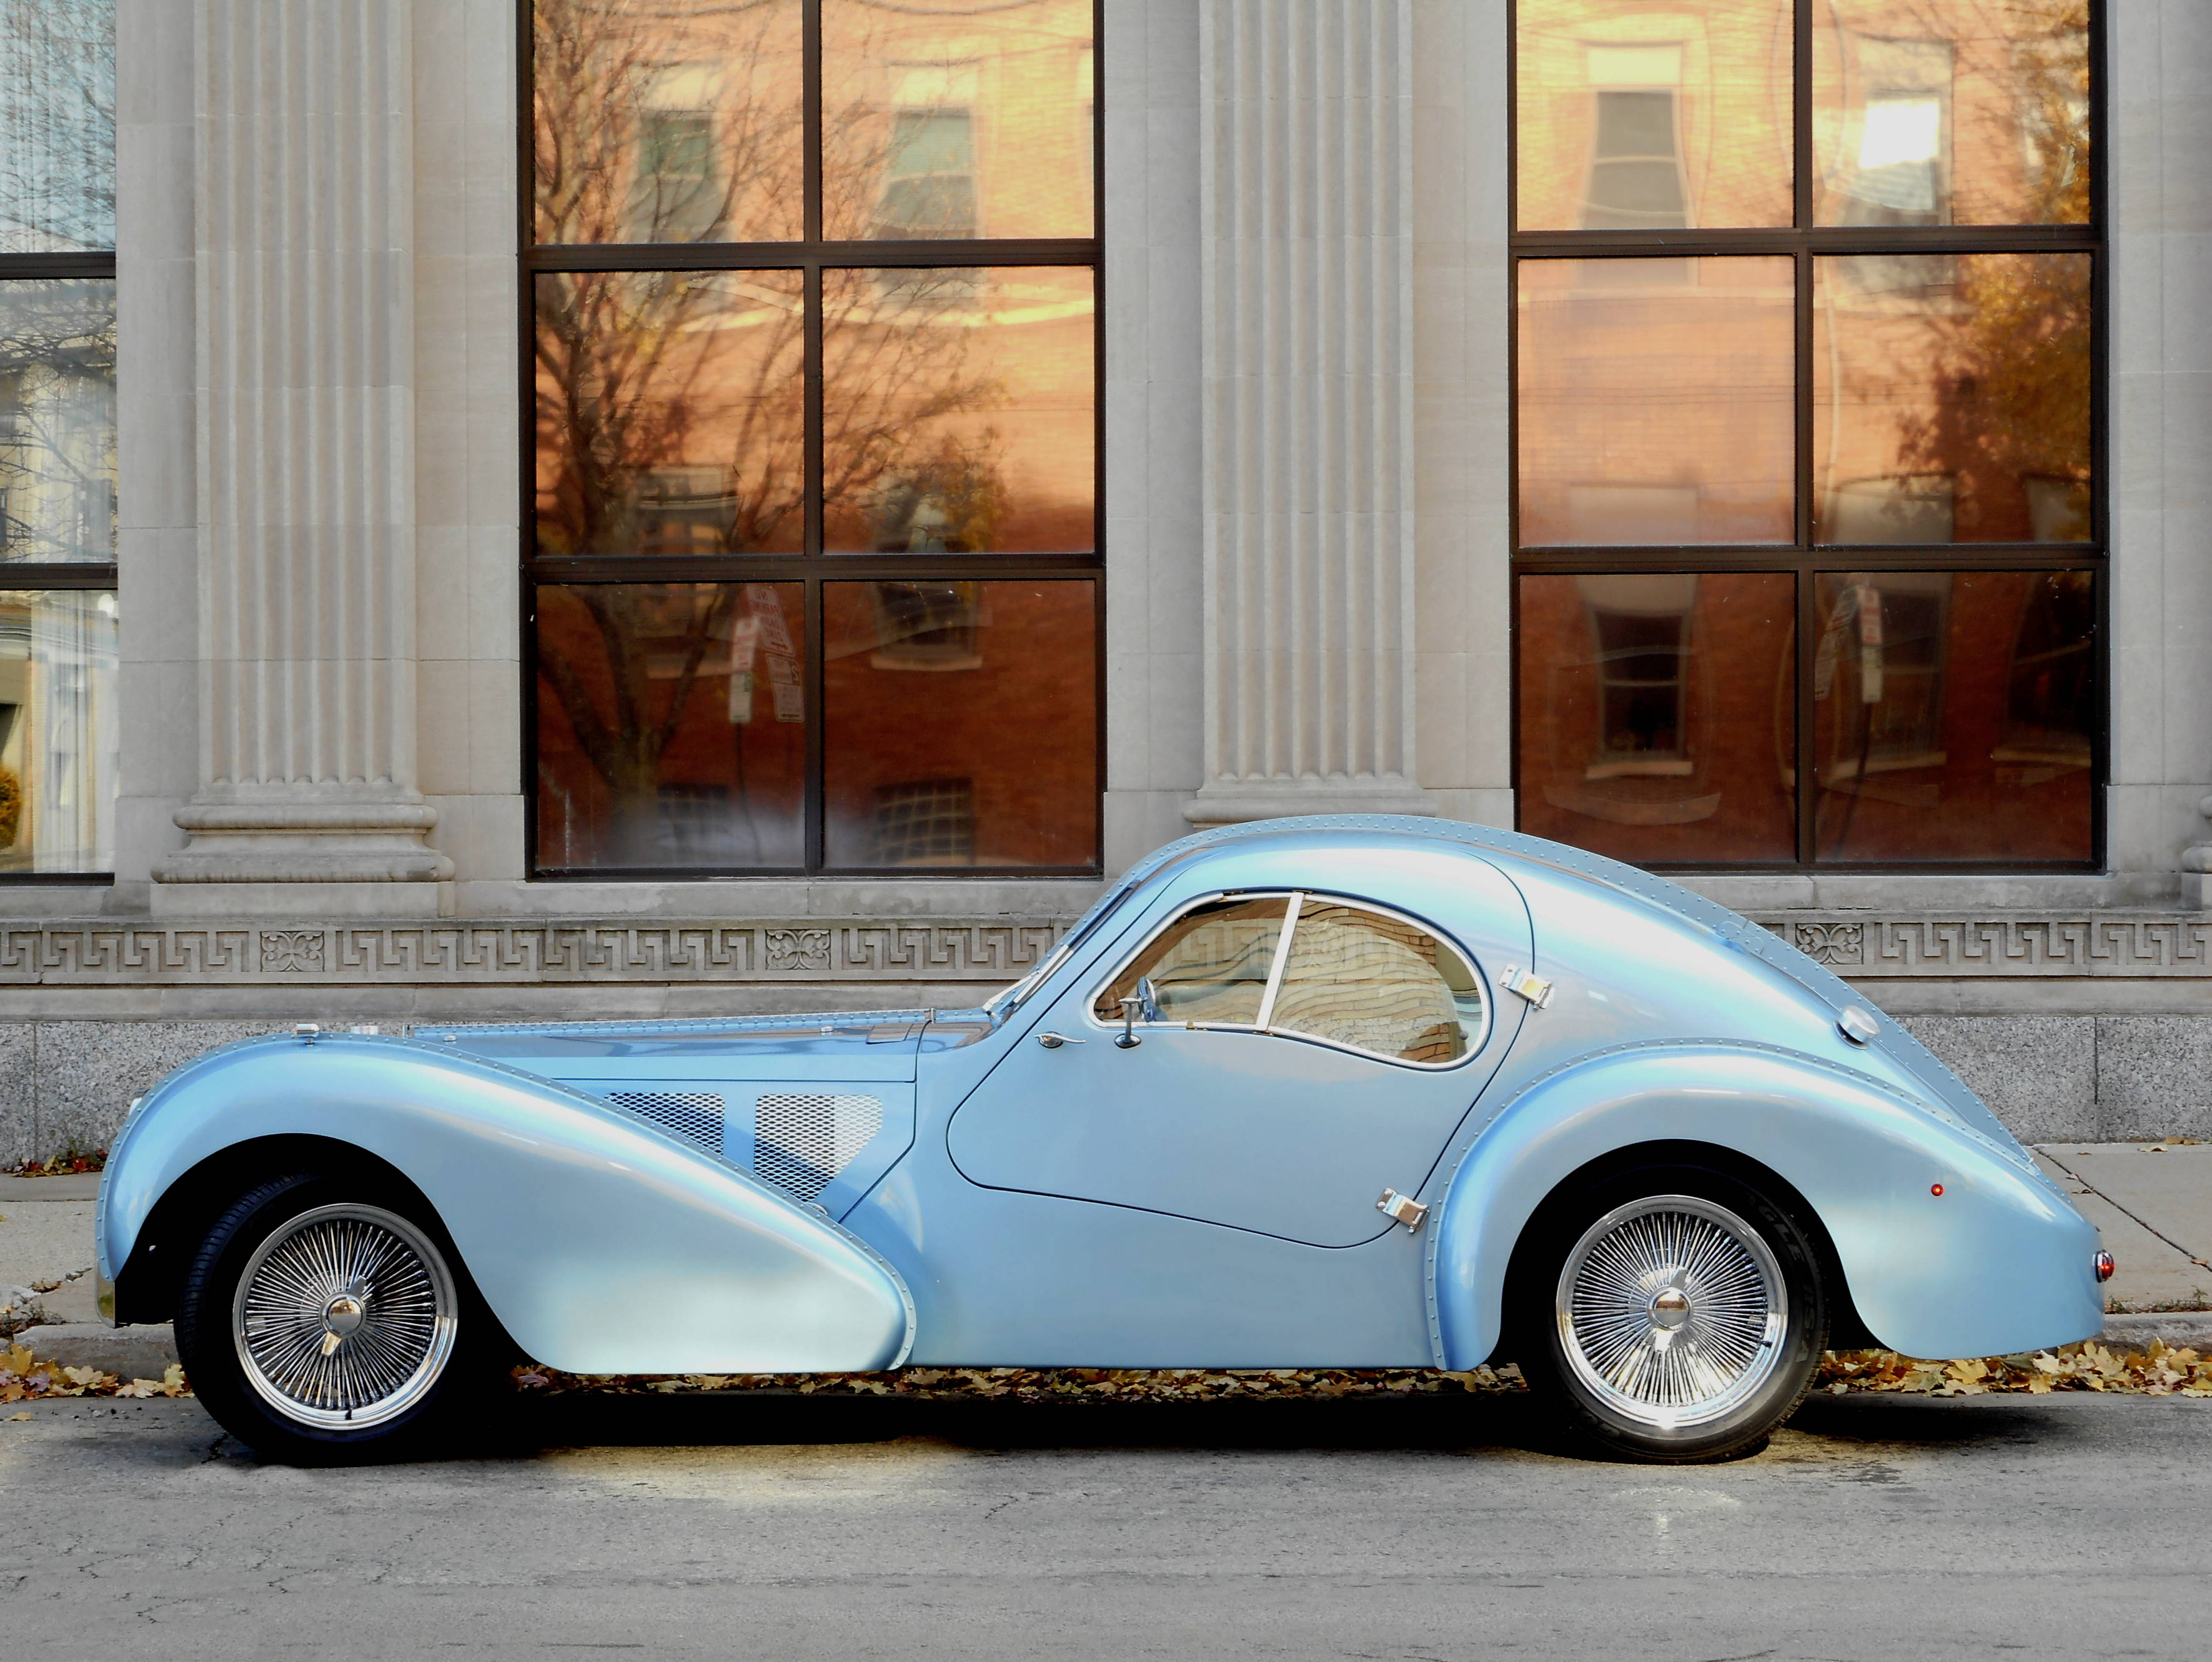
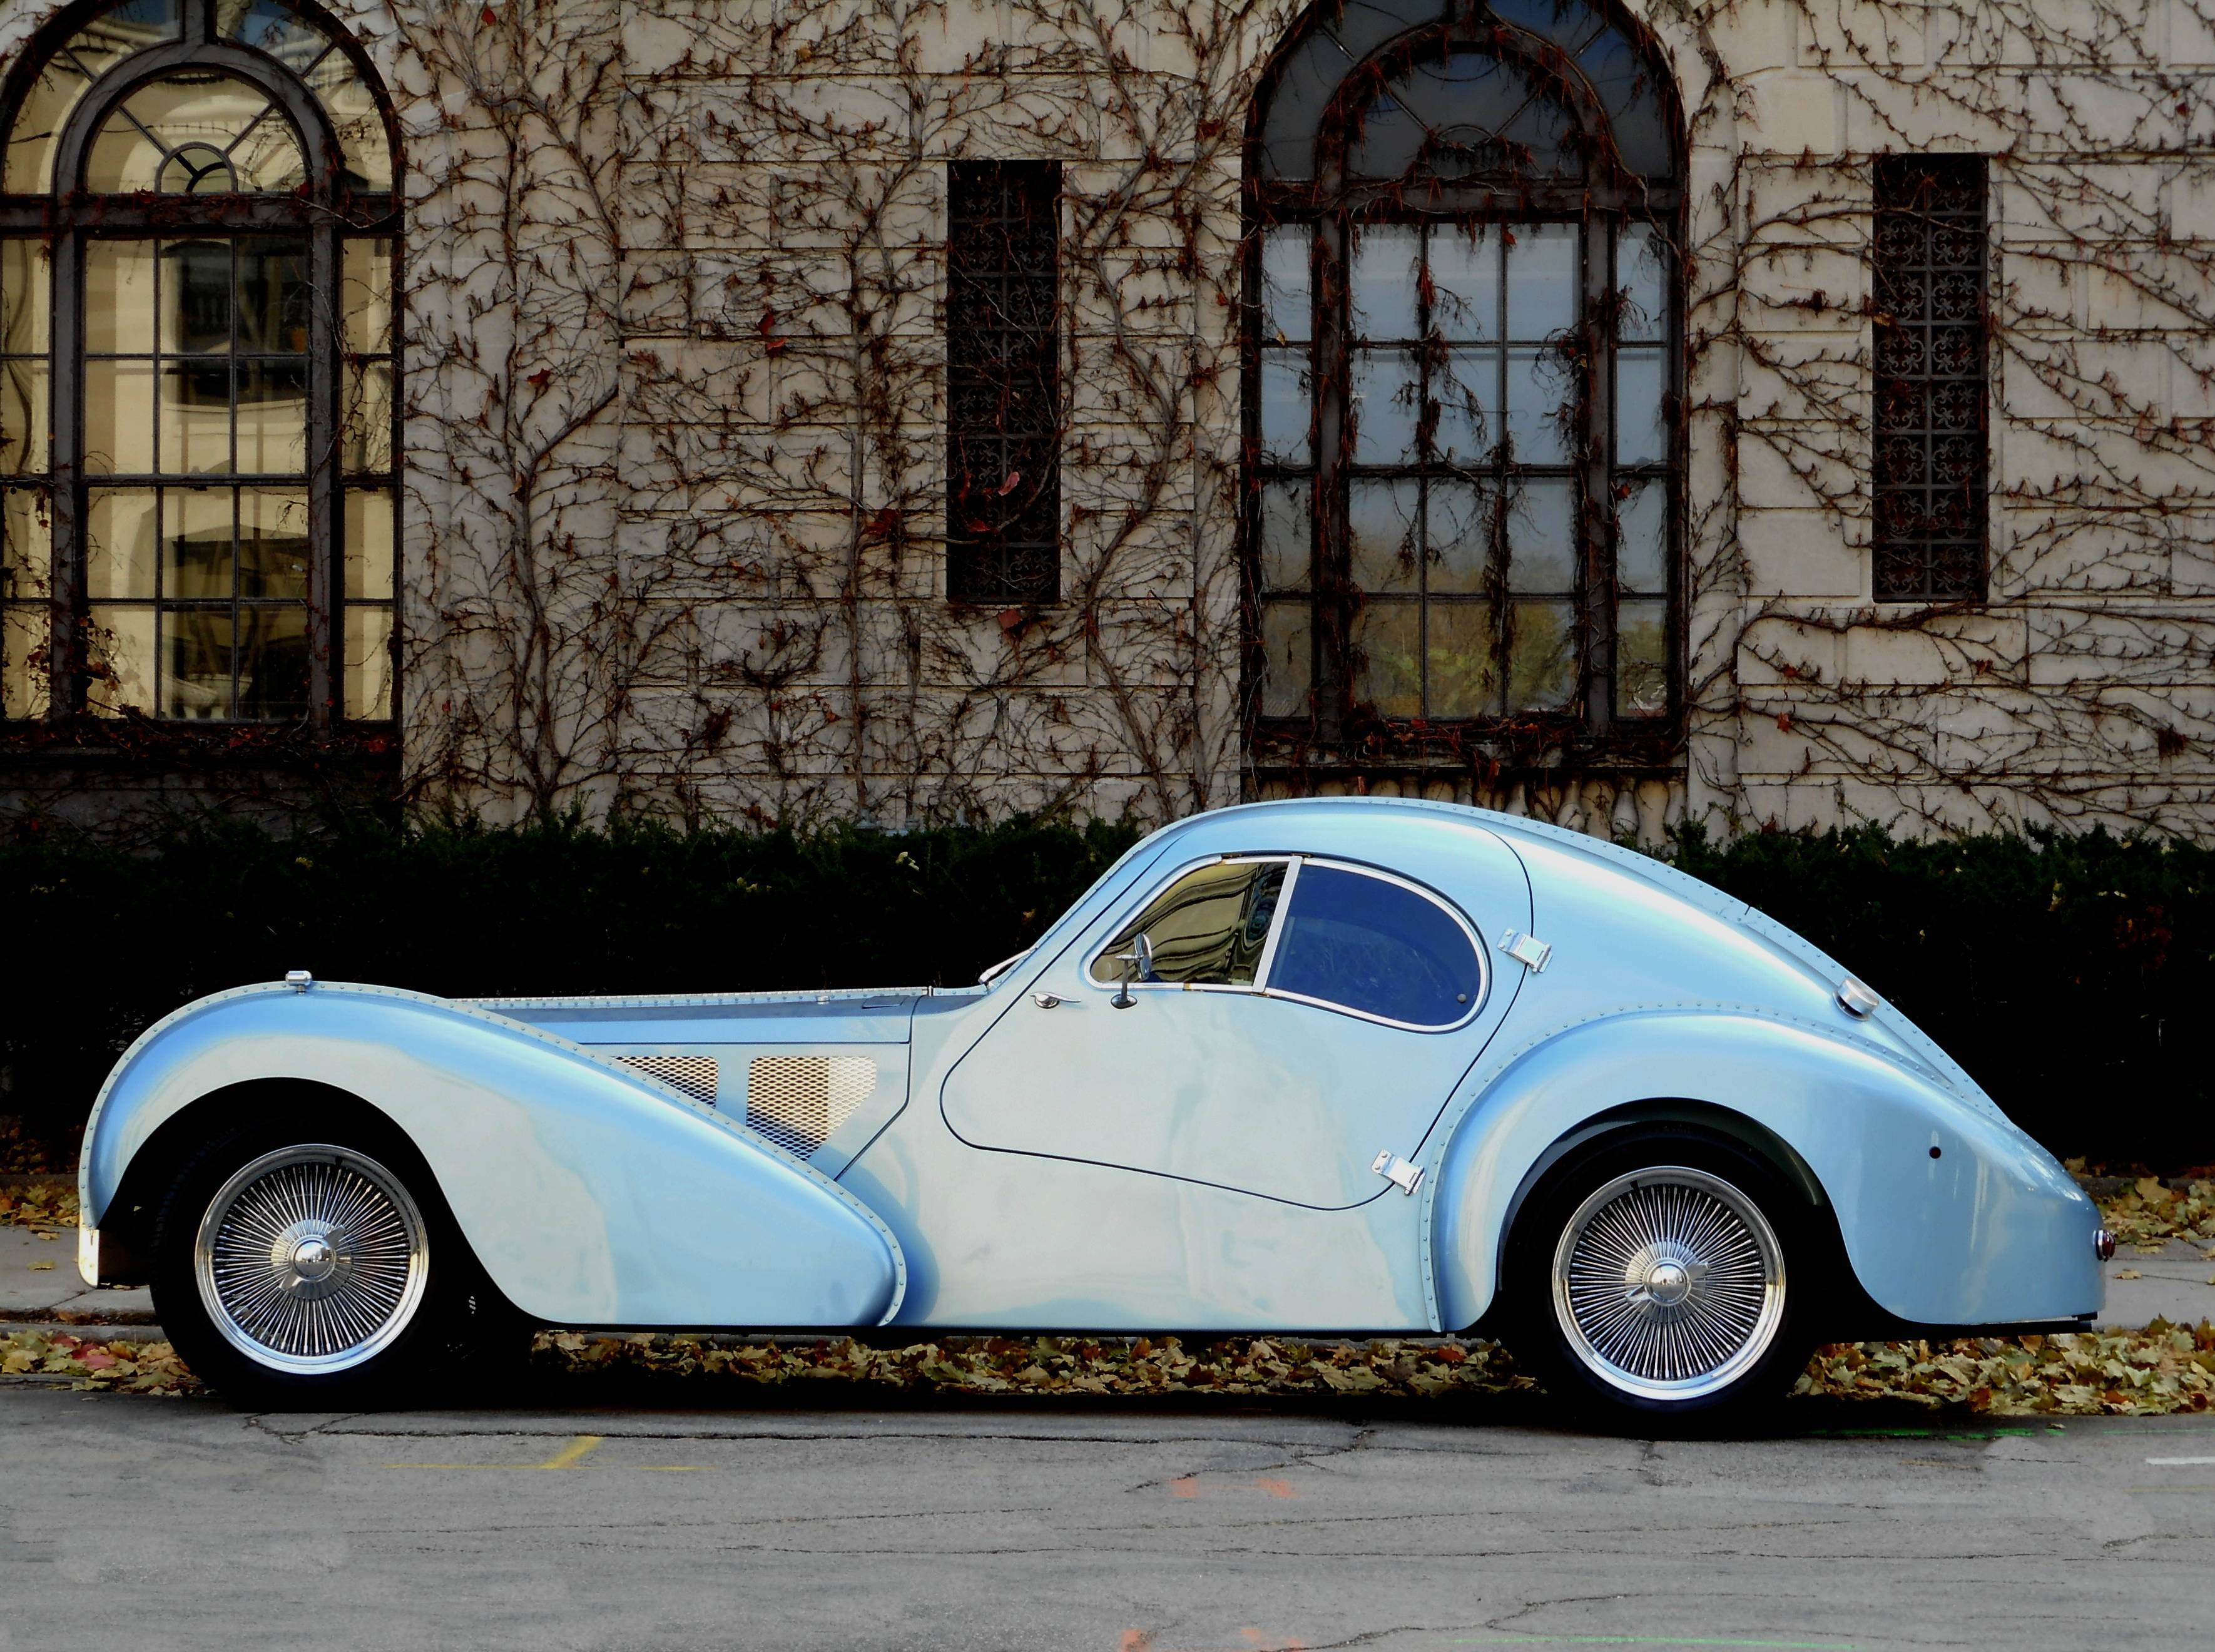
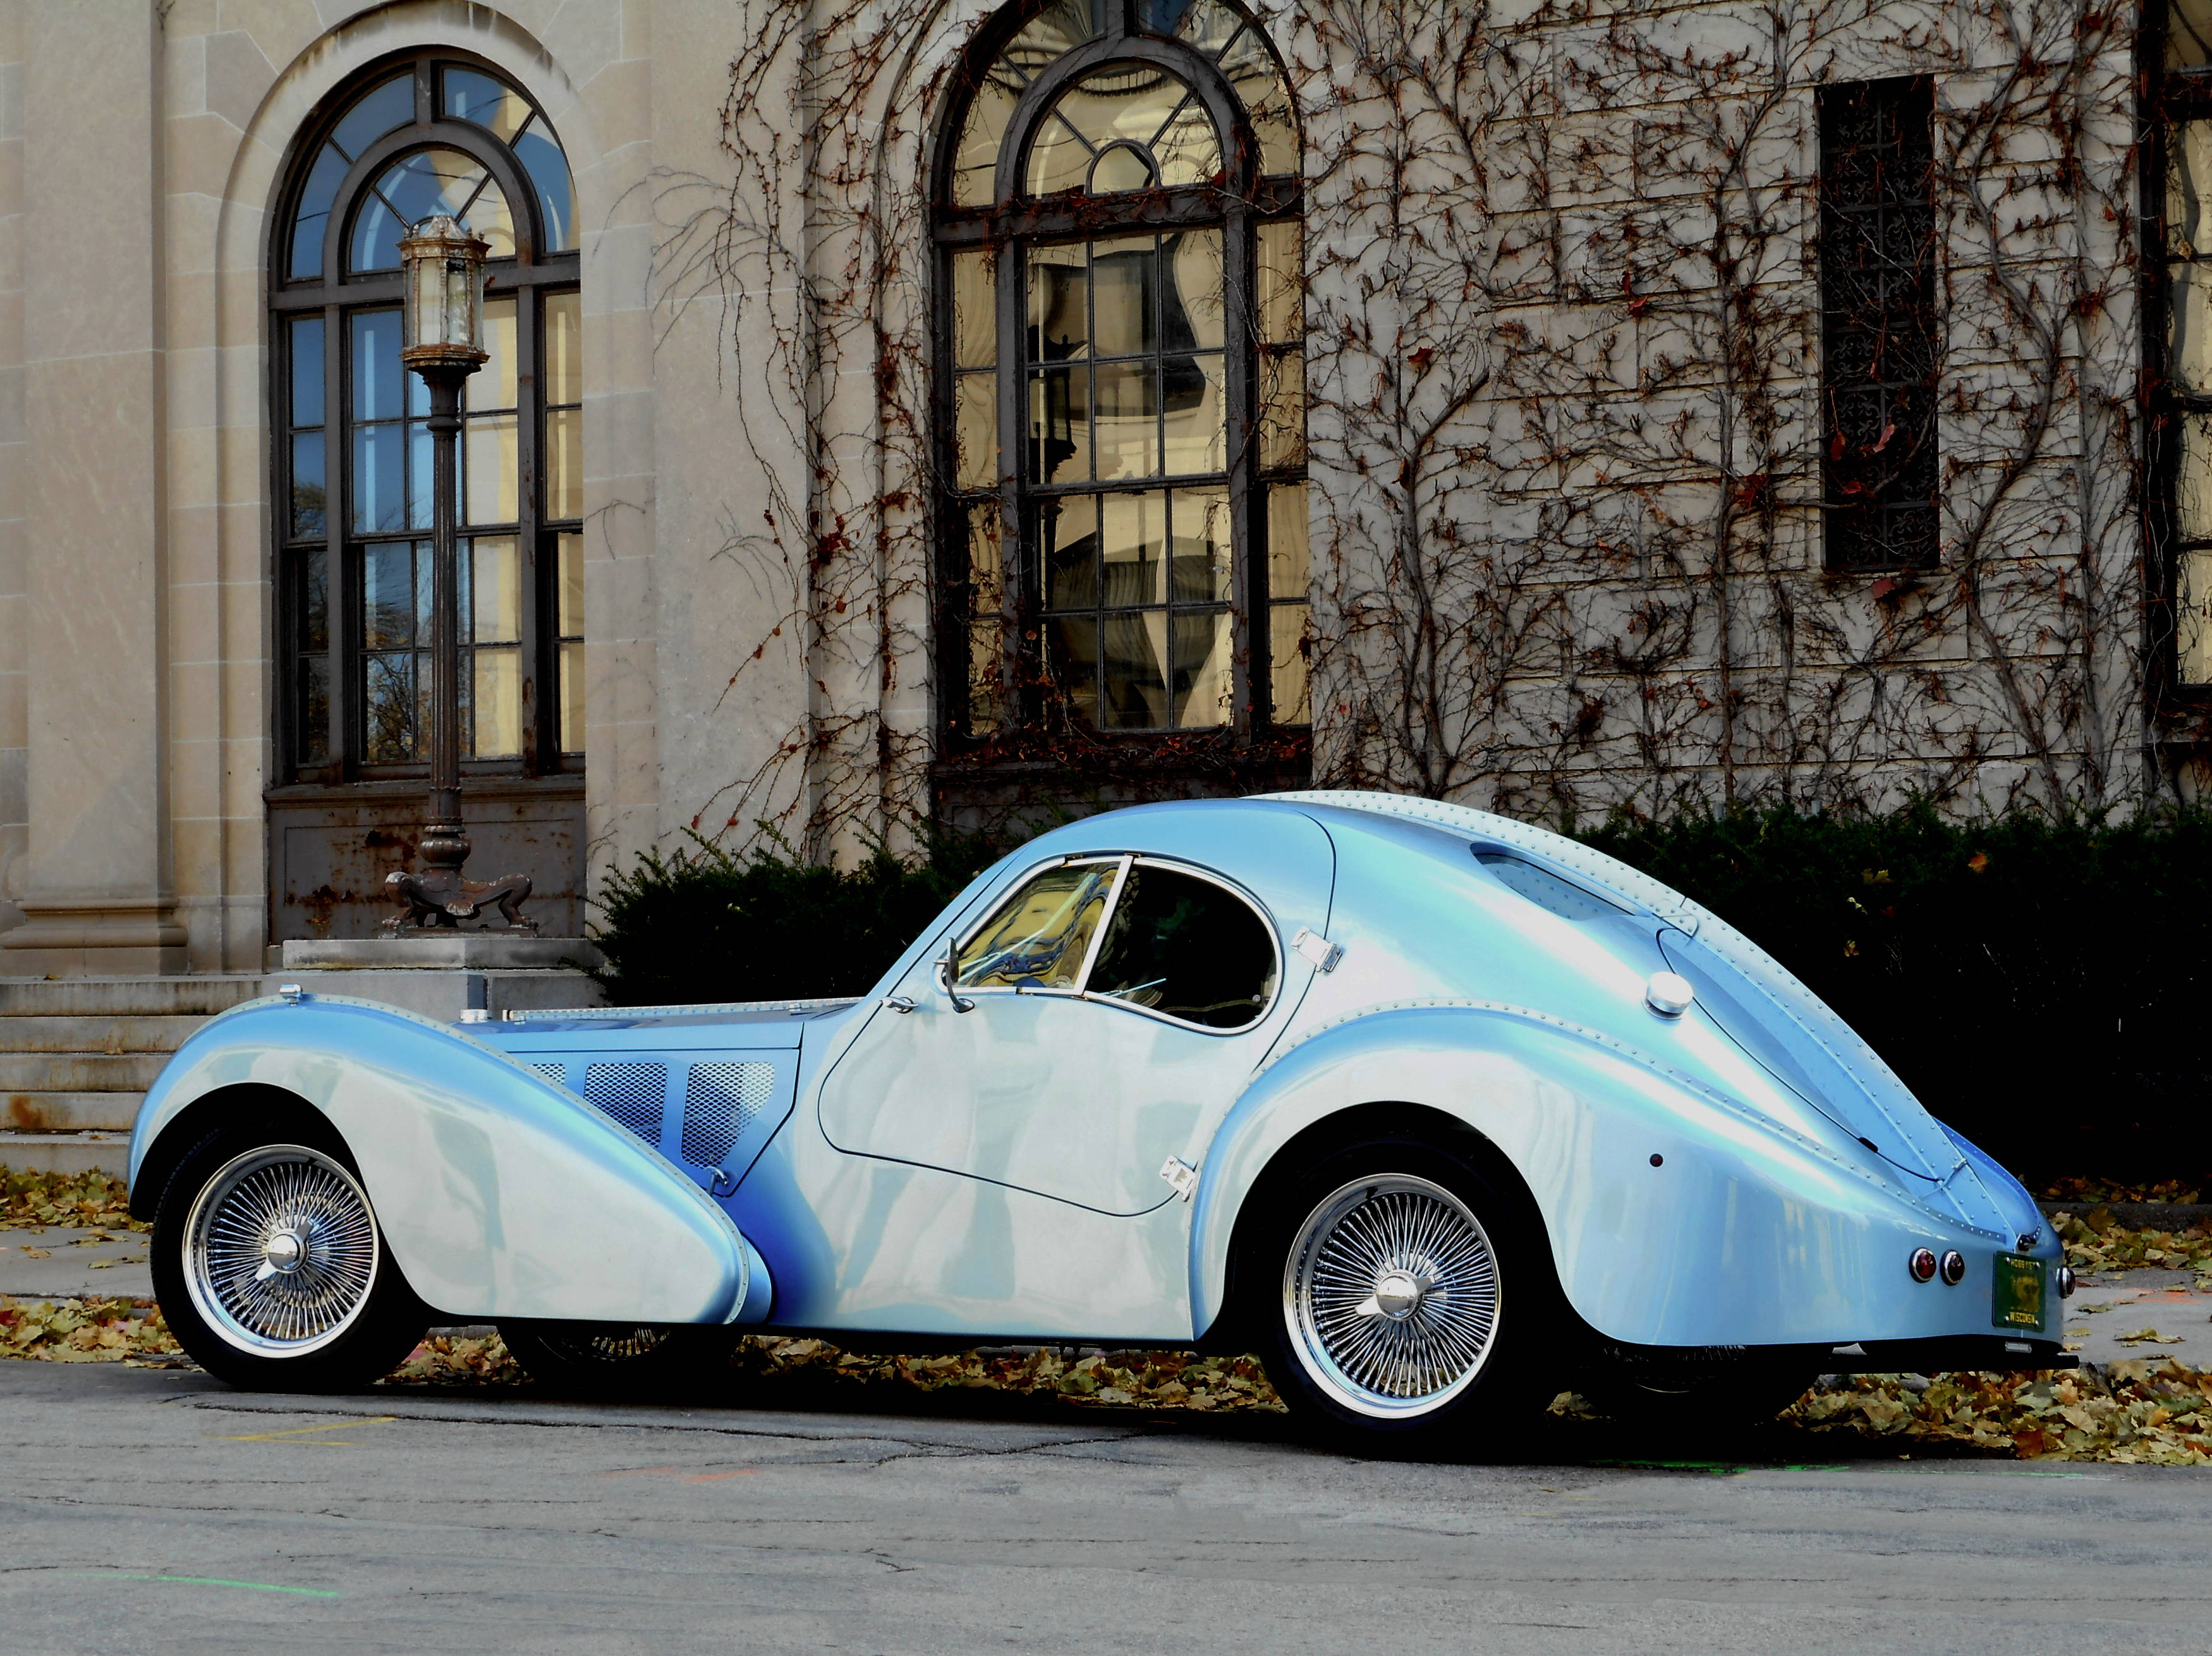
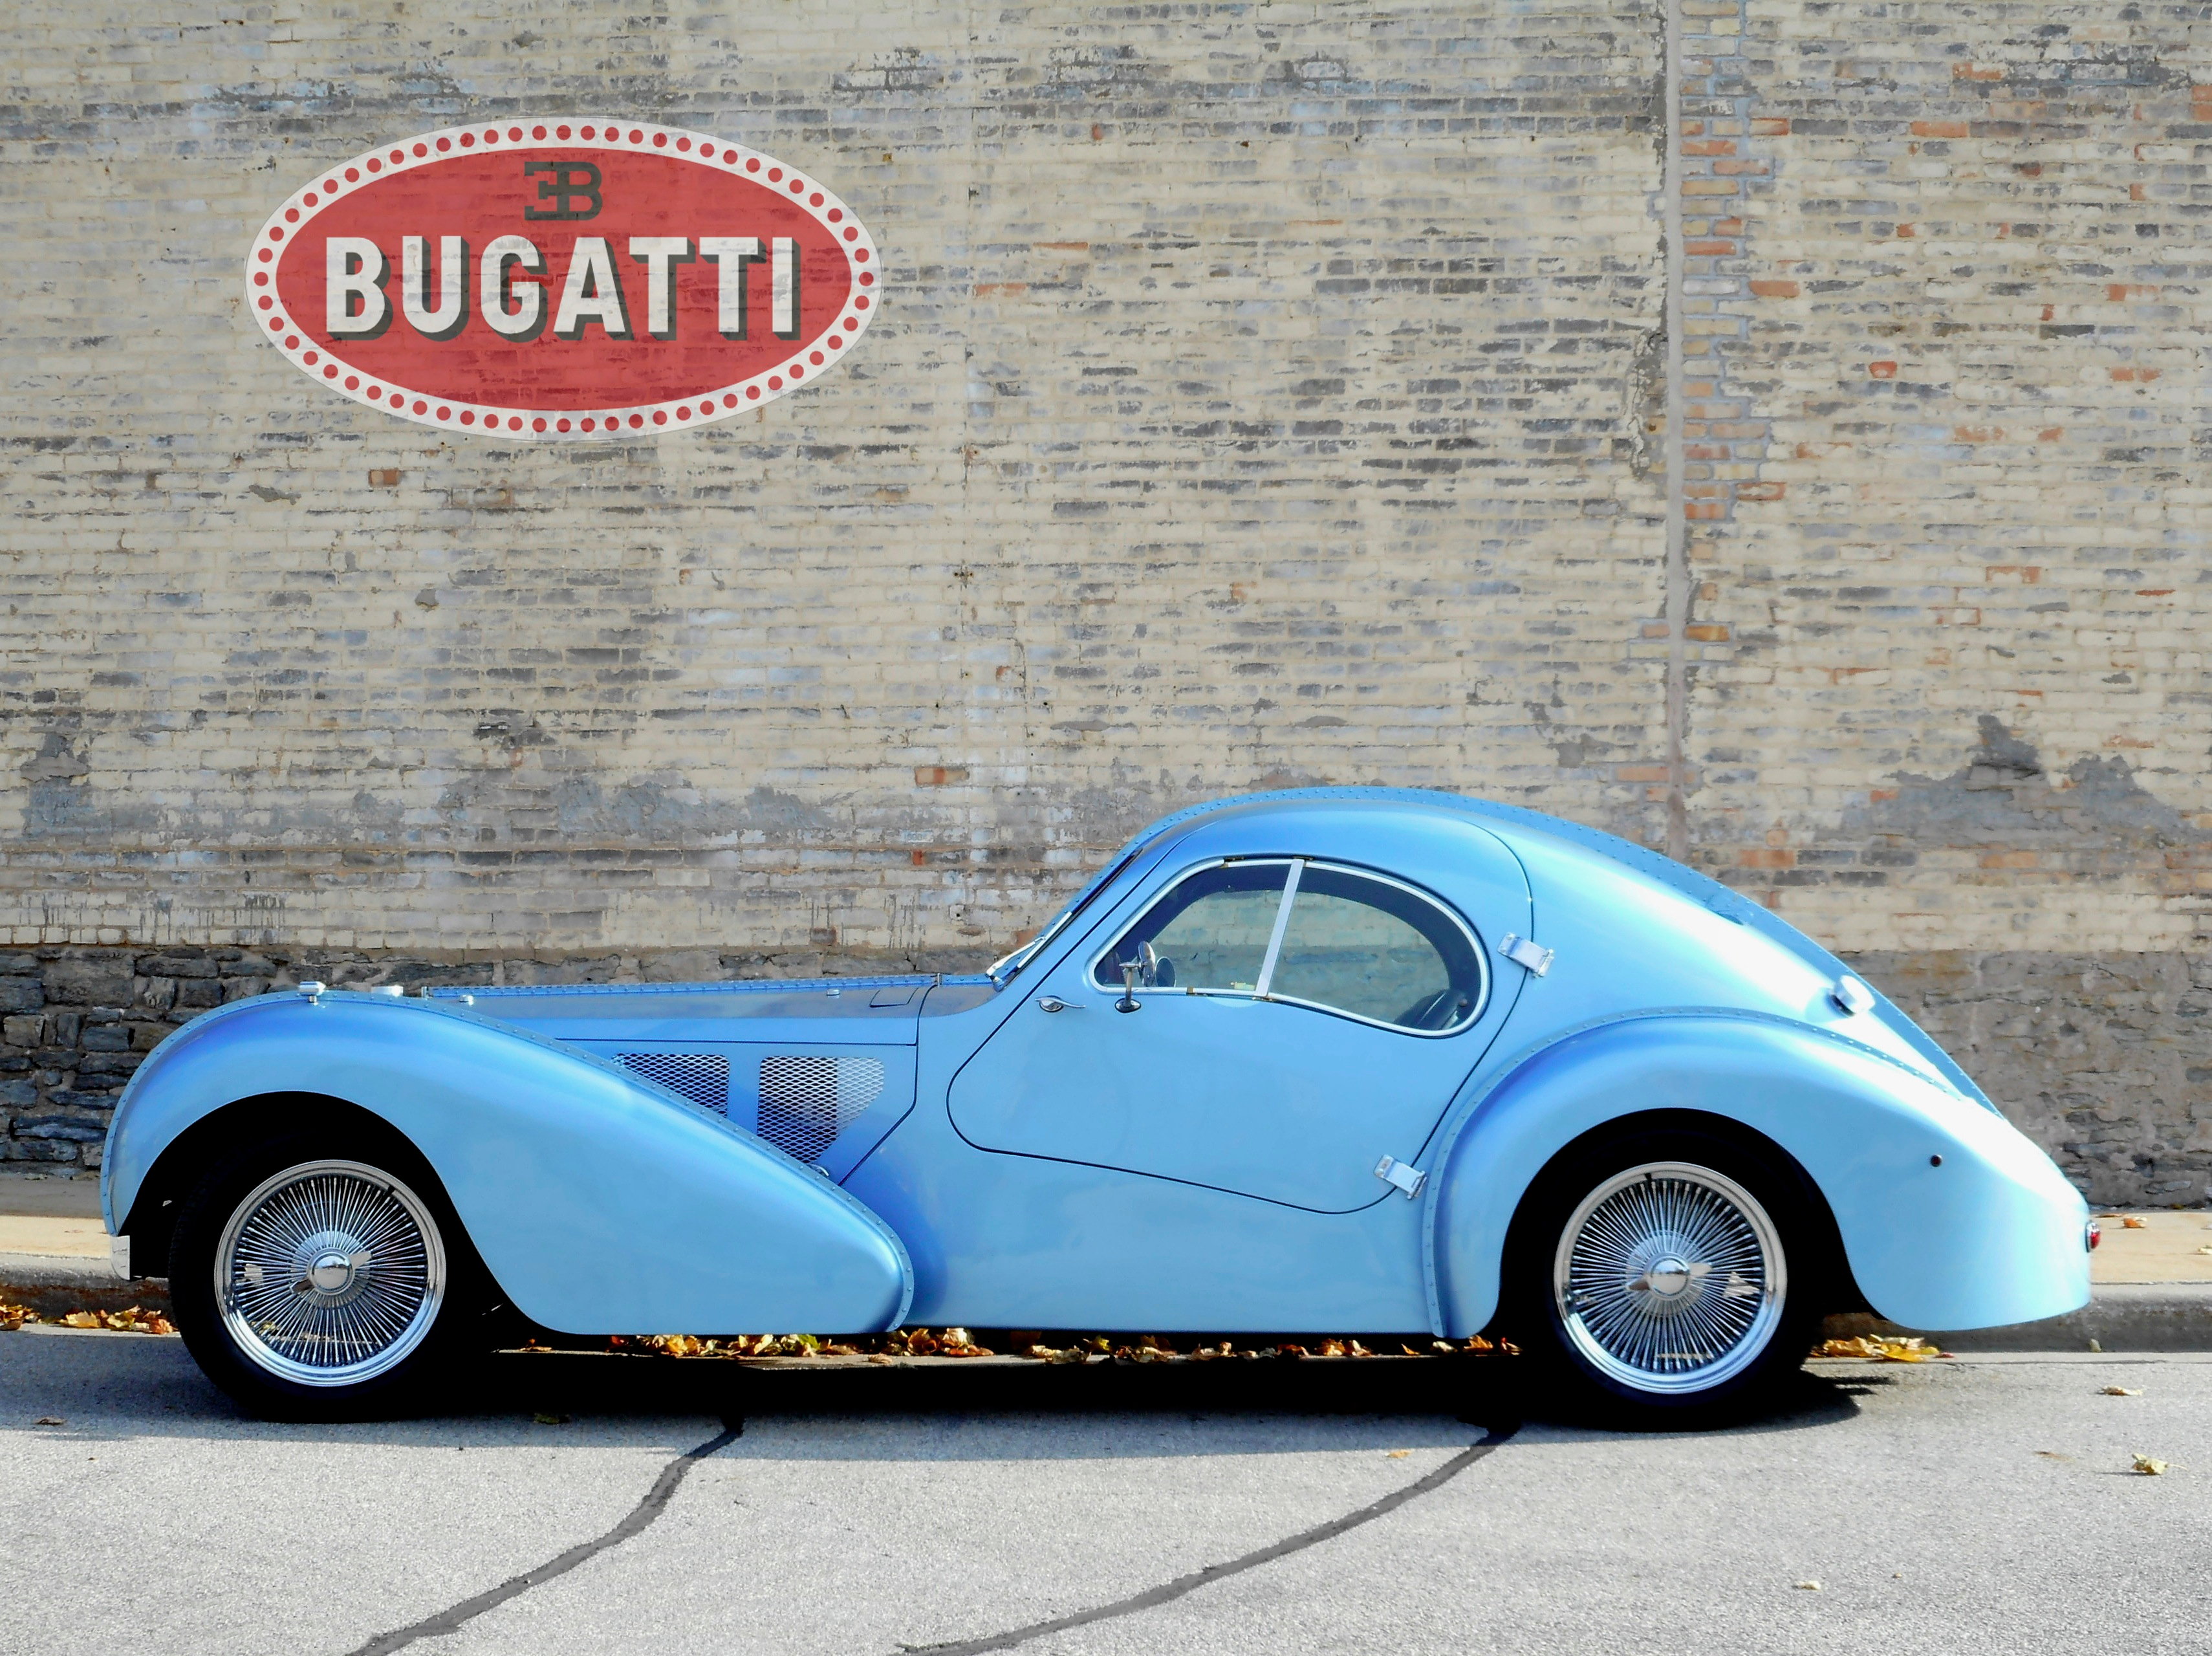
Gallery of Pictures of Painted RABUGGI out and about 11-12-17
[Click for full resolution image, typically 1.1MB each.]
| The Period Appropriate Backgrounds | |
|---|---|
|
|


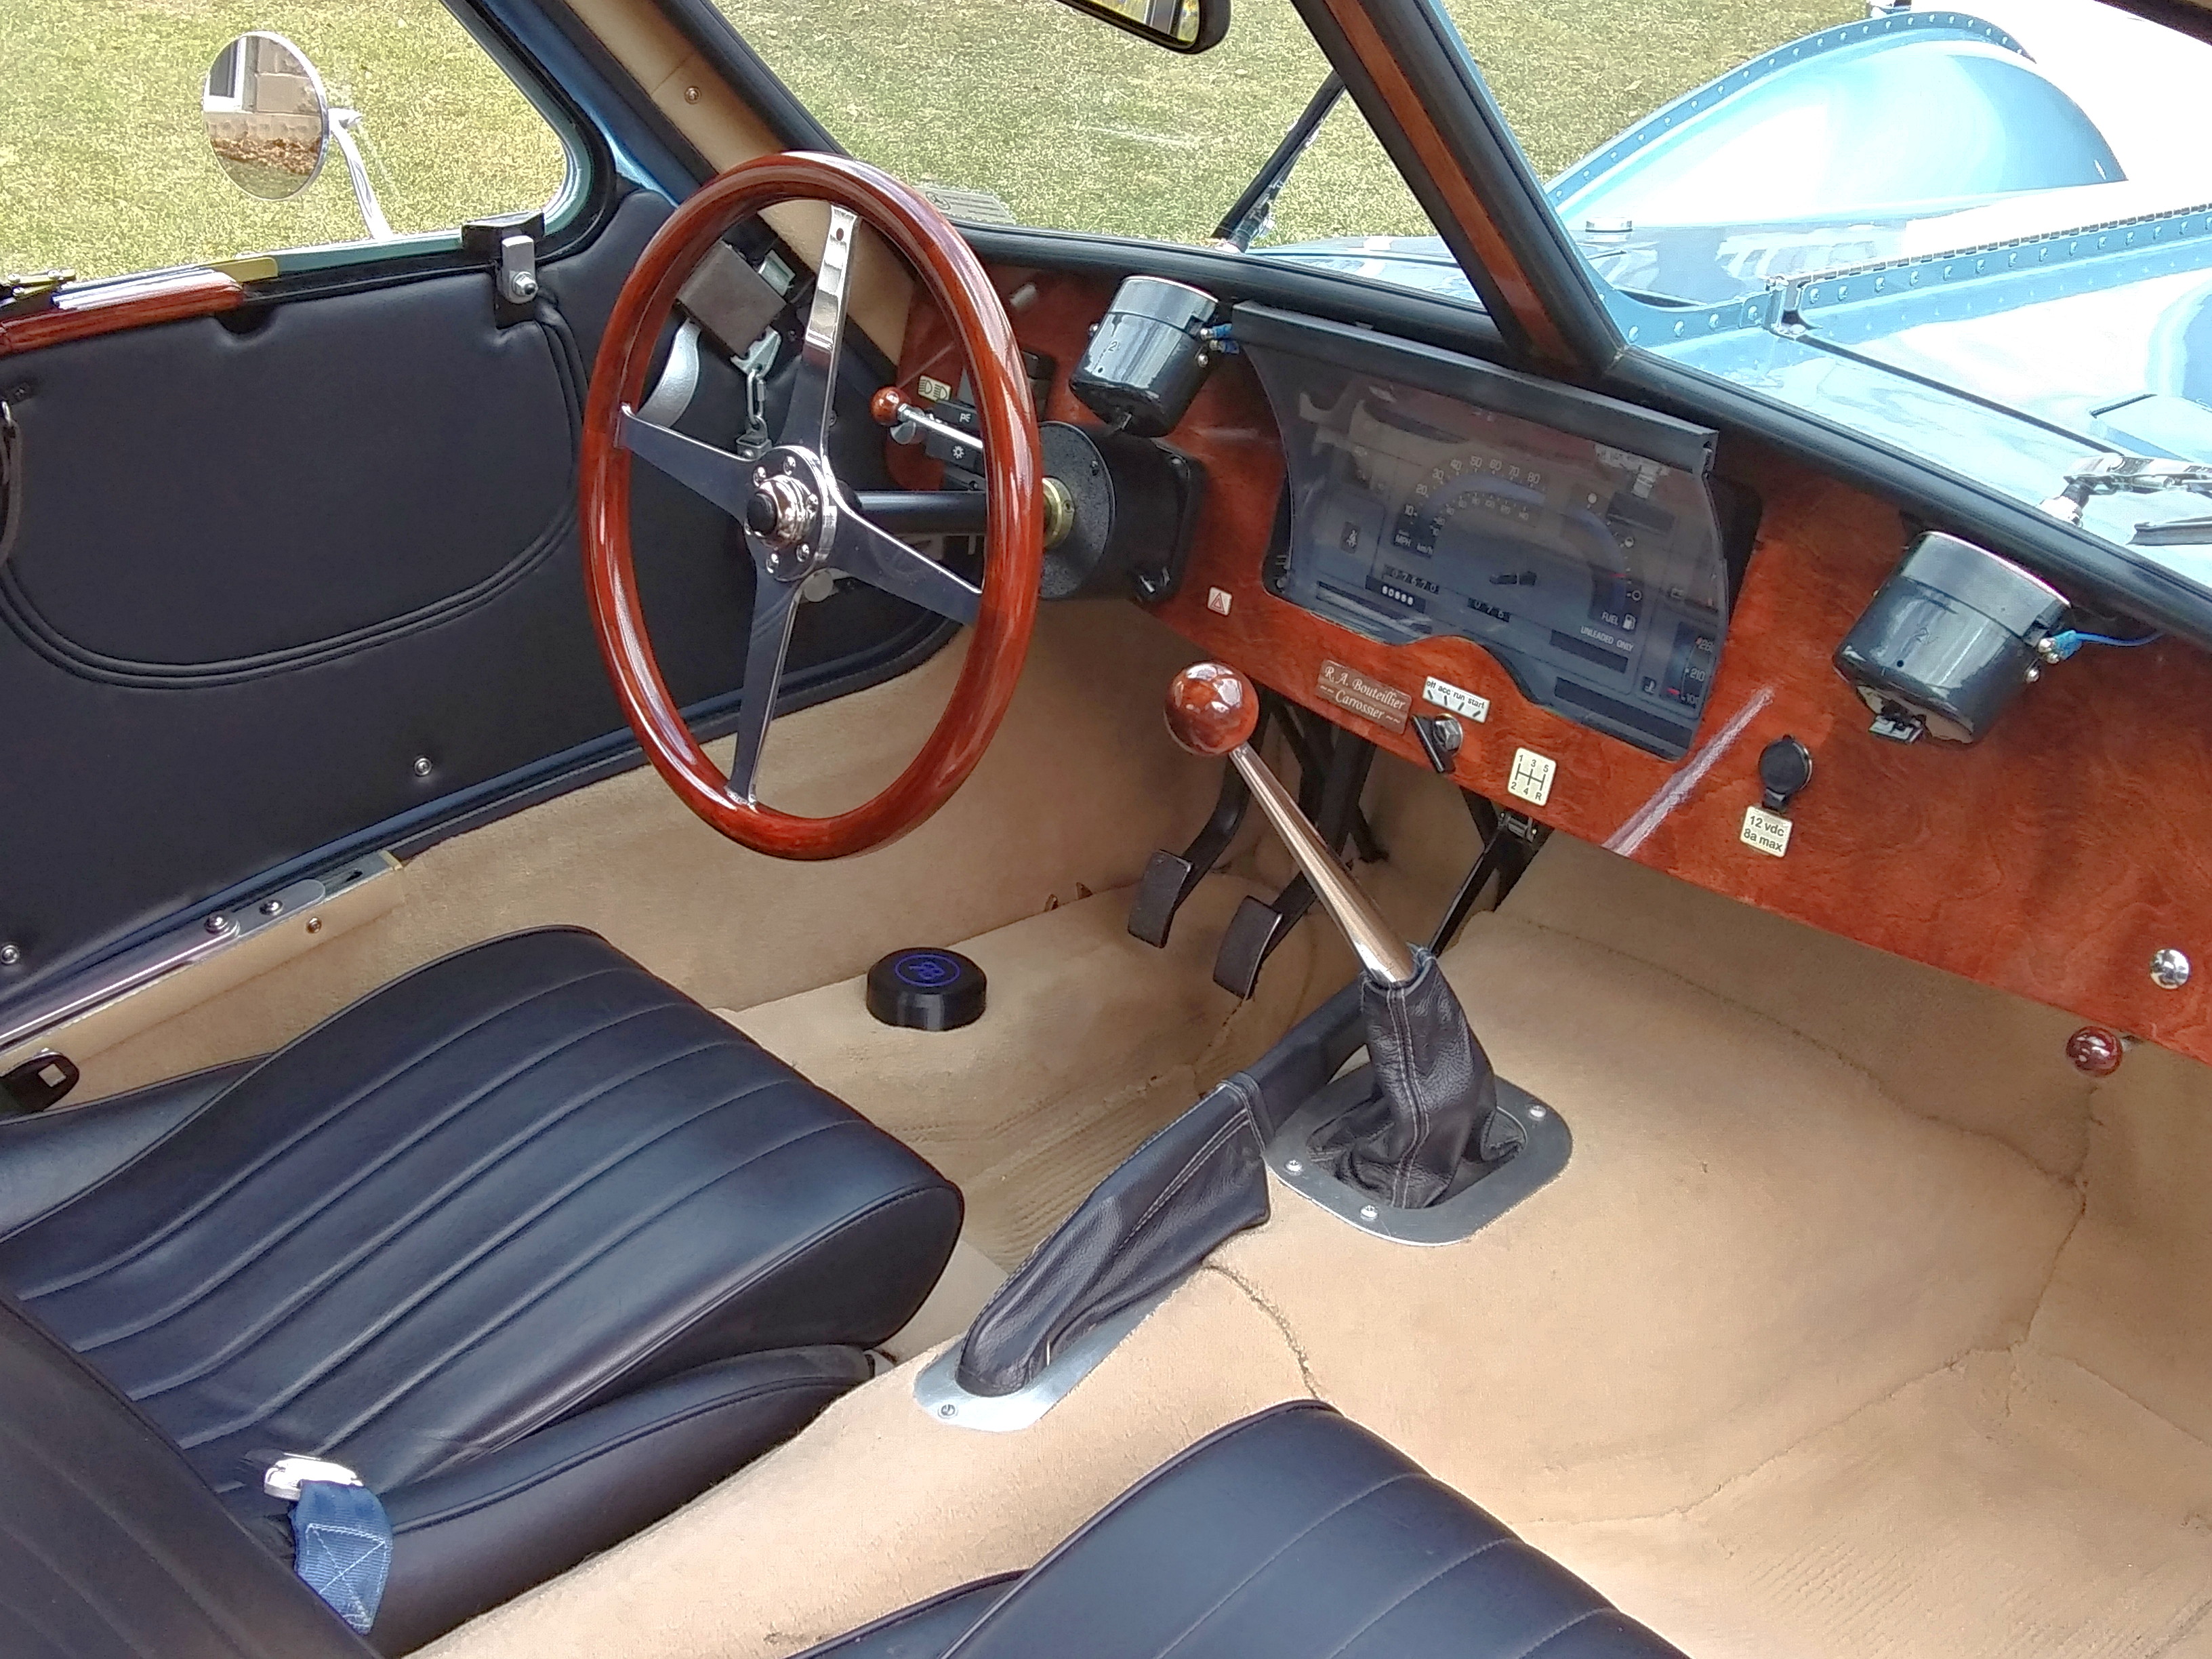
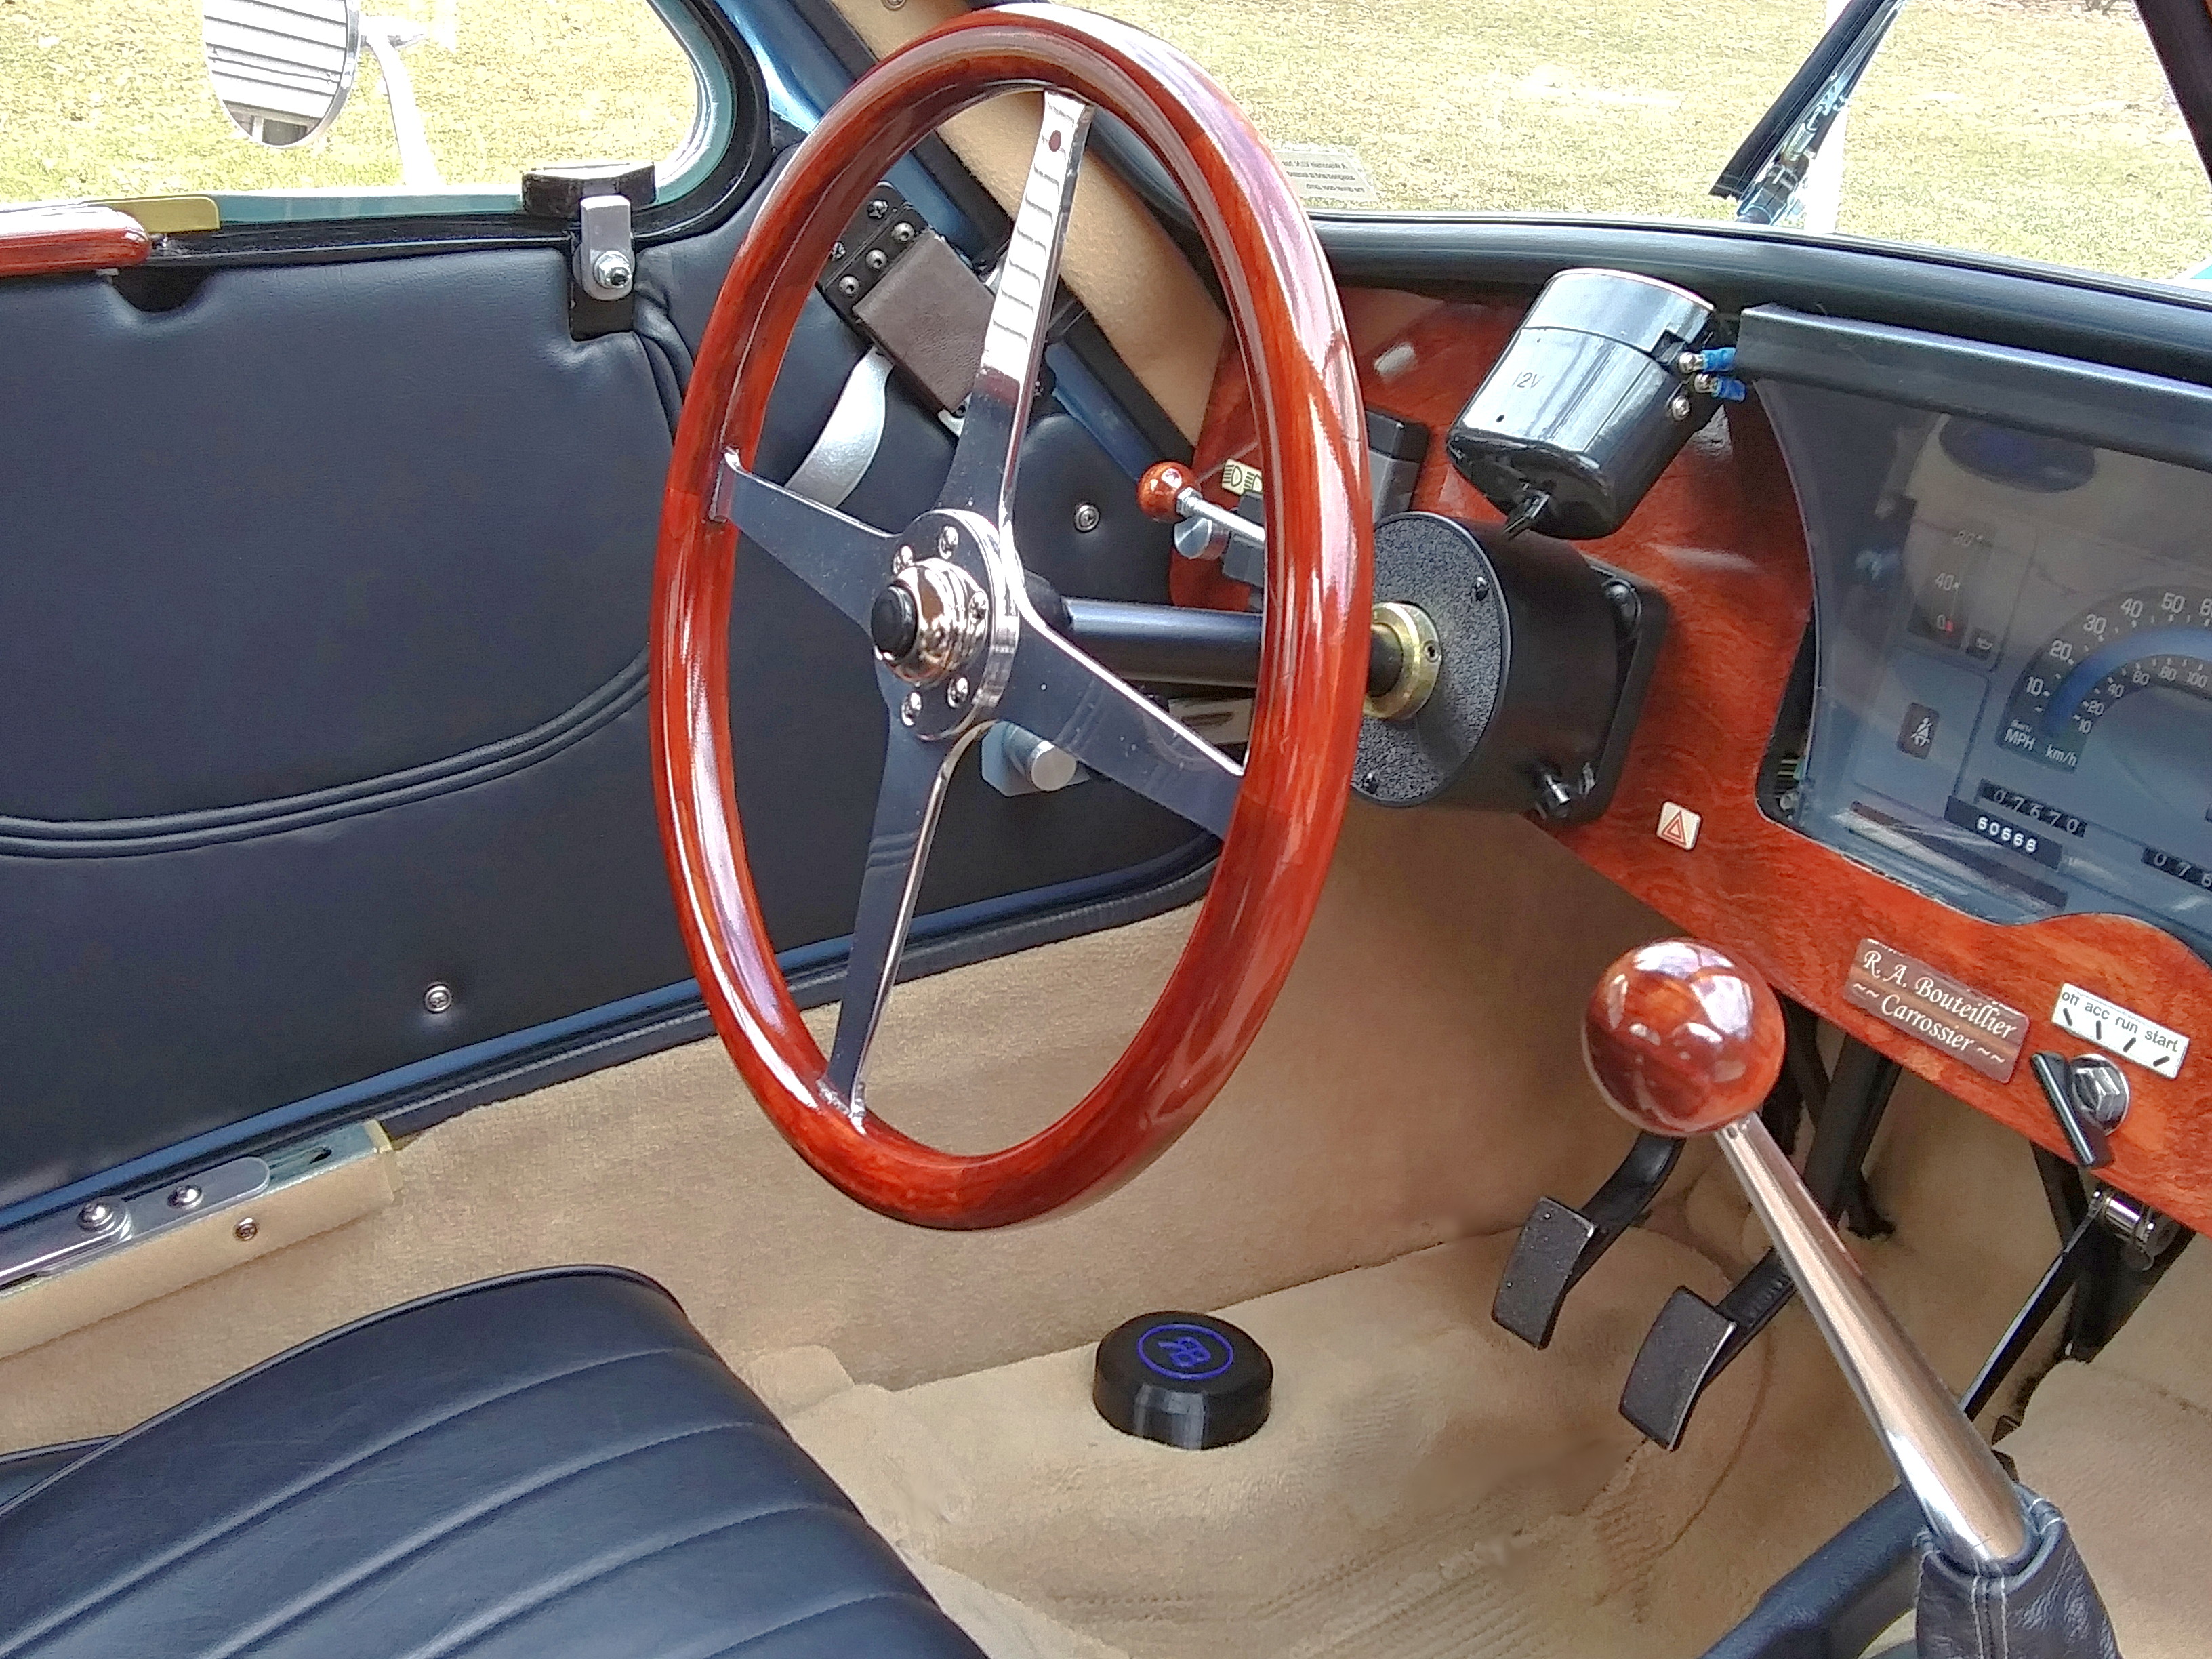
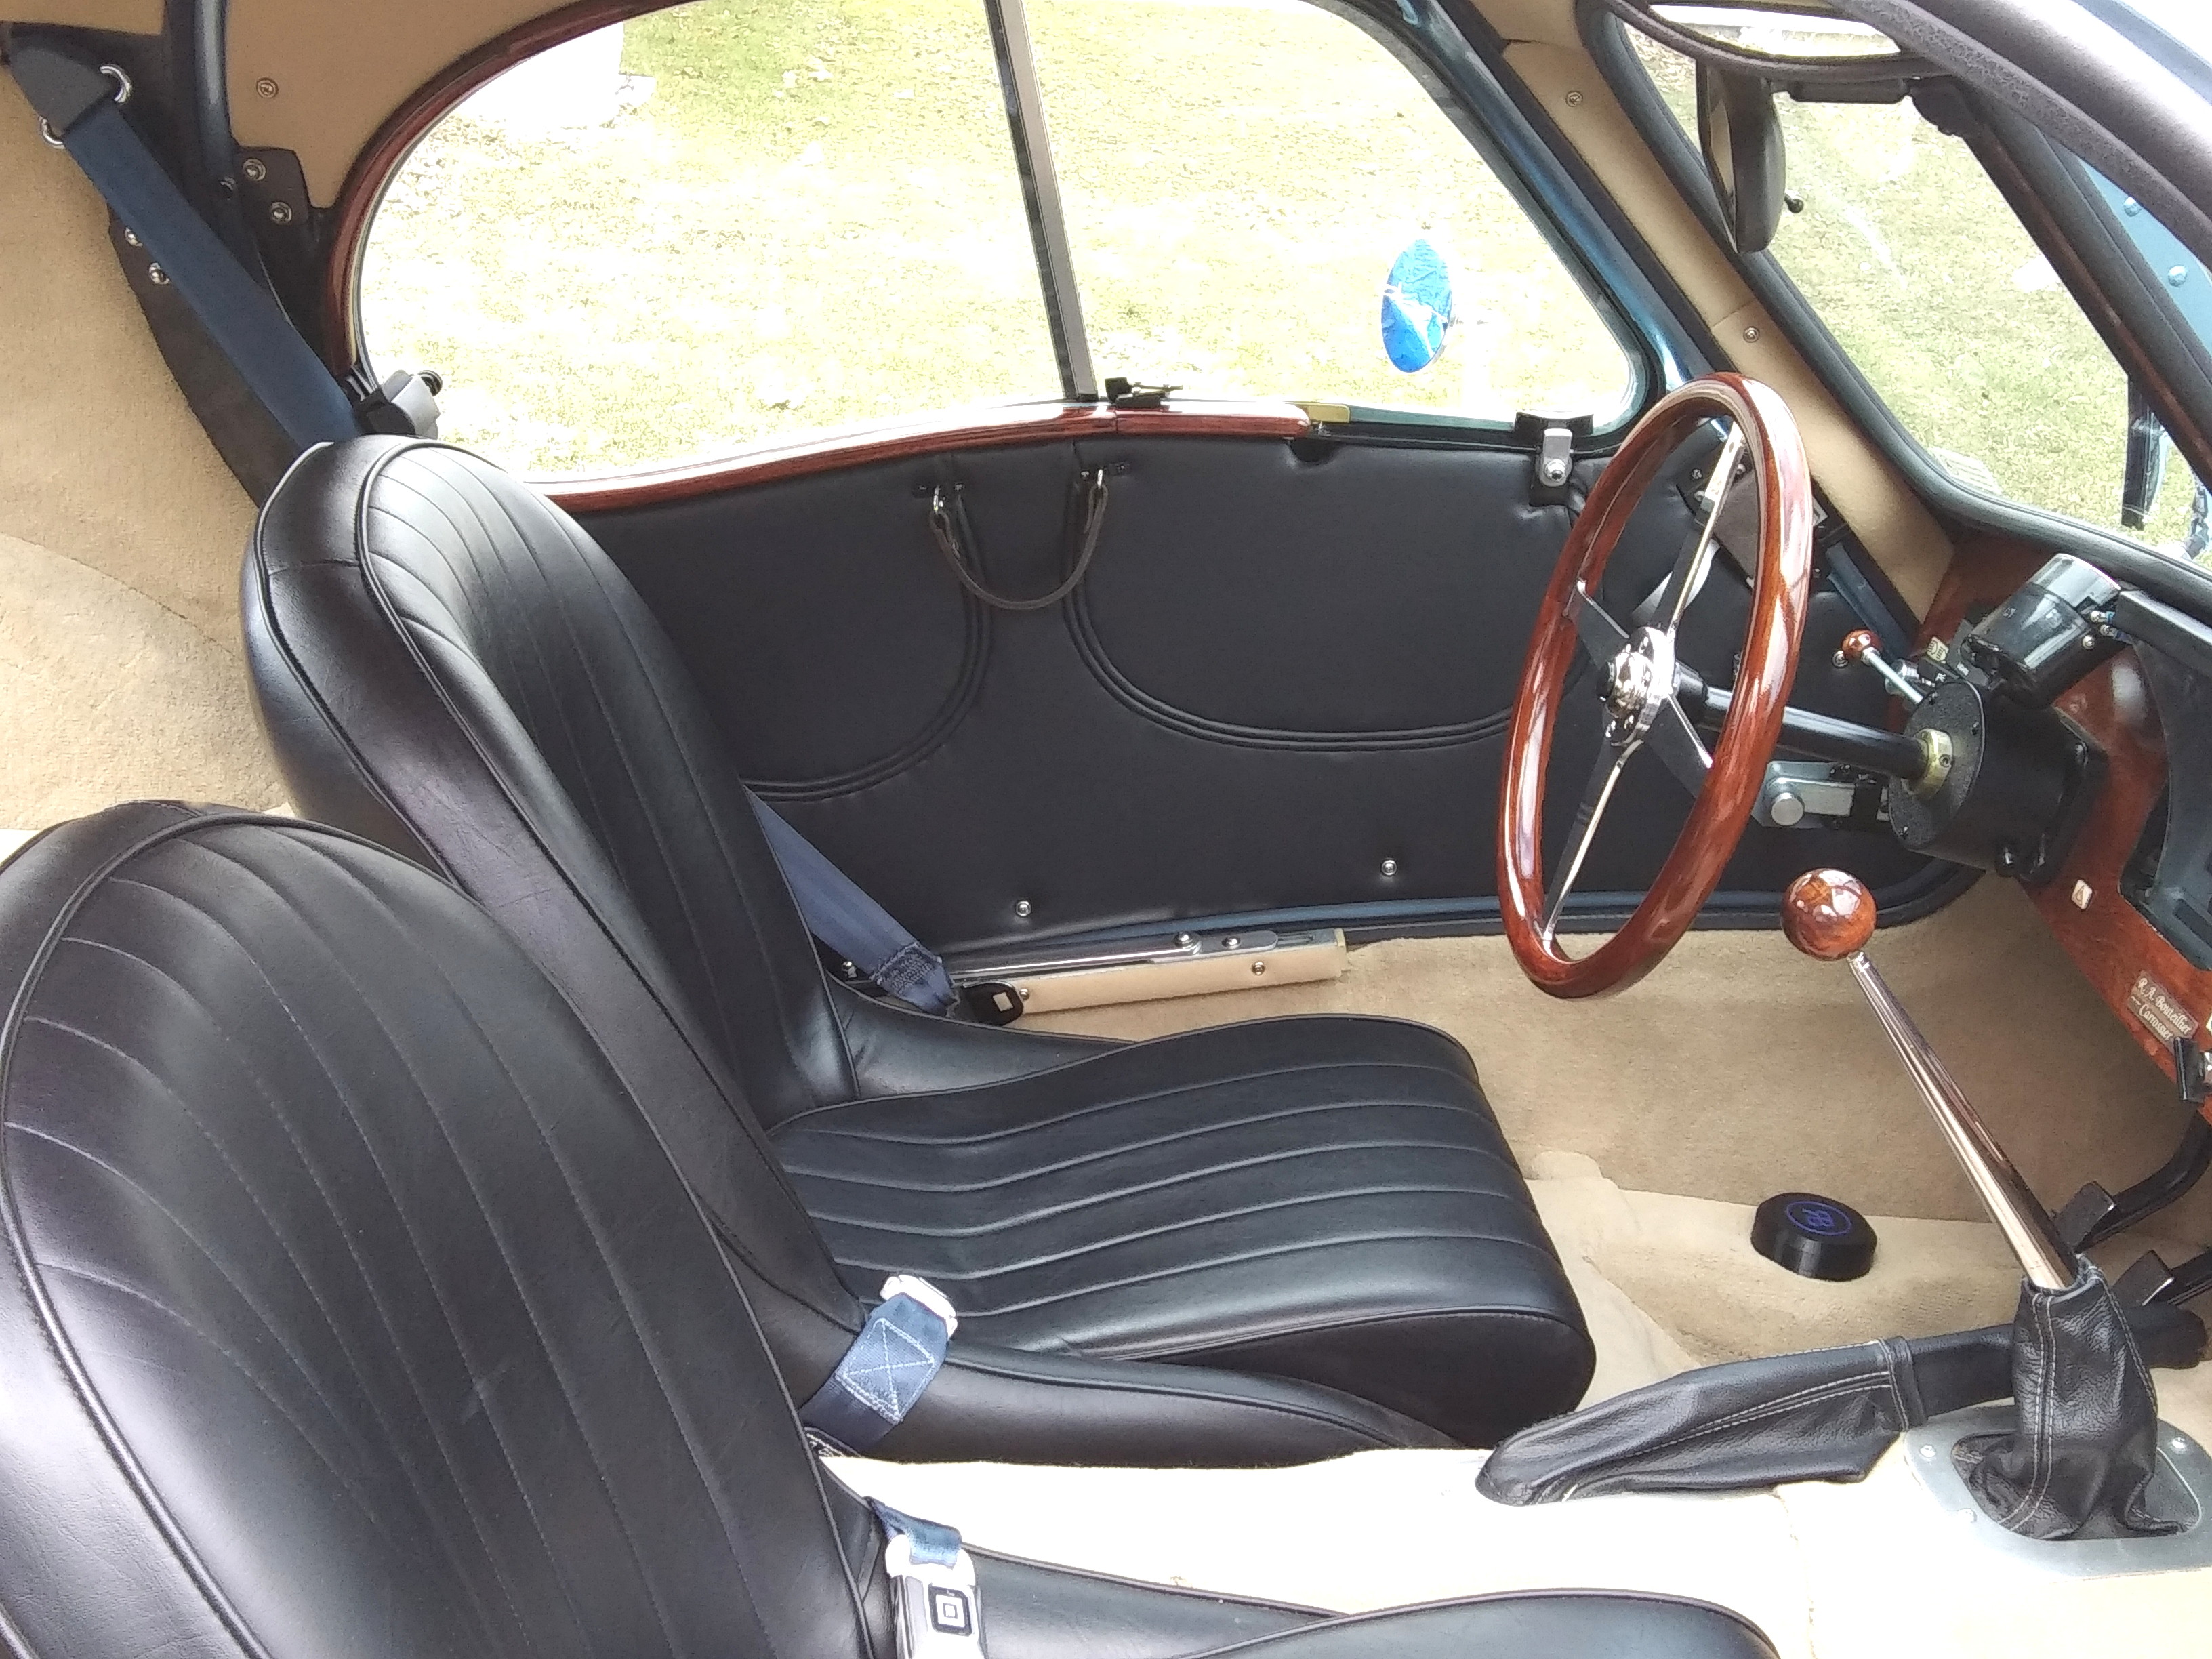
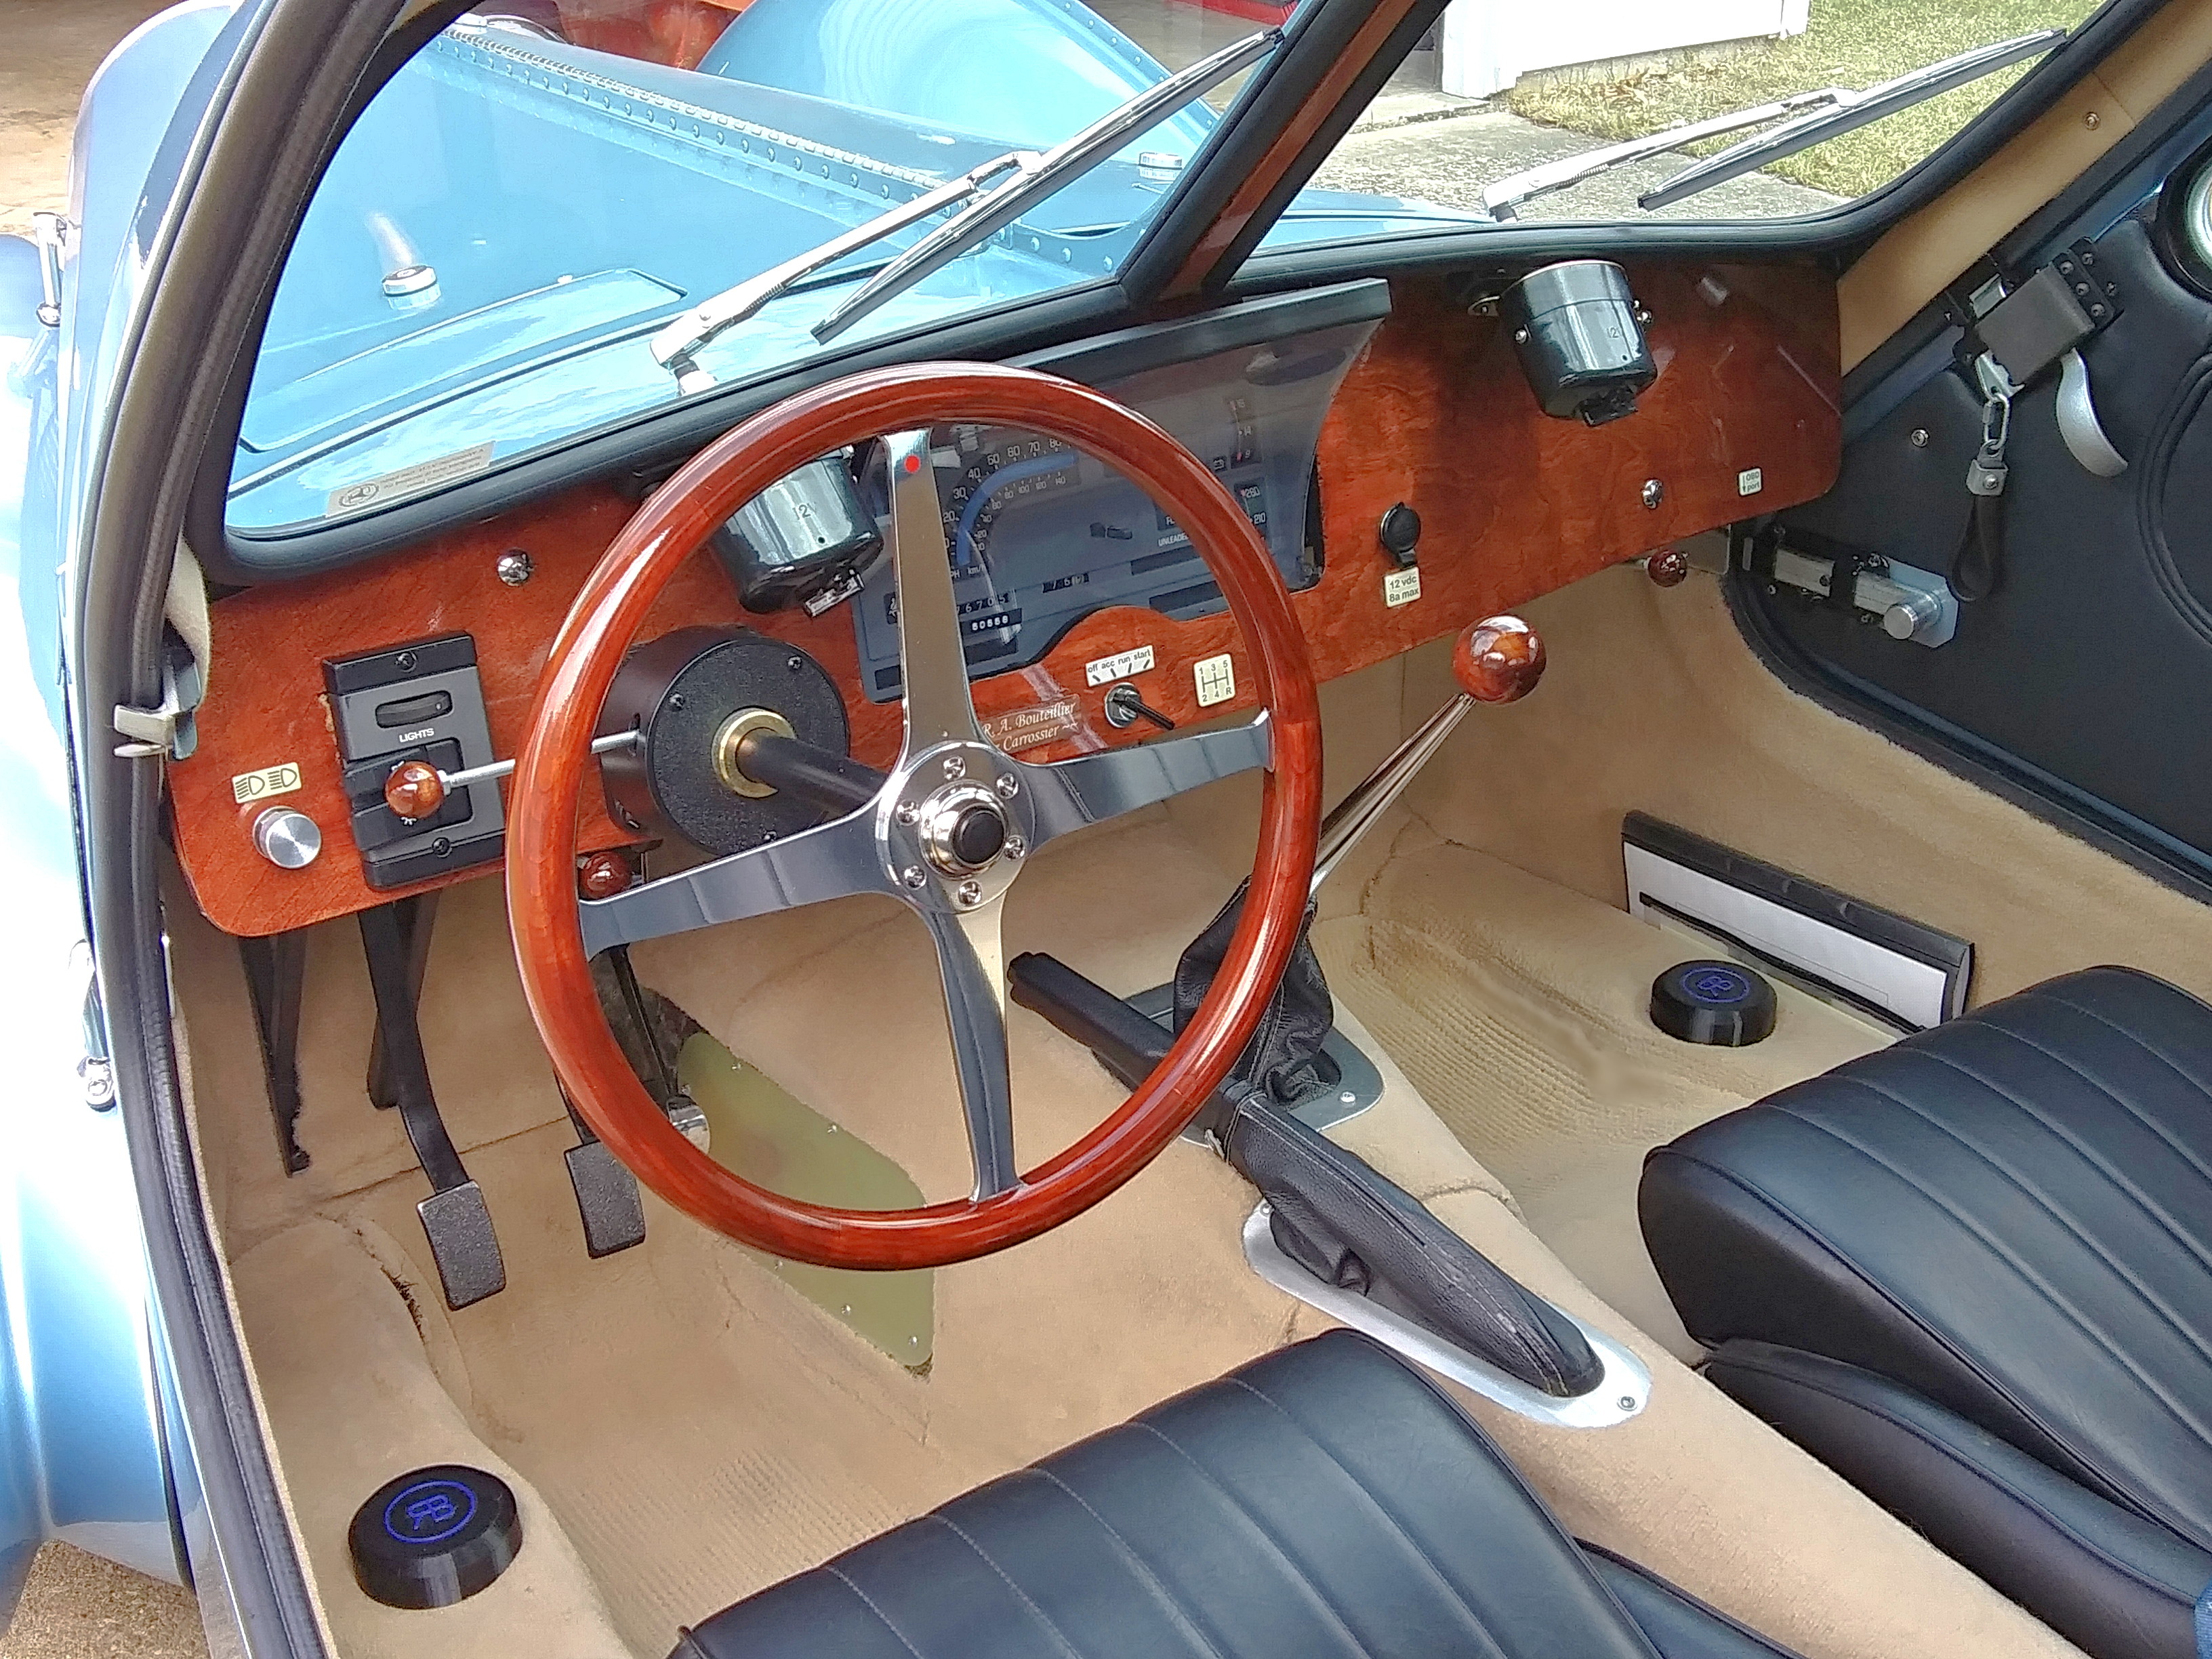
[04-04-22] Some updated images of interior [Click for full resolution image, typically 1.1MB each.]
| -- Site Navigation -- [Website Disclaimer] (pop-up) [Site Map / Search] | ||||
|---|---|---|---|---|
| 57SC Home | Donor/Chassis | Wheels/Tires | Body Patterns | Body Molds |
| Body Pieces | Hood/Radiator | Systems/Wiring | Interior Details | Glass/Finishing |
![]() Last tinkered with April 4, 2022
Last tinkered with April 4, 2022