 |
1936 Bugatti Atlantic Replica Project |

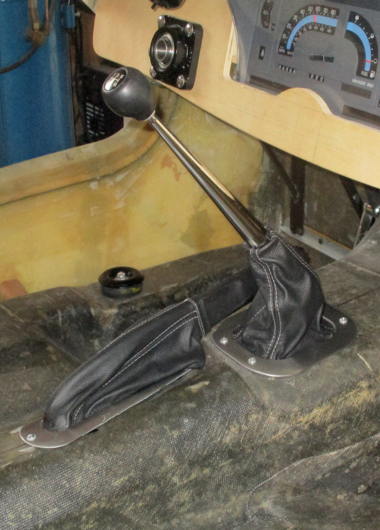
[04-25-16] Adapting / fitting some nice leather shift & brake handle boots intended for an '02 Subaru Forester
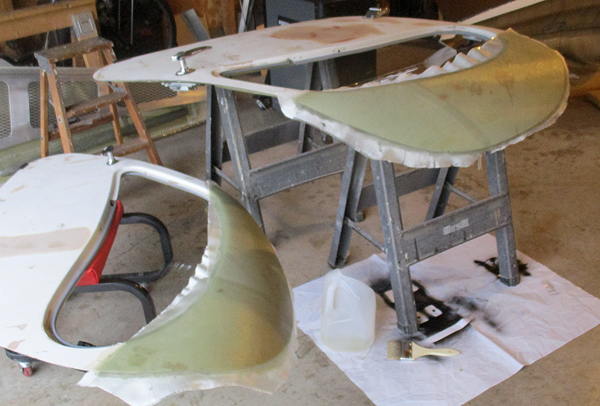
[04-25-16] Using the doors (covered with some plastic wrap) to form fiberglass upper door trim panels
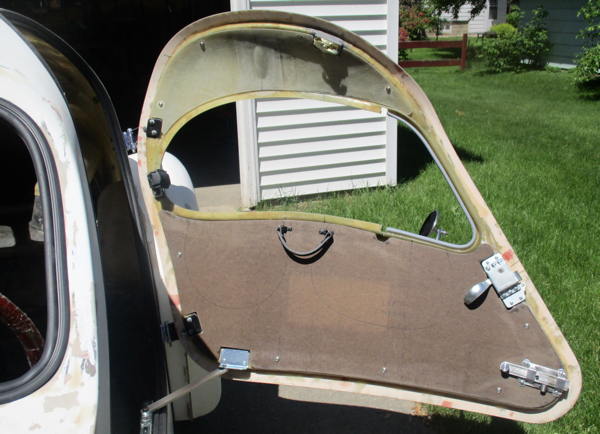
[06-08-16] Door inner trim panels (not covered yet), leather strap pull-to handles
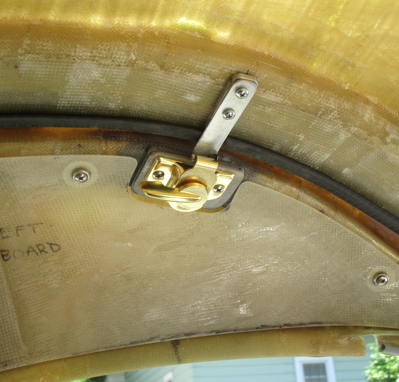
[06-08-16] Door upper trim panels & pull-in latches
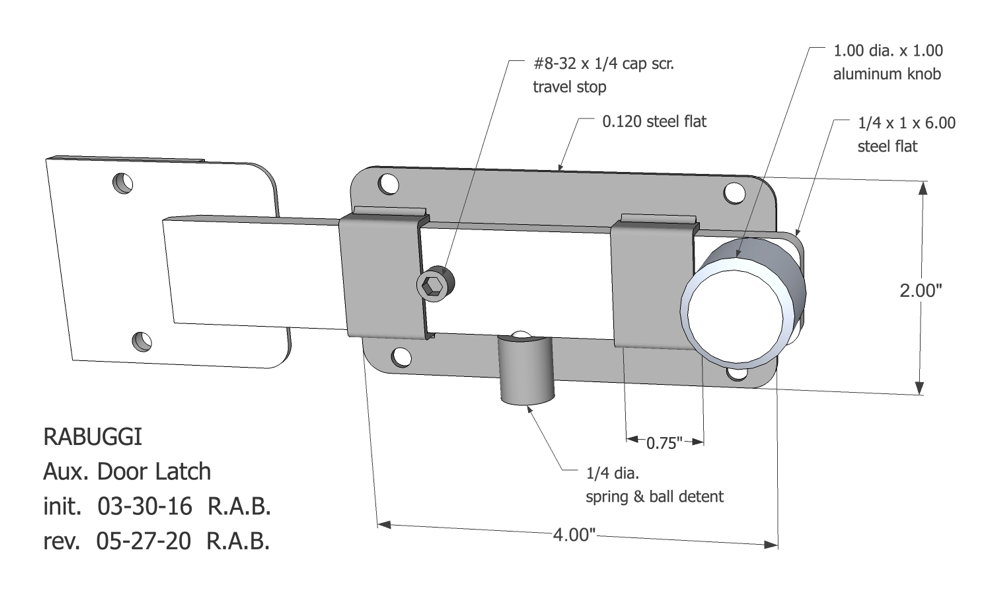
[06-08-16] Secondary door bolts - lower...
We sure don't want those suicide doors coming open!
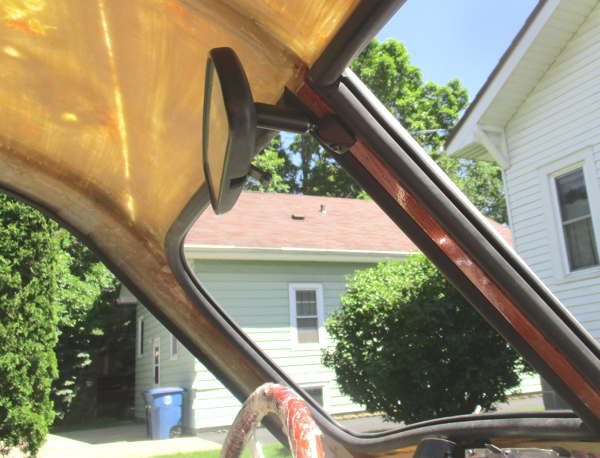
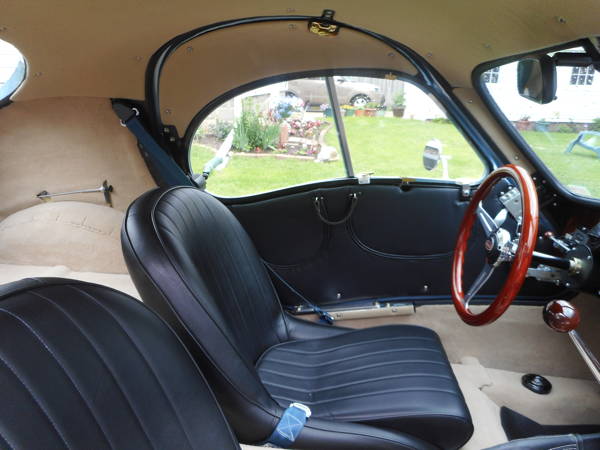
[06-08-16] The donor S10 rear view mirror mounts up pretty clean.
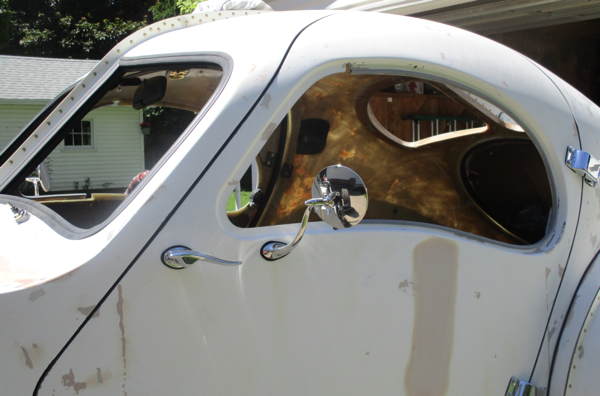
[06-08-16] side view mirrors on doors...
The speedwaymotors.com stainless steel swan neck mirrors (L & R) have a nice period-correct appearance.
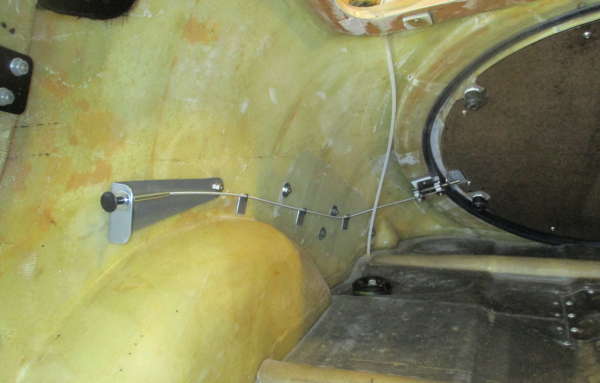
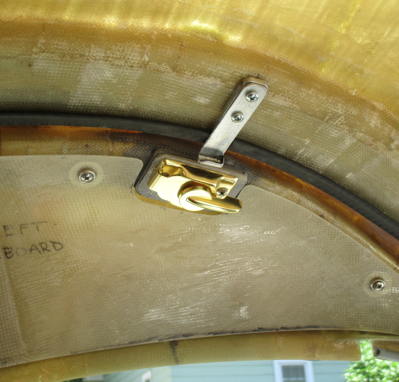
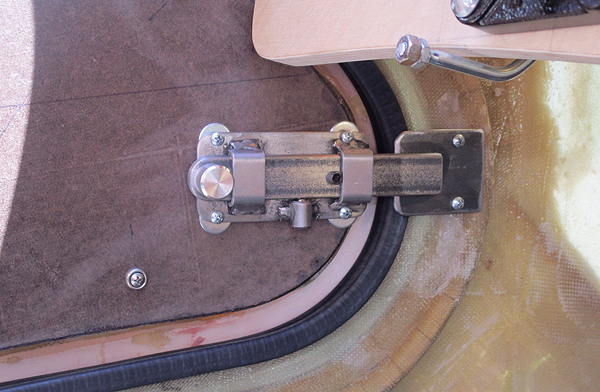
[06-20-16] Rear hatch lock bolts with remote control cables (right side shown)

[06-20-16] Rear hatch lock bolt right side close-up...
This is not so much for security as it is a preventer of the hatch lifting the
little spring loaded hook hold-down and becoming a frisbee at 60 mph.
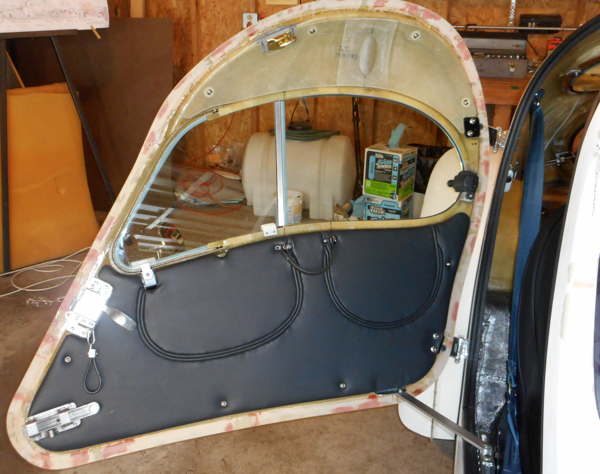
[12-21-16] Padded vinyl upholstered door and hatch interior panels...
Upholstery work by Adam at Reynebeau Upholstery, Appleton, WI.
Also partially visible here is the rear window mounting scheme.
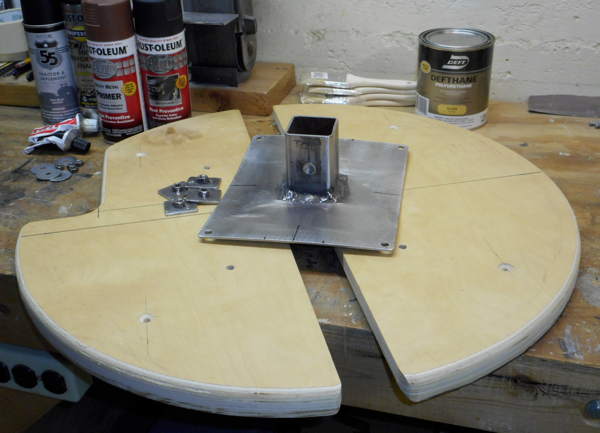
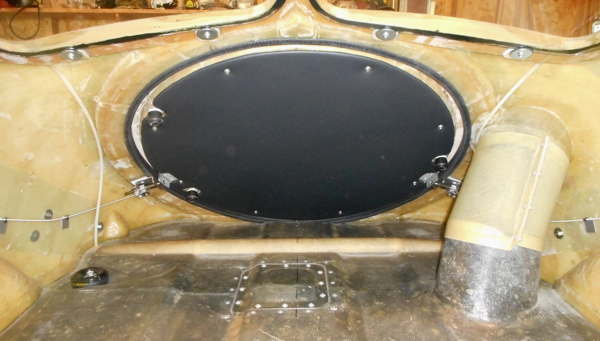
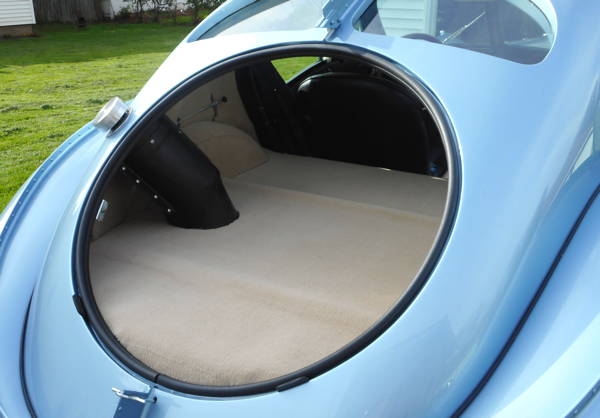
[01-04-17] We should at least have a provision for a temporary spare wheel mounting.
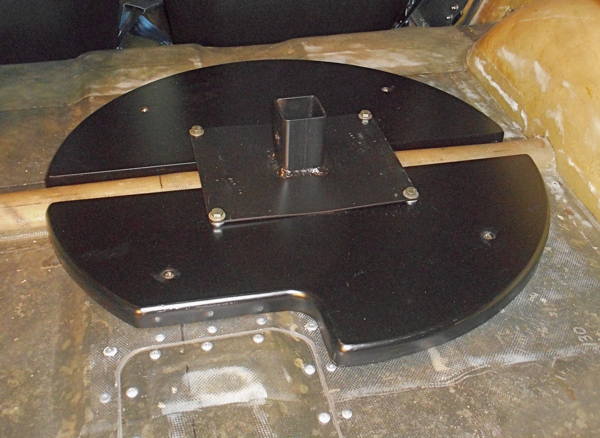
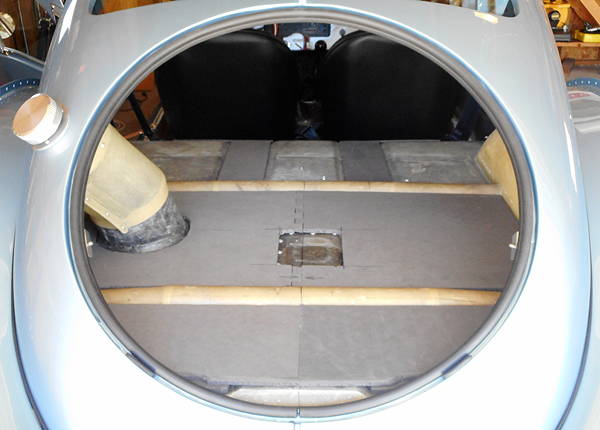
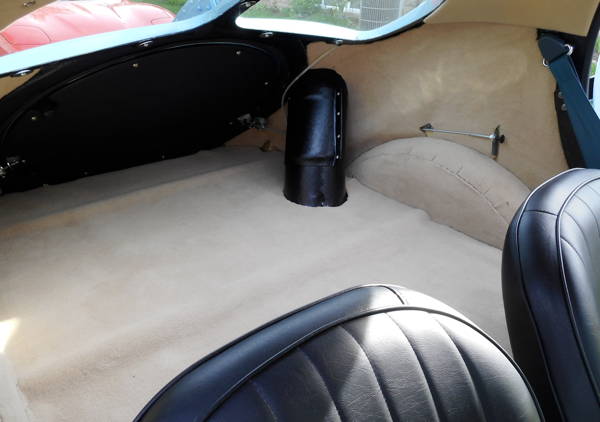
[02-20-17] Spare wheel mount scheme in place on back floor
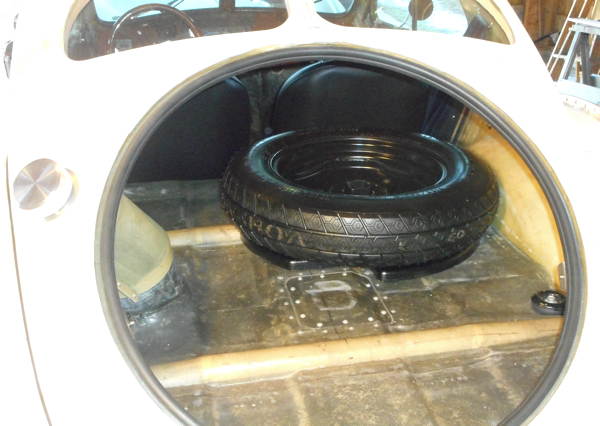
[02-20-17] Compact spare in place...
This hardware is really big, heavy, and awkward. The S10 jack doesn't fit as expected
in the wheel dish for stowage. The jury's out whether we'll actually use this set-up.
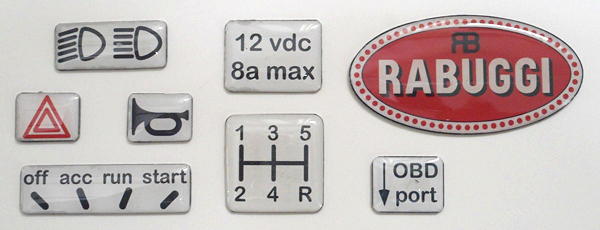
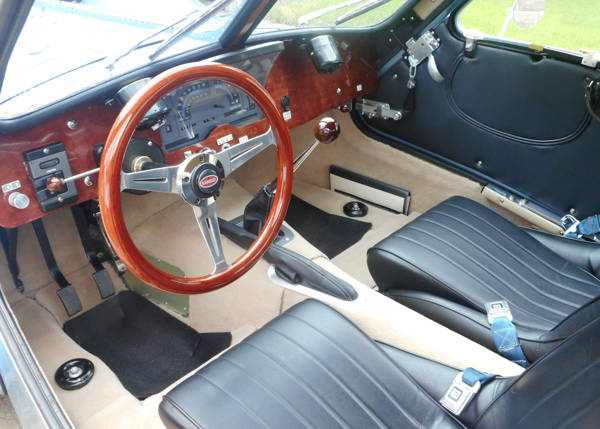
[03-13-17] Dash panel switch label "tiles" and a RABUGGI badge for a toolbox...
Process is same as for the radiator shell badge (except without the bending step).
(Label artwork is here.)
Labels are not correct for an Atlantic, but are a concession to modern convention.
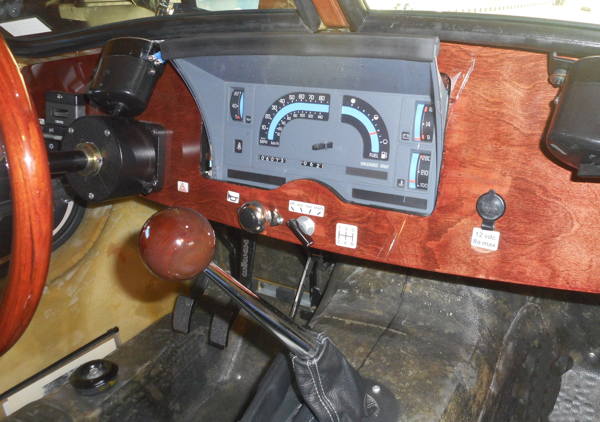
[03-28-17] Dash panel labels in place
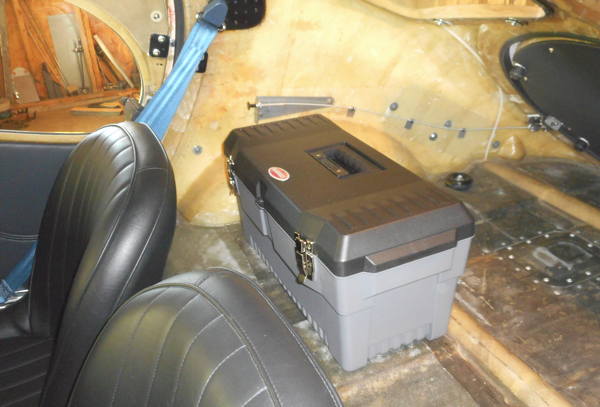
[03-28-17] Polypropylene toolbox bolted in place instead of the compact spare & mounting hardware above...
Box can secure things like a small electric compressor and string patch kit. ...or cheese and wine
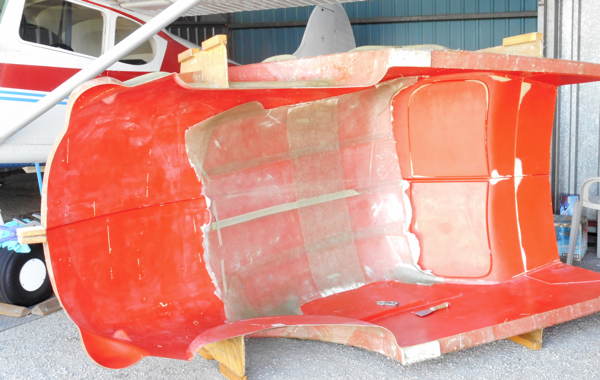
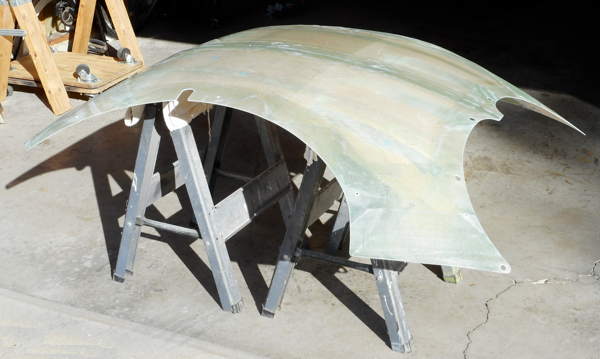
[08-13-17] Using the body cabin molds to glass up a headliner form
[08-14-17] Headliner form filled and rough trimmed
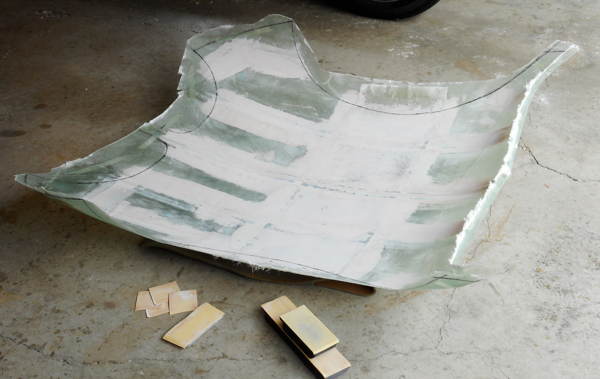
[10-10-17] Headliner form final trim & fit
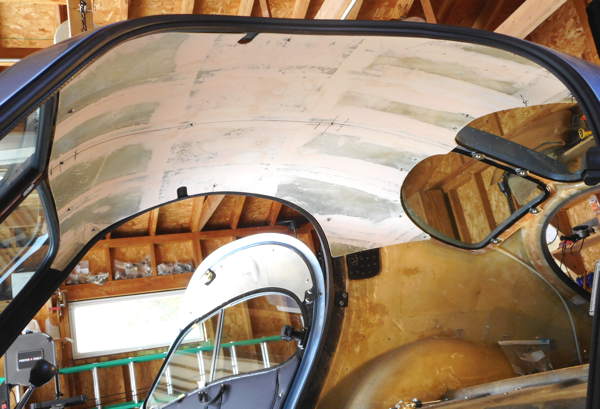
[10-10-17] Headliner form screwed in place (no cloth yet)
NO tricky hidden fasteners... Screws and finishing washers are just fine.

[05-13-18] Headliner cloth wrapped on shell with contact cement...
The leather strap passenger "Chicken Handle" is a good idea.
[04-24-18] Some floor smoothing with EVA foam
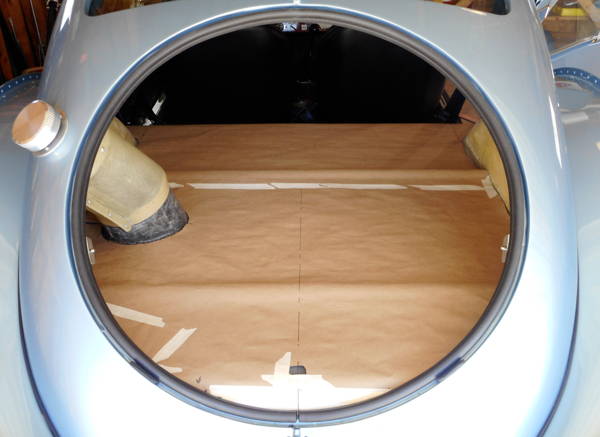
[04-24-18] Developing patterns with butcher paper
[05-13-18] Rear deck, rear side panels, & wheel wells carpet
[06-06-18] Front side panels, floor, & tunnel carpet...
The carpet and headliner had a surprisingly beneficial effect on NVH.
Post completion upgrade... A More Correct Steering Wheel
| The Grant #1170 mahogany steering wheel (visible in image above) that we purchased finished ~10 years ago is very pretty and approaches the spirit of the period, but lacks correctness for an Atlantic. We can do better. The following images show the fabrication of an upgrade for the Rabuggi steering wheel. |
Drawing / template [.PDF] for a planned more Bugatti-like steering wheel
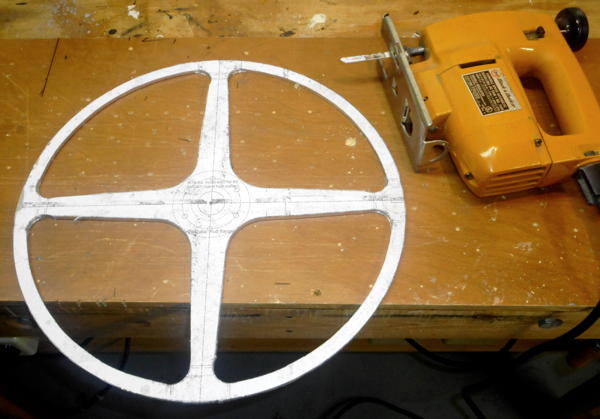
[11-14-18] 0.187 thick 6061-T6 aluminum (from Onlinemetals.com) center armature cut out with saber saw
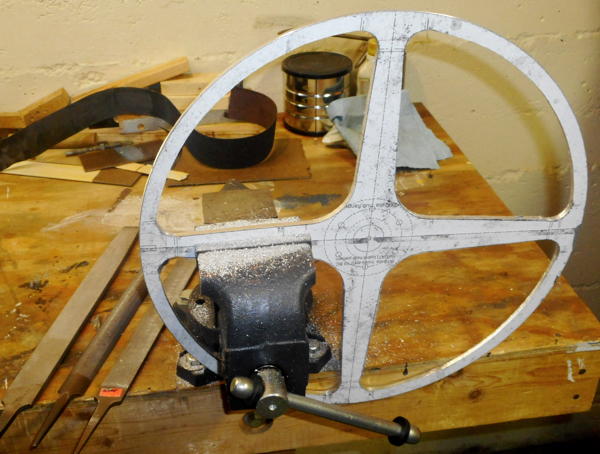
[11-14-18] Armature profile filed, trued, and smoothed
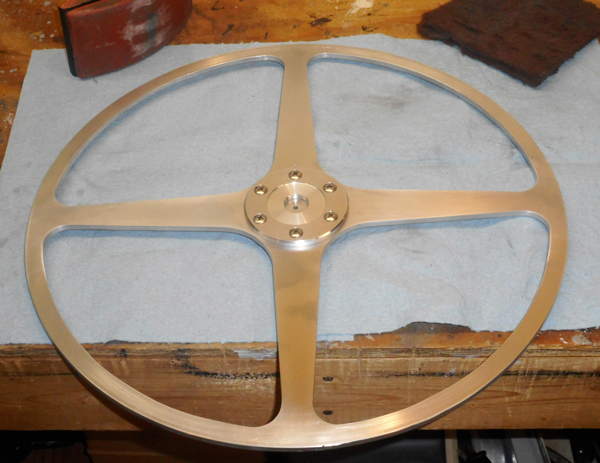
[11-18-18] Armature center hub holes drilled, edges and surface sanded smooth
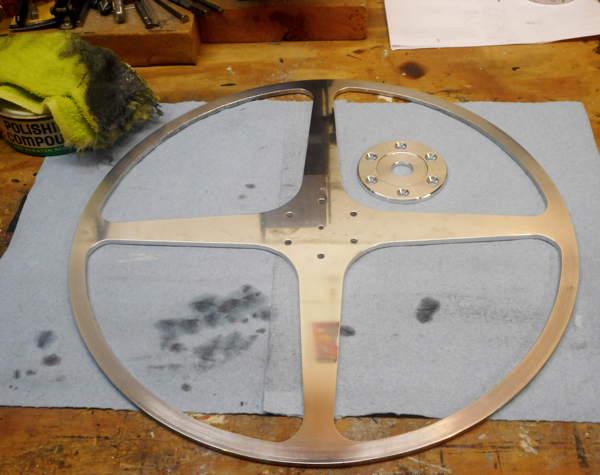
[11-19-18] Armature spokes polished
There's a good reference on The MG Experience site for a DIY Wood Steering Wheel.
We borrowed heavily here from that author's verbosely documented process.
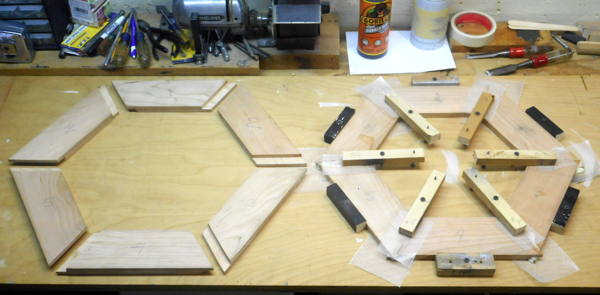
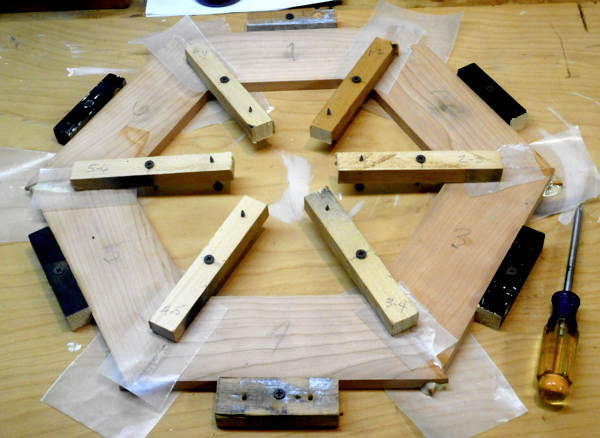
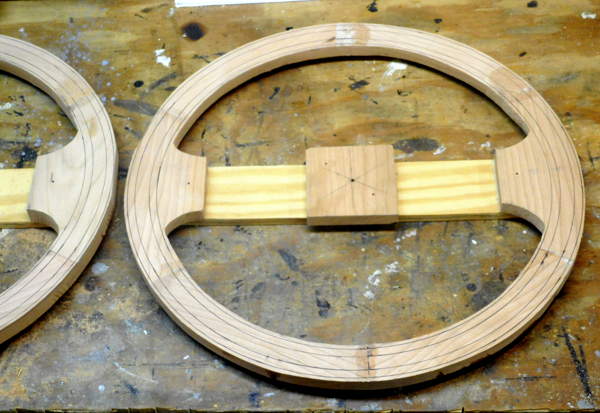
[11-26-18] Cherry wood (from Rockler.com) segments for wheel rim -- cut, glued, clamped
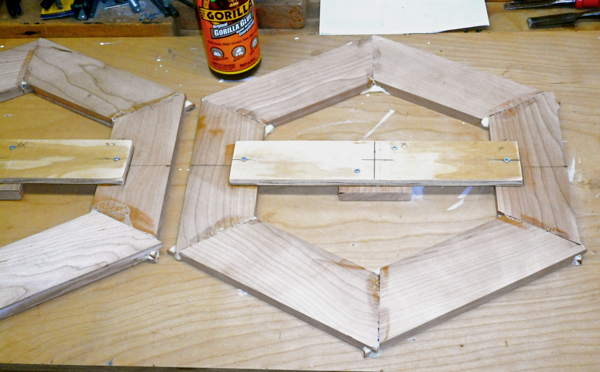
[11-27-18] Wood segment glue-ups with center holder bars screwed & glued
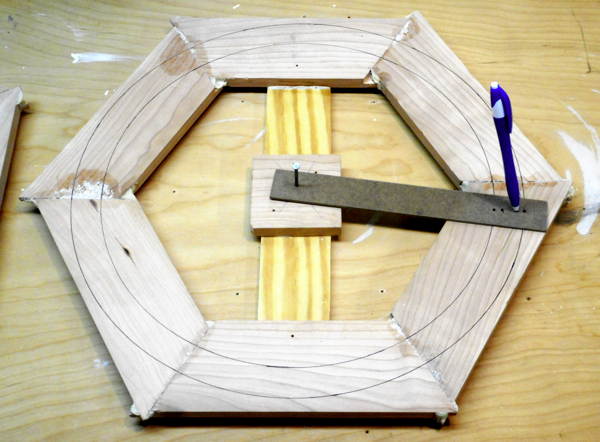
[11-28-18] Scribing reference diameters to keep us oriented while setting up the router cuts
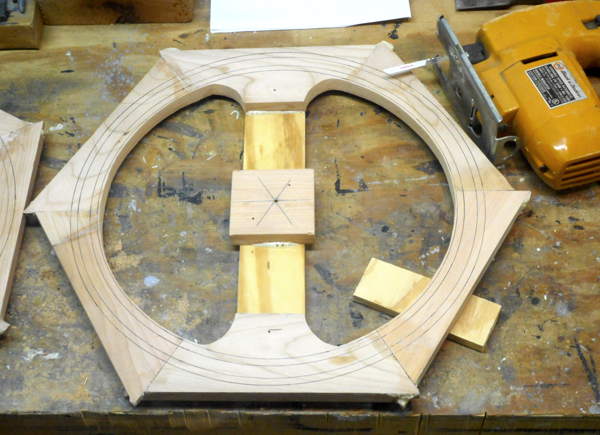
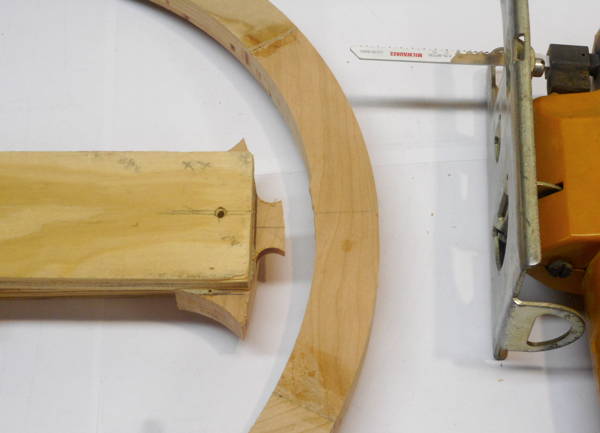
[11-28-18] Rough cut-out of wood rim ID (saber saw)
[11-28-18] Rough cut-out of wood rim OD (band saw)
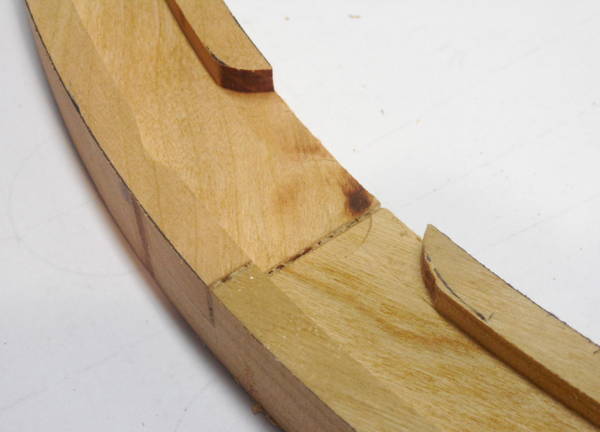
[12-02-18] Recesses for armature rim routed with 1/2 in. straight bit
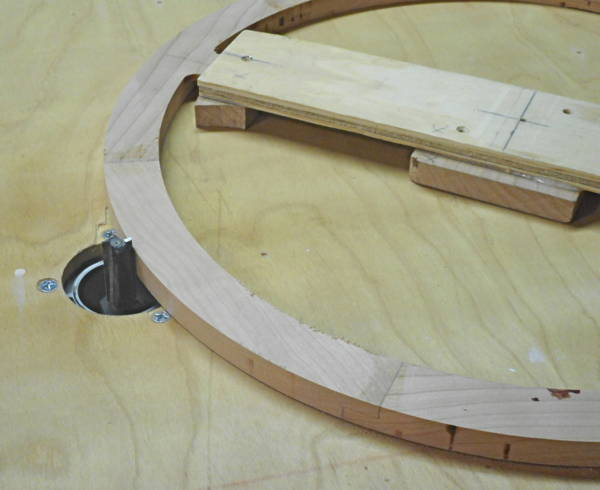
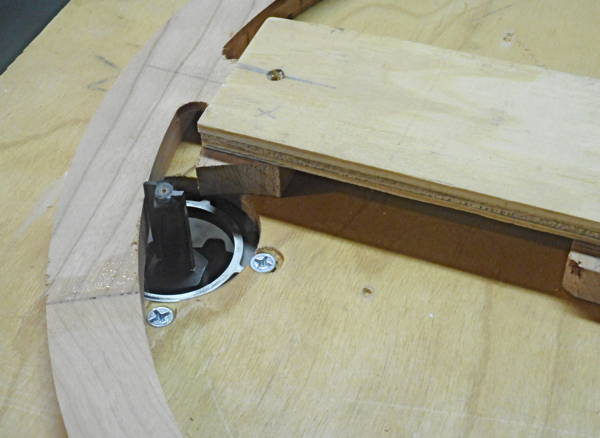
[12-02-18] Router cut of wood rim OD with makeshift plywood router table and a 1/2 in. straight bit
[12-02-18] Router cut of wood rim ID, leaving small connections to the center locating bar
[12-03-18] Center locating bars severed completely with saber saw
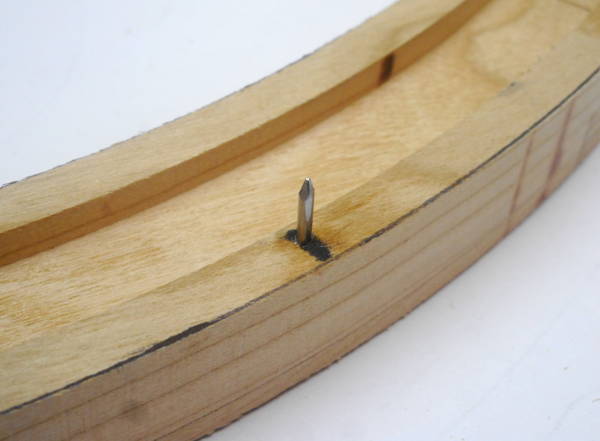
[12-03-18] Four wire brad locating pins being glued to index the two rim halves together for the round-over cuts
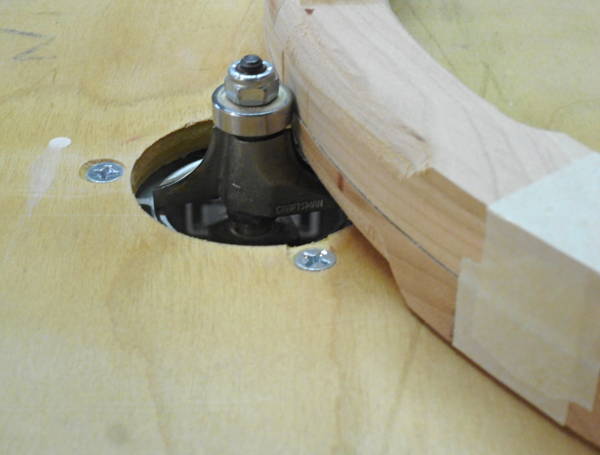
[12-03-18] 1/2 in. radius round-over router bit cuts in two stages with tape clamping the halves
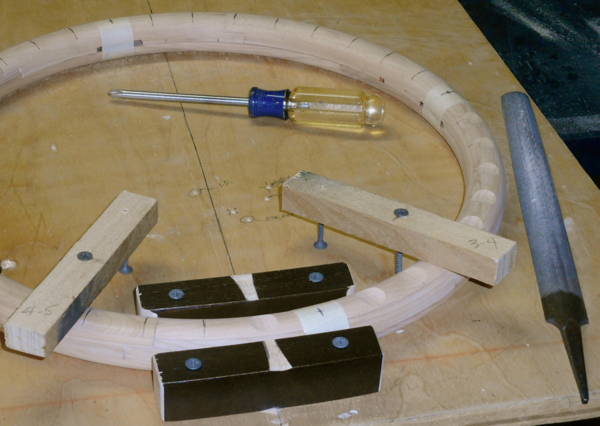
[12-04-18] Filing 32 finger grooves 3/32 in. deep on back face of wood rim
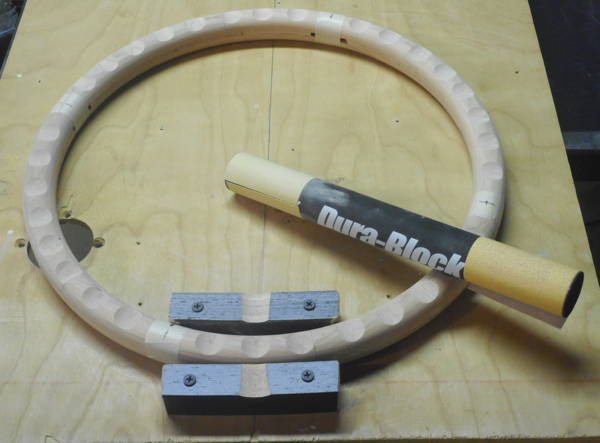
[12-04-18] Sanding the finger grooves with a 1.25 dia. block; 120 grit, 220 grit
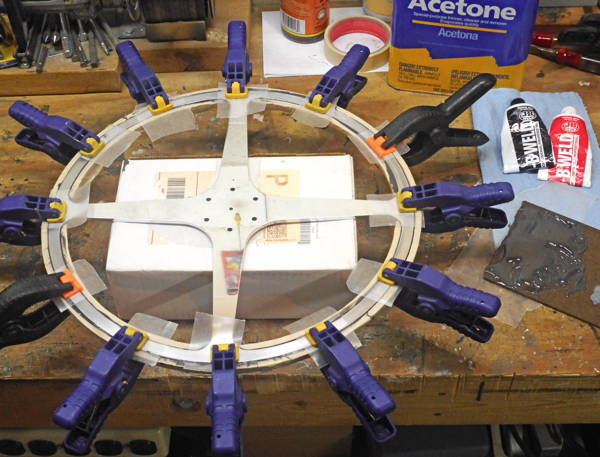
[12-04-18] Bonding armature rim into wood back rim recess with epoxy
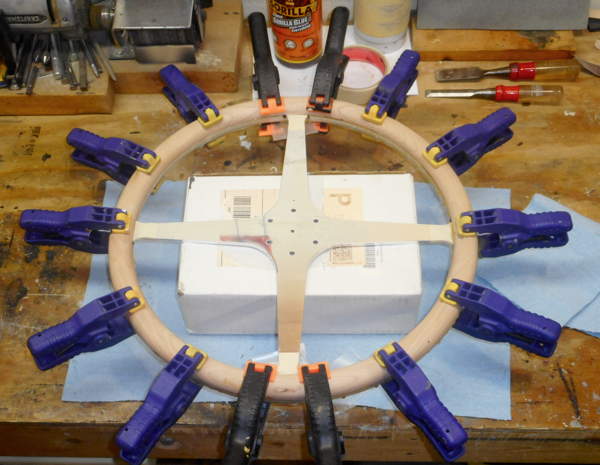
[12-05-18] Glueing front rim face onto armature and masked back rim with polyurethane glue
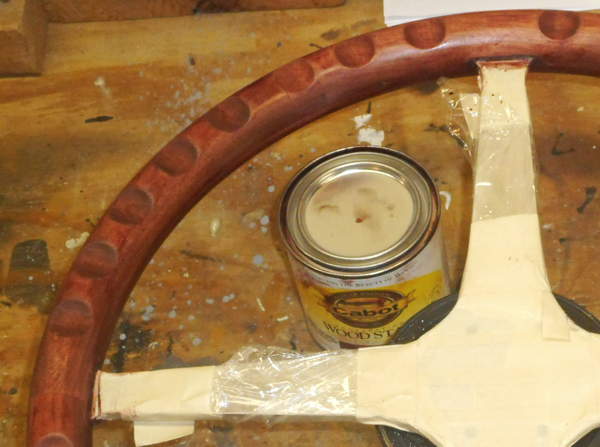
[12-12-18] Cherry rim sanded & rubbed with red mahogany oil stain
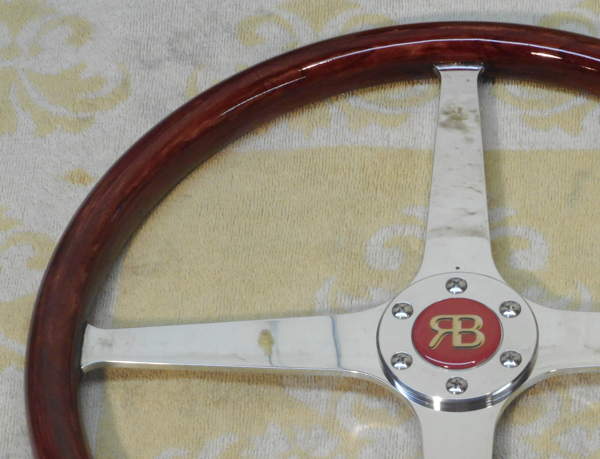

[12-17-18] Rim varnished with 4 coats of polyurethane... Calling the wheel finished now, but there's
some welding / fabrication remaining on a new upper steering shaft assembly for the new hub screw pattern.
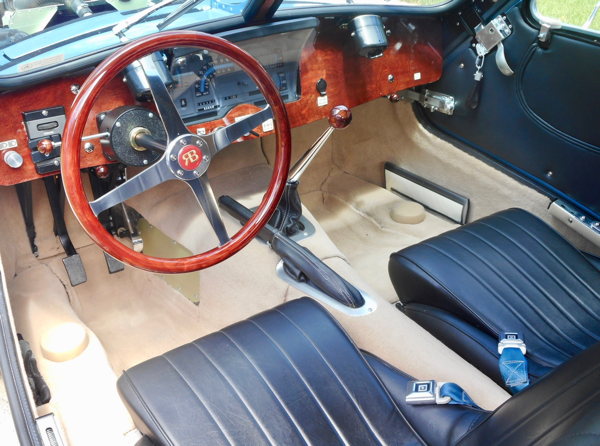
[07-13-19] Our new "more correct" steering wheel installed in car.
Post completion upgrade... Wood Window Trim Addition
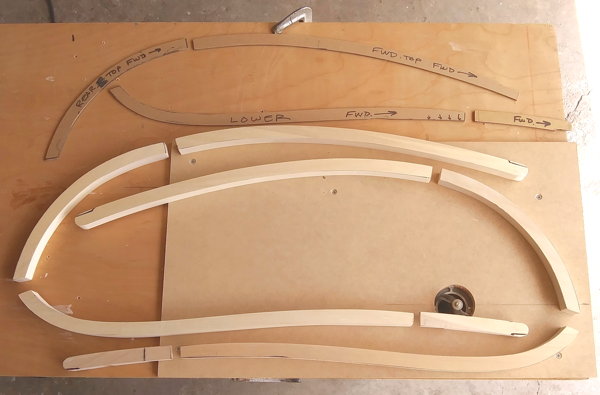
[07-08-20] Hard-board patterns and cut out (with band saw) wood pieces
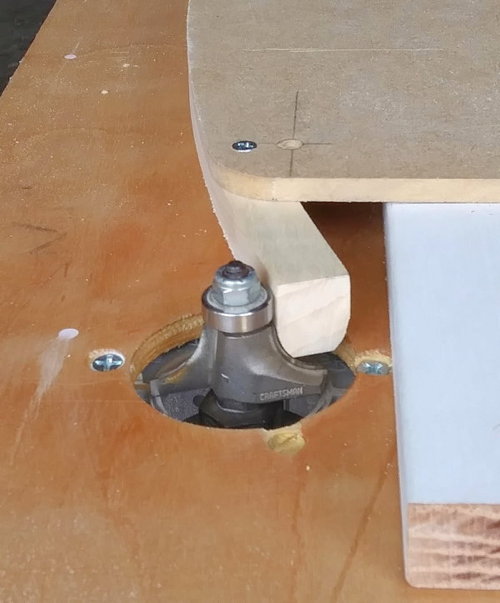
[07-17-20] Profile shaping on our makeshift router table
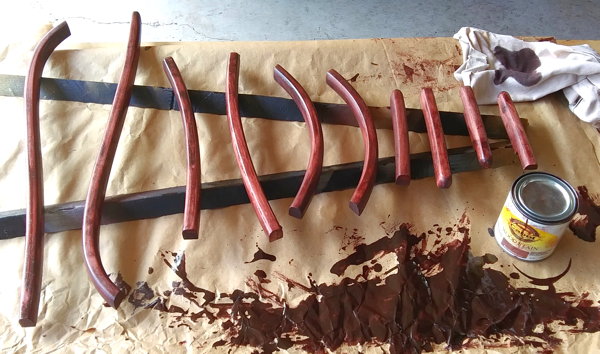
[07-17-20] Rubbing on the red mahogany oil stain
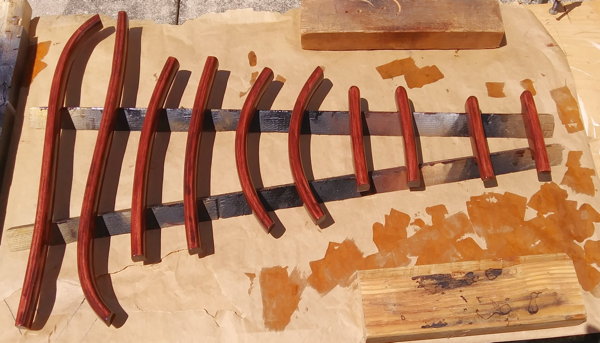
[07-22-20] Multiple coats of gloss polyurethane varnish
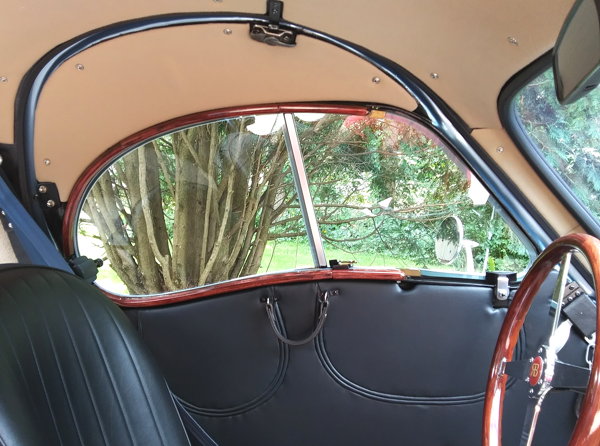
[08-16-20] "Mahogany" trim bonded in place on the window frames...
Hmmm... Looks like a "C" -- for Louis Chiron?? :-0
| -- Site Navigation -- [Website Disclaimer] (pop-up) [Site Map / Search] | ||||
|---|---|---|---|---|
| 57SC Home | Donor/Chassis | Wheels/Tires | Body Patterns | Body Molds |
| Body Pieces | Hood/Radiator | Systems/Wiring | Interior Details | Glass/Finishing |
![]() Last tinkered with November 24, 2023
Last tinkered with November 24, 2023