 |
1936 Bugatti Atlantic Replica Project |
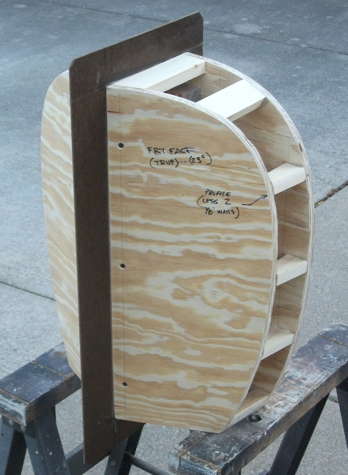
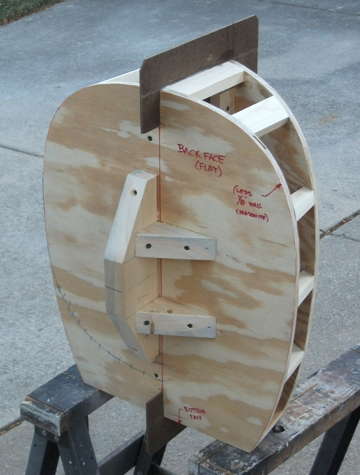
[11-27-10] Radiator shell model start. We can take this to the basement and maybe get some done indoors during the winter.
The bottom is truncated for our S10 donor frame lateral, one of the known required deviations from a correct Atlantic shape.
[Full scale frontal plan view .PDF]
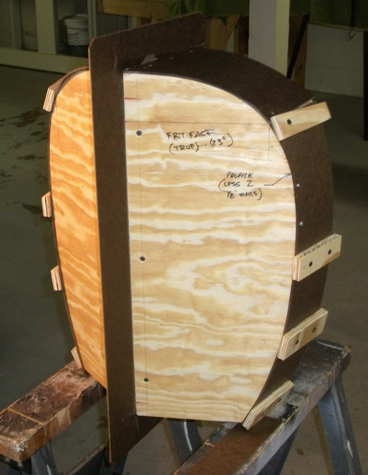
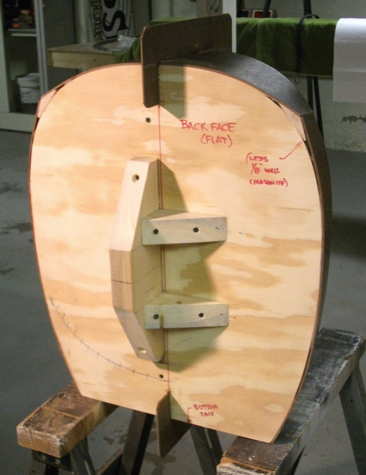
[12-10-10] Skinning radiator shell model with 1/8" Masonite. Soggy wet Masonite just barely makes the top radius bend.
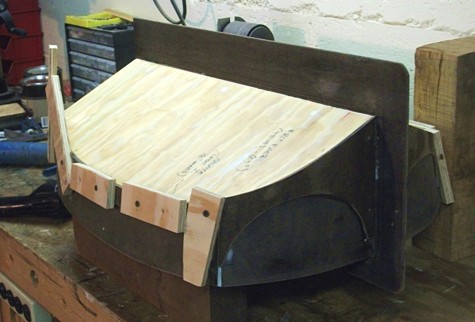
[12-16-10] Skinning 2nd layer (hood "bezel")
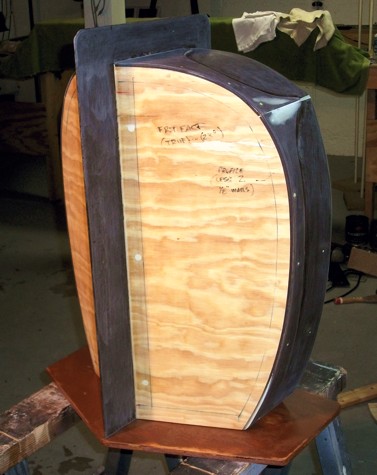
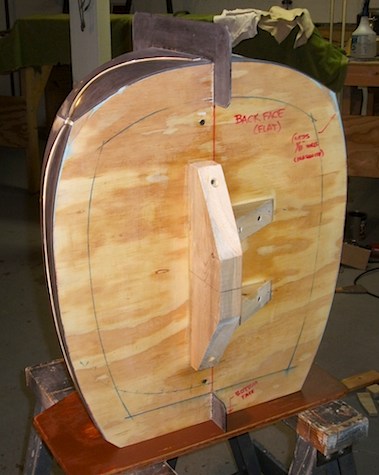
[12-25-10] Filling, smoothing, sealing, sanding...
The bevel on bottom left corner is for clearance to the S10 original engine mount which is offset to the right 1/2 in.
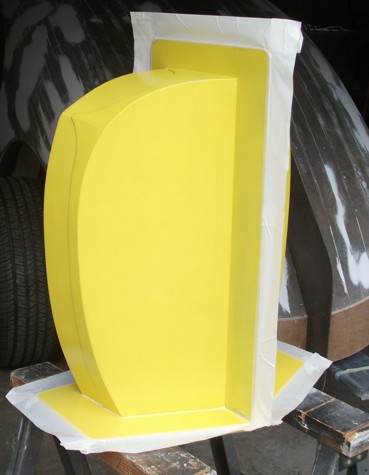
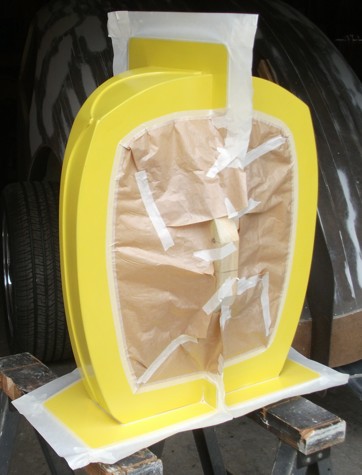
[05-24-11] Radiator shell model waxed and ready to gelcoat and lay glass for mold
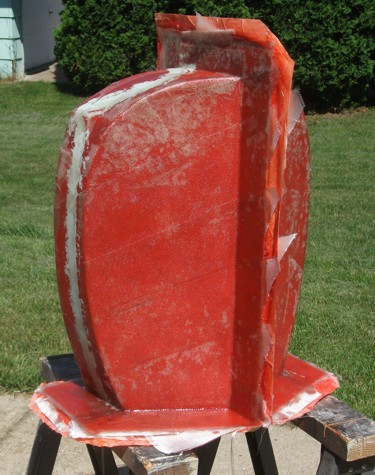
[06-29-11] Radiator shell mold layup in progress
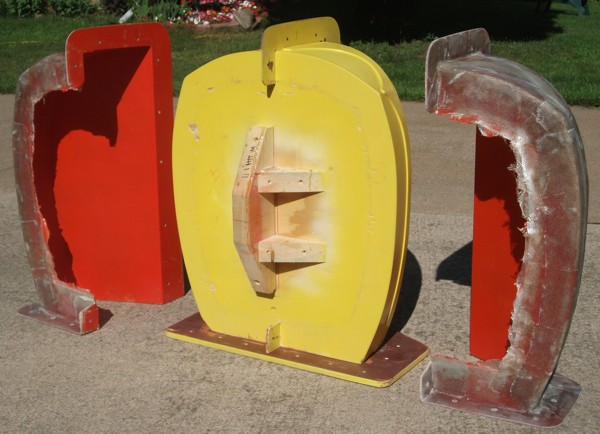
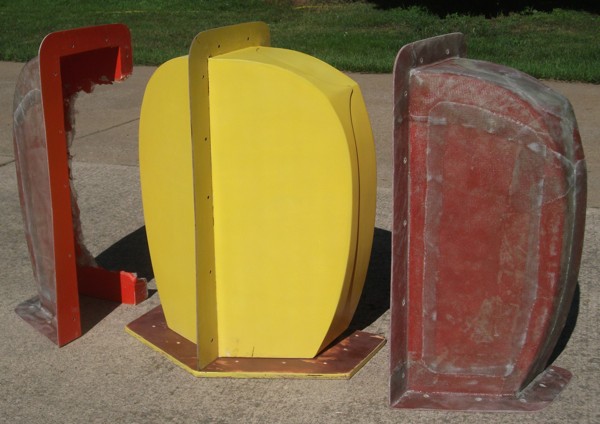
[07-06-11] Radiator shell mold halves, popped off of the pattern...
The pattern and all that labor is now junk.
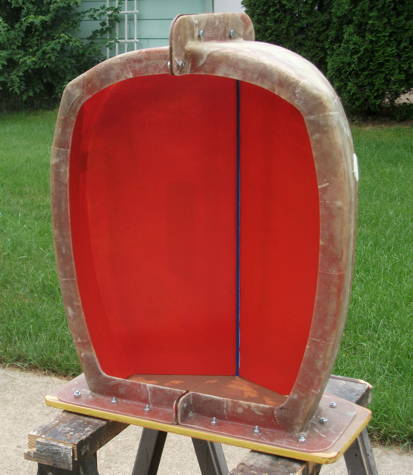
[08-02-11] Radiator shell mold, trimmed, assembled, waxed, and ready for part lay-up...
This will be an awkward "inside" lay-up, but manageable for our low volume.
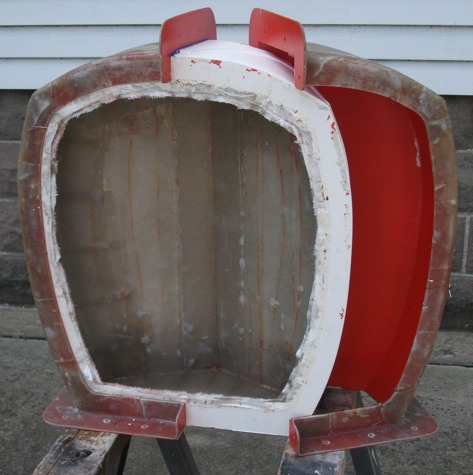
[08-15-11] Radiator shell raw part coming out of the mold
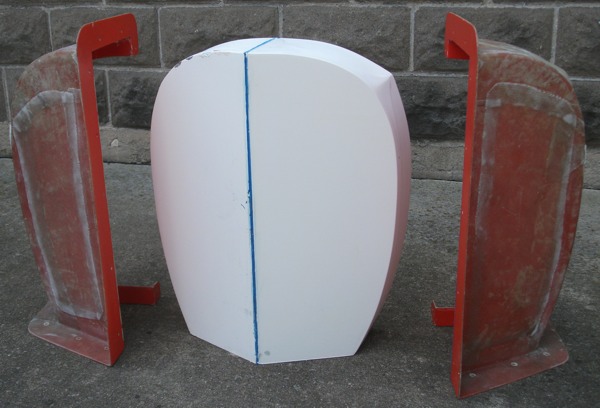
[08-15-11] Radiator shell raw part -- the first real body part
The blue line is modeling clay used to fill a mold parting line gap.
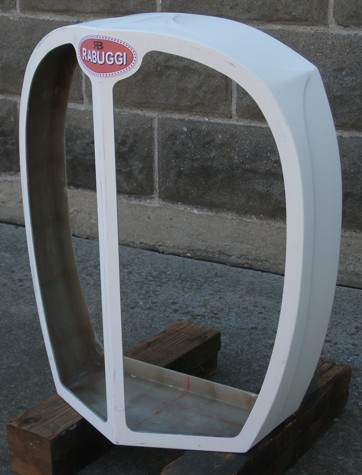
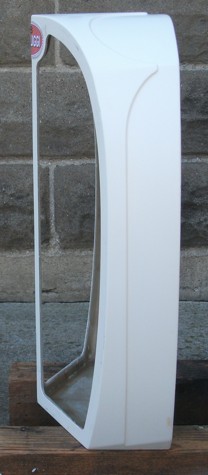
[08-18-11] Radiator shell - trimmed (with a taped on paper RABUGGI badge)
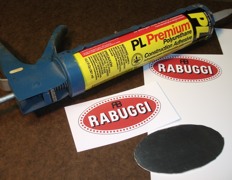
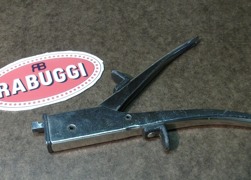
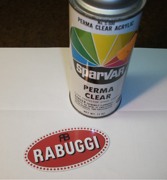
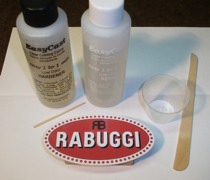
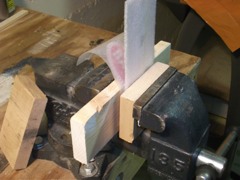
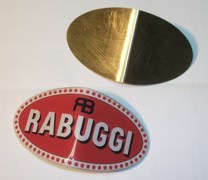
[11-05-11] Developing the process for a clear resin covered RABUGGI "radiator" badge
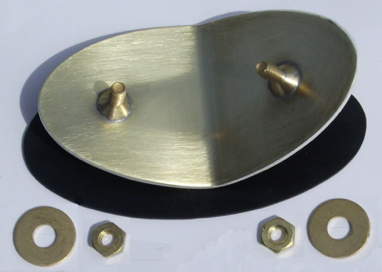
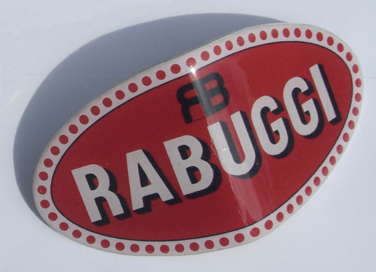
[05-02-12] Completed RABUGGI radiator badge... [Here's a .PDF of the graphic.]
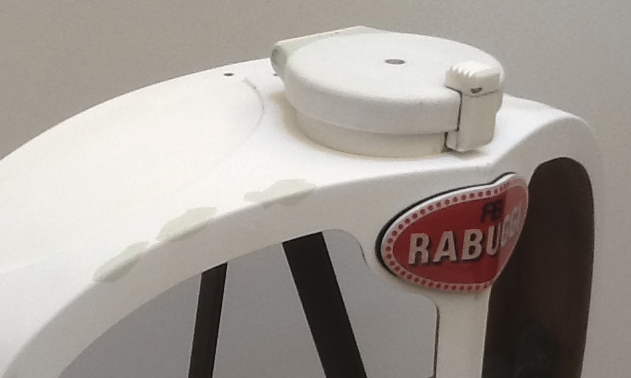
[01-22-13] Simulated Type 57SC radiator cap pieced up from PVC pipe materials... Form is actually pretty good, but size came out too big.
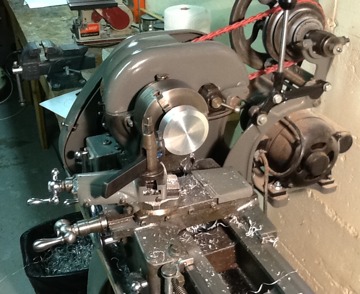
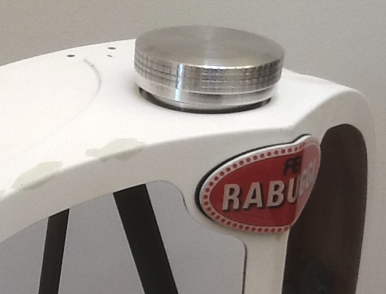
[01-22-13] We'll go with a turned aluminim fake cap, more of a Type 57 style. Not as correct in form, but easier and more durable.
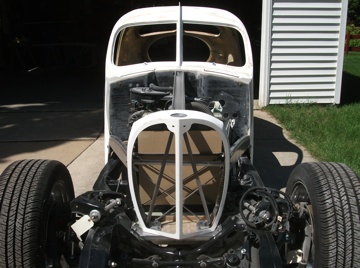
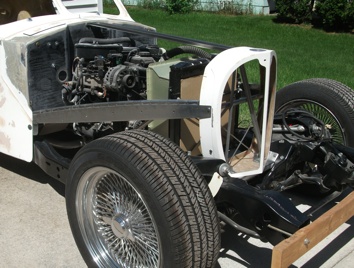
[06-27-13] Radiator shell mounted, with steel hood interface side beams
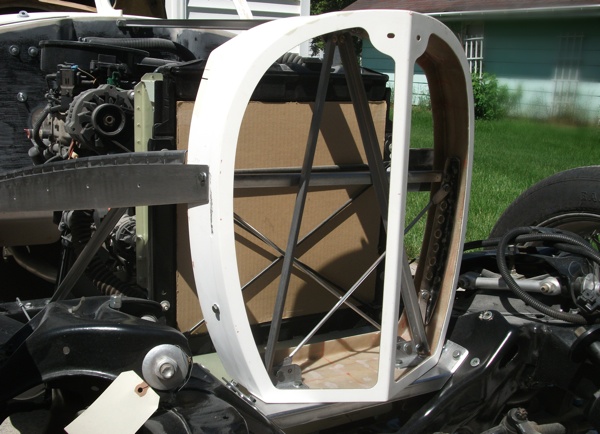
[06-27-13] Radiator shell steel reinforcement for front fender support
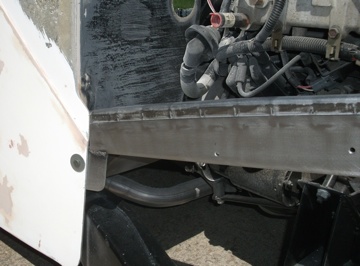
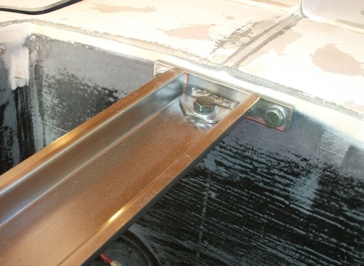
[06-27-13] Hood interface side beams & radiator shell to firewall hat section brace...
The hat section channel was sheared and pressed by Manowske Welding, Fond du Lac, WI.
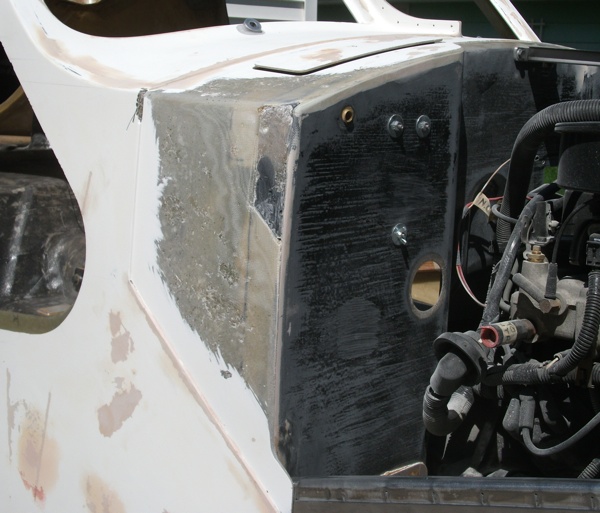
[06-27-13] Ugh! We somehow missed the mark for the cowl fairing in the pattern,
so some rework is required for fairing the cowl / hood / radiator shell planform.
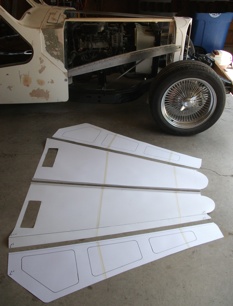
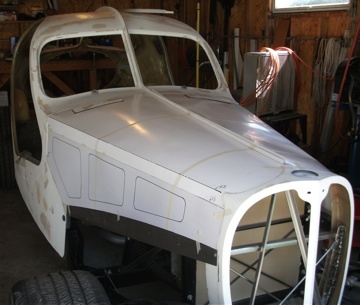
[07-04-13] Poster board mock-up of aluminum hood panels
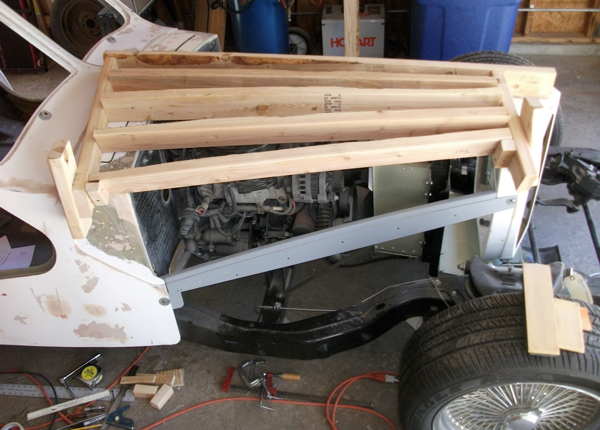
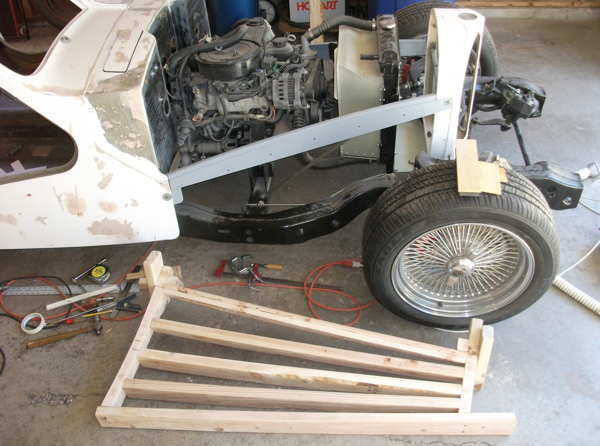
[06-16-15] Hood form framework...
An initial effort to make the hood panels from aluminum was a colossal FAIL.
We'll make wood mold forms directly and lay-up the upper hood panels in fiberglass.
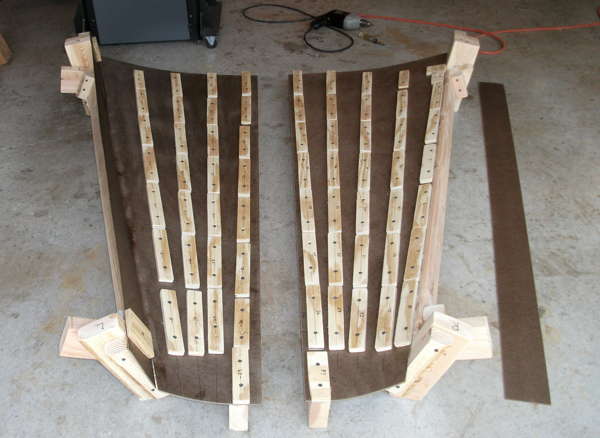
[06-26-15] Hood forms -- skinning with Masonite
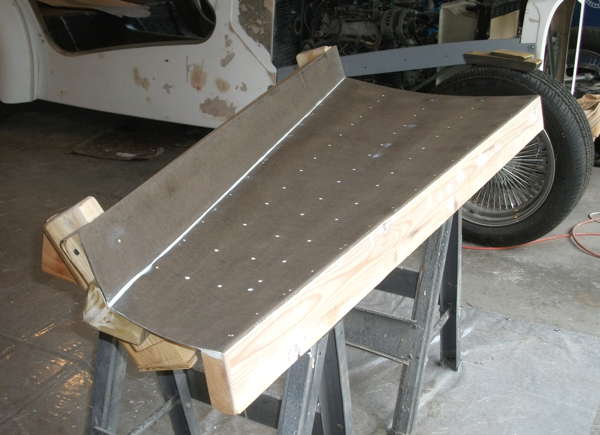
[06-26-15] Hood forms -- sanding, checking
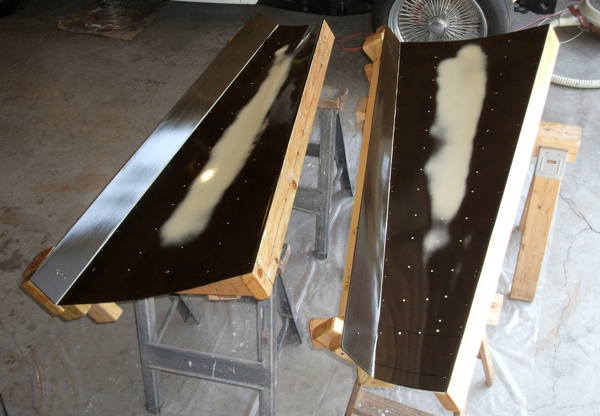
[07-12-15] Hood form - filled, sanded, sealed...
Don't know how that low spot got there (on both sides), but it can be faired with some plaster fill.
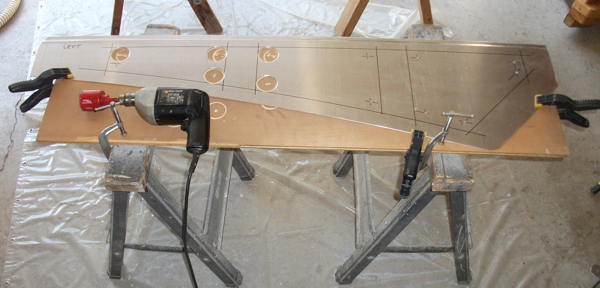
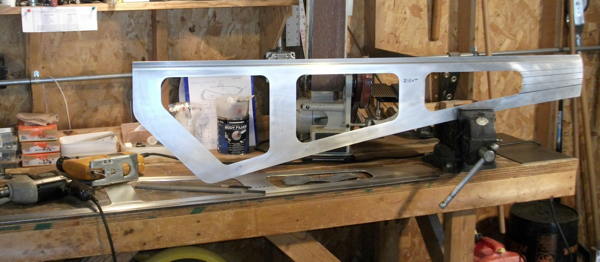
[07-18-15] Laying out & cutting hood side panels...
These aluminum panels are useable parts from the failed attempt to make an all aluminum sheet hood.
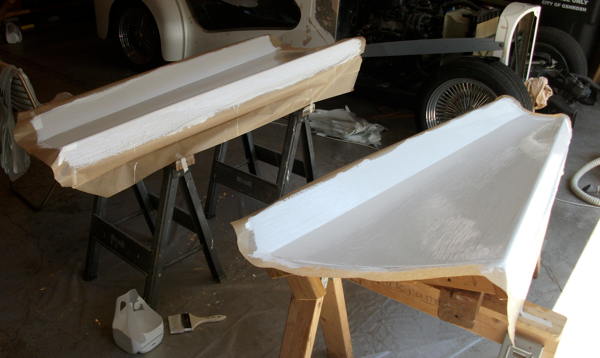
[07-15-15] Hood top panels - gelcoat
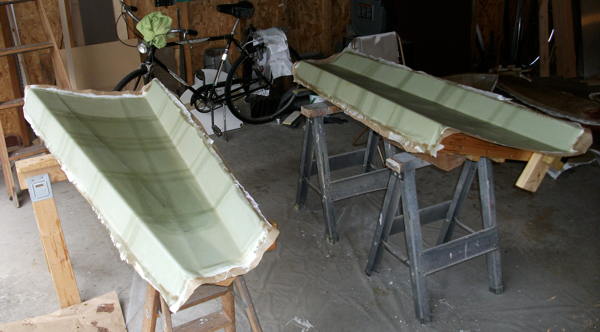
[07-18-15] Hood top panels - cloth lay-up
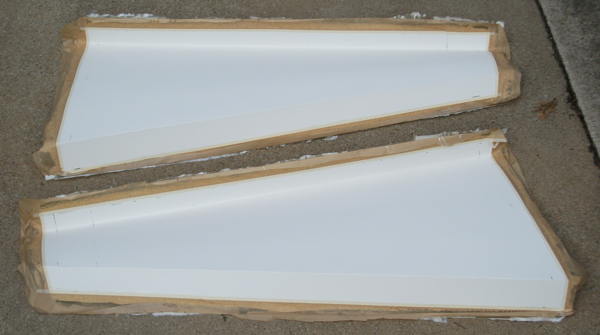
[07-18-15] Hood top panels - raw out of the molds
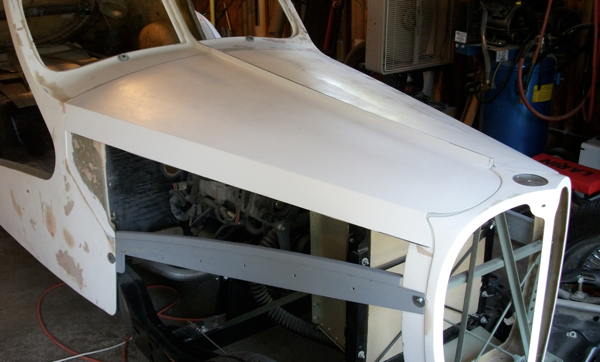
[07-18-15] Hood top panels with initial trim, lying in place...
Yes, this looks like it will work. [Sketch of hood hinge scheme]
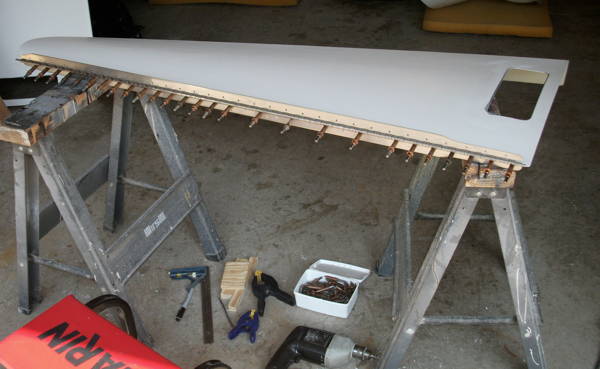
[09-01-15] Hood center hinge being located and drilled
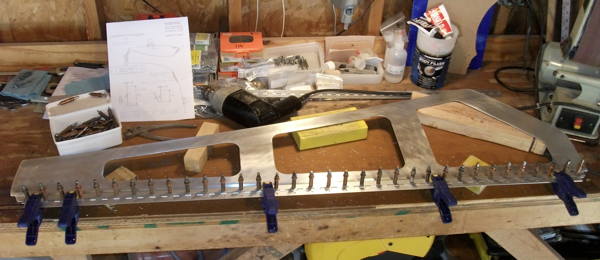
[09-02-15] Hood side piano hinge and panel drilled and ready for riveting
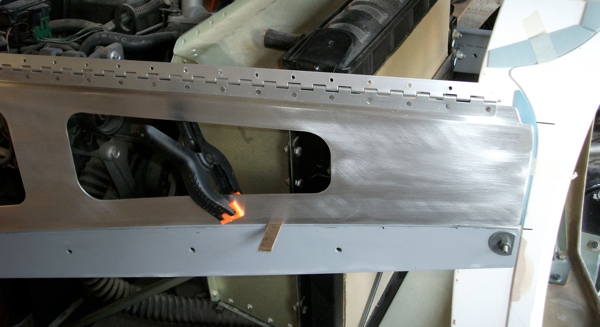
[09-02-15] Hood side panel with piano hinge flush riveted...
Stainless and aluminum piano hinges and AN rivets are from AircraftSpruce.com .
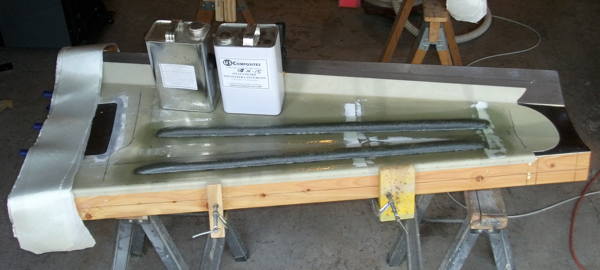
[09-04-15] Hood top panels getting some stiffening ribs
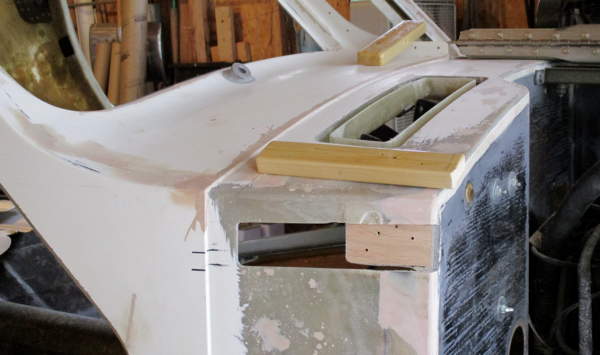
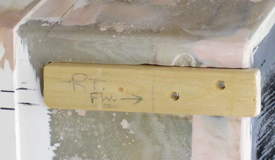
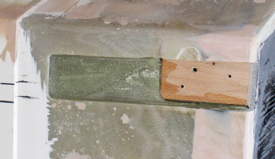
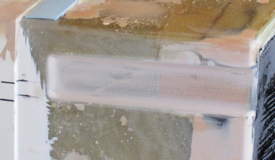
[10-01-15] Cowl side wall rework for a clearance channel for the hood side hinges...
This was an oversight in the initial layout, patterns, and molds, so we need to add it now. ...not too bad.
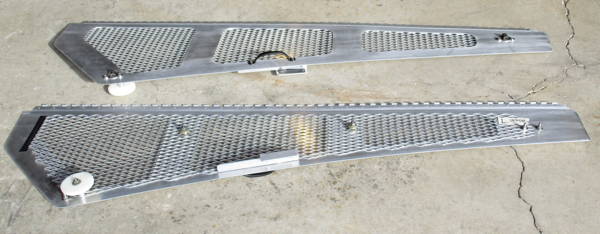
[10-20-15] Hood side panels with flattened expanded aluminum mesh...
Expanded aluminum grille material is from Onlinemetals.com .
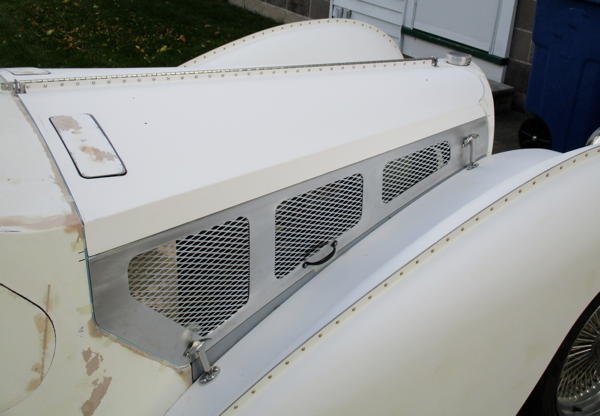
[10-20-15] Hood panels assembled... (hood center hinge support/locating detail)
Readily available Jeep CJ hood hold-downs in polished stainless steel look pretty correct.
| -- Site Navigation -- [Website Disclaimer] (pop-up) [Site Map / Search] | ||||
|---|---|---|---|---|
| 57SC Home | Donor/Chassis | Wheels/Tires | Body Patterns | Body Molds |
| Body Pieces | Hood/Radiator | Systems/Wiring | Interior Details | Glass/Finishing |